
Distance sensor
Keith Ellis : October 8, 2015 11:50 : PiWars 2015Last year we struggled with the proximity challenge a little bit. We originally chose to use an ultrasonic sensor, and to get these working, 10uS pulses are sent to the trigger pin and the time the echo pin is high is measured and converted into a distance. The Raspberry Pi is not particularly good a precise timings, it is a multi-threaded operating system and at any time it may decide to check WiFi or do some other general operating system task and miss the timings for the ultrasonic sensor. In the end we ran with an infra-red sensor which just had a high/low output with a fixed distance.
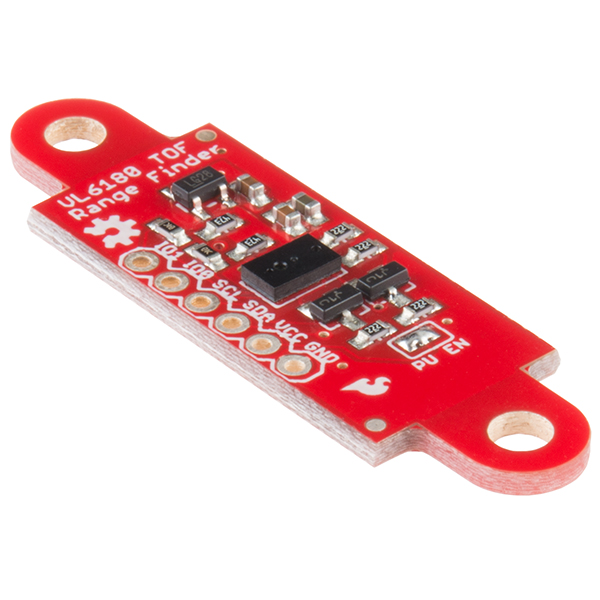
This year we wanted to be able to measure the precise distance and Jon found the VL6180 infra-red sensor. This is interfaced over I2C and responds with a precise distance. This would enable the Pi to query the distance without any timing issues. The particular board we are using is from Sparkfun and it comes with information for getting started with an Arduino. Jon quickly got it up and running on an Arduino for testing and it looked very promising, so he has now produced a C library for the Raspberry Pi. You can find the library on his GitHub repository here. Jon has released the library under the MIT license so feel free to grab it and use it in your project or robot. We would love to hear if you are using this sensor or library, it looks like a very nice sensor.
I have also noticed that Leo White who is building Optimus Pi for this year’s competition is also using this sensor. He has some information on his blog here.
TractorBot 2014 Opensource update
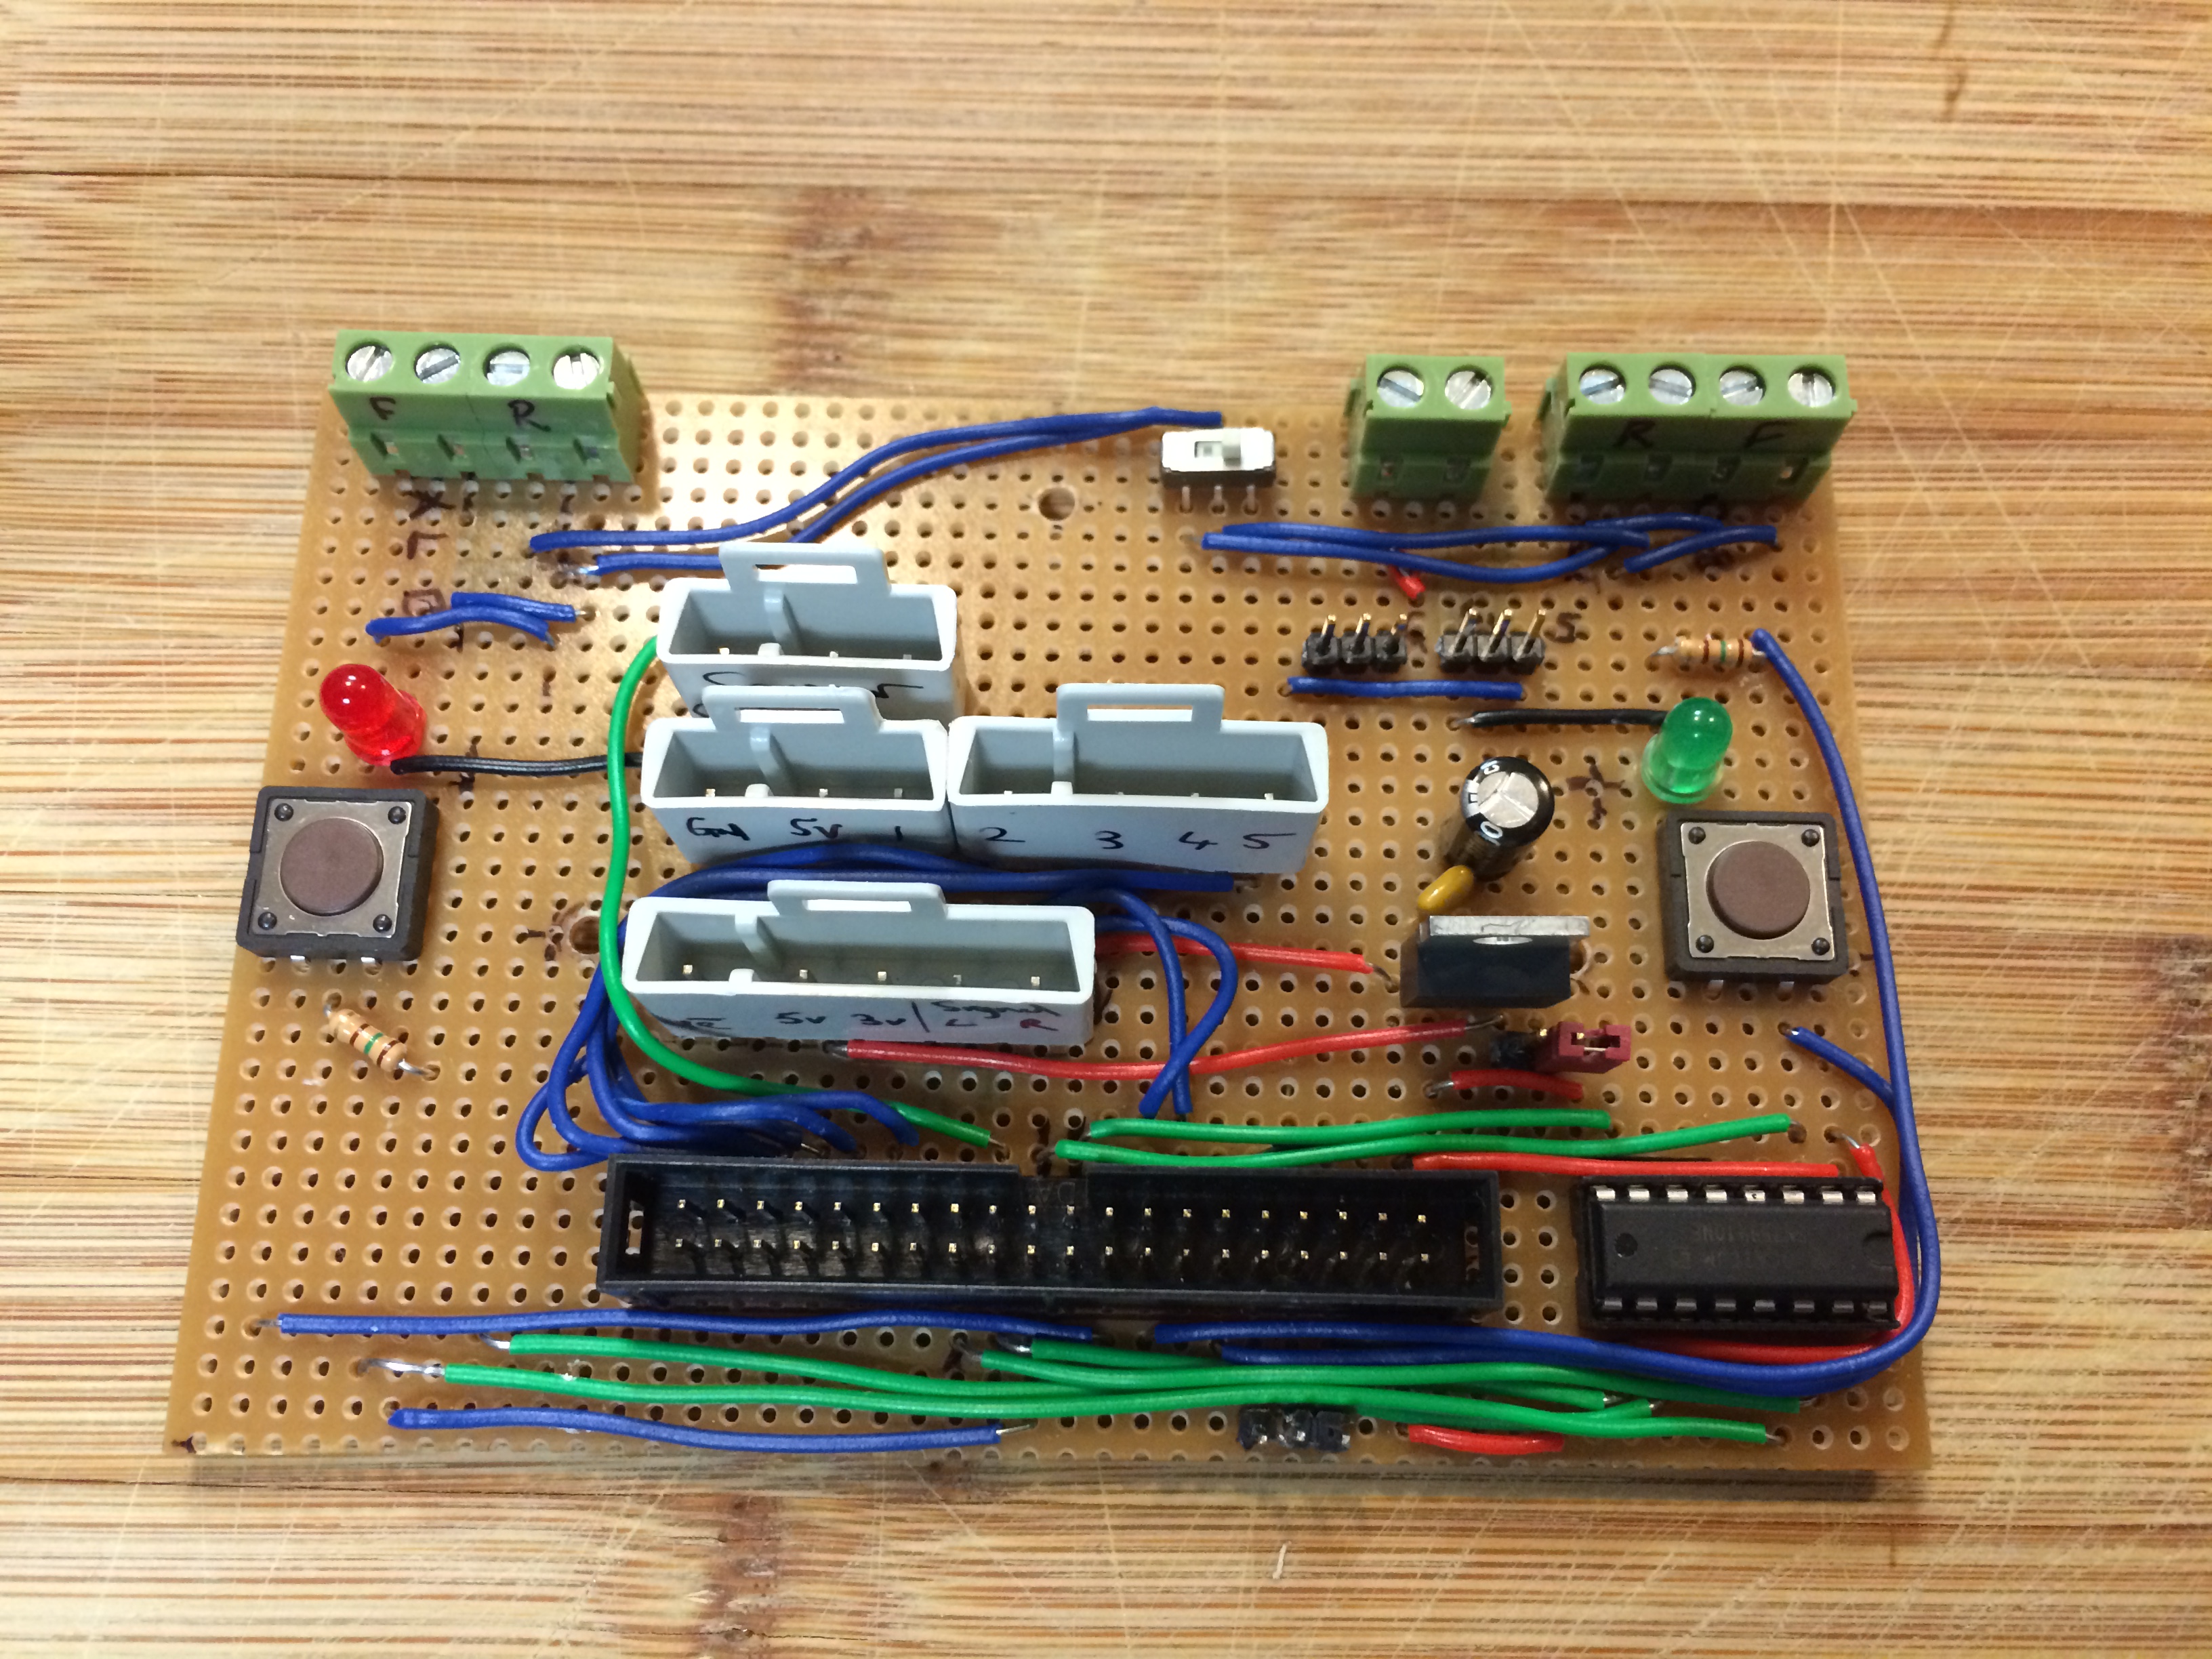
Keith Ellis : October 7, 2015 13:14 : PiWars 2015With development of TractorBot 2015 well underway for this years PiWars competition, Keith was recently looking back at last years competition. We promised to make TractorBot 2014 opensource, the lasercut files have been on GitHub for some months now, and a month or so ago, Phil added the C++ source code along with installation instructions. So last weekend Keith pushed some more commits with details of the home made motor driver and interface board along with some more descriptions on the various attachments that TractorBot was armed with.
With time marching on, our time will now be devoted to this years robot. We feel there is enough information now published on last years entry, however if you are after any specific information please get in touch, we will either update the repository or get the information over to you in some form.
All information on TractorBot 2014 can be found on GitHub here
If you use any of our resources we would love to hear about it.
Follow us on twitter @IpswMakerspace
Follow our PiWars 2015 blog ipswichmakerspace.com/piwars-2015/
TractorBot Update
Steve Chalkley : October 1, 2015 00:41 : PiWars 2015Things have been progressing with TractorBot II over the past few weeks (sort of). Phil has now coded a menu system via a 2-line LCD screen, which is a significant improvement over last year’s LEDs and buttons. Hopefully this will take the guess work out of what program will run when we press GO. We found the menu very handy last year, we could just boot the Pi and select the program without having to SSH in and run the code. This will be a good improvement for PiWars 2015.
We have been researching better motors, but oh my, motors are so complicated. It’s hard to get a reasonable combination of values for speed, torque, size, cost and current drain. So many variables, our heads hurt, lots. 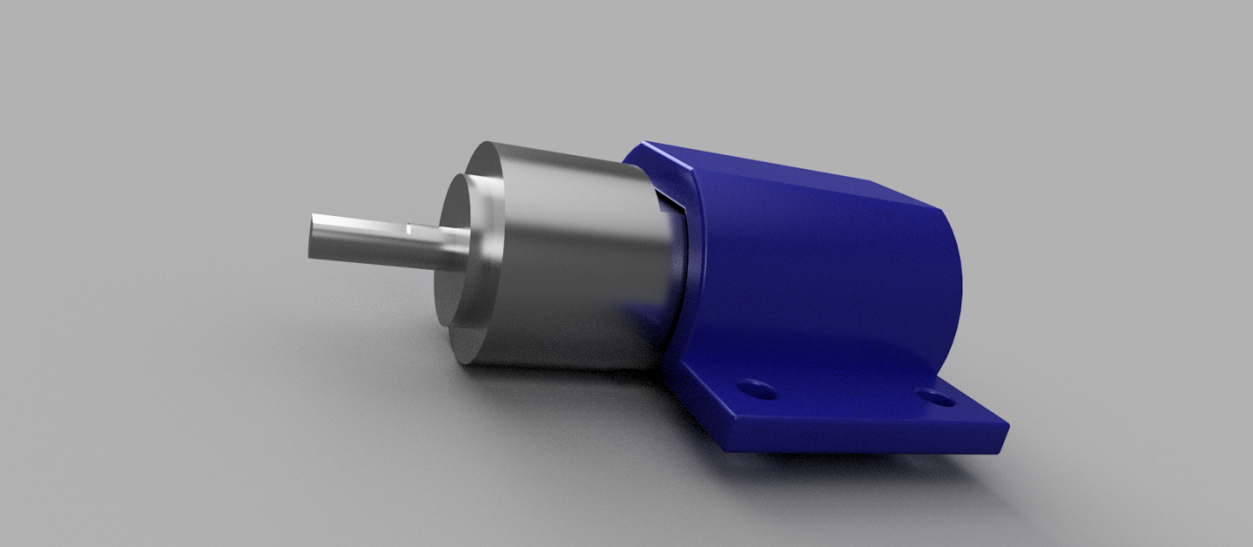 Keith designed a mount for one of the motors we’ve been testing and Phil 3D printed it. We’ve chosen different motors now, so this is redundant, but the renders look very cool though.
Jon is playing about with an I2C distance sensor. It’s been working on an Arduino and he’s converted the code to get it running on a Pi. This will give us an analogue distance, similar to an ultrasonic sensor but without the timing issues associated with a Raspberry Pi. We hope this will stand us in good stead in the proximity challenge.
Oh, we also have some bad news, Andy’s laser cutter has failed and it’s looking like it will cost up to £1000 to fix. If anyone has suggestions on getting an Epilog Mini controller board up and running again we would be interested to hear them. It looks like a voltage regulator has given up the ghost.
PiWars 2015 Update 2
Steve Chalkley : September 20, 2015 23:30 : PiWars 2015Today we’re going to have some background on one of our team members, and get hints and tips about prototyping using a laser cutting service.
Introducing Phil Willis, team member

Jedi mind trick?
Phil started getting interested in computers at age 7, when his Dad took him to work at Essex County hospital where the Pathology department had a PDP 11 running BASIC. It ran several games including lunar lander and golf…….. all on paper via state of the art Teletype 33.
Later at secondary school, he started programming in BASIC and Forth, using a shared acoustic coupler terminal connected to a huge black and white TV and the county main frame. This experience was only for the chosen few and amounted to only a few minutes of computer time a week.
By now hooked, a series of computers came into his life, Acorn System 1, ZX80, ZX81, Spectrum and QL as well as those at Hatfield Poly where he got a degree in Electronics and Computing, learning PASCAL, C m16e, z80 and 6502 assembler.
After Poly came work at a local computer supplier writing printer drivers for a word processor running on the Commodore PET. Then on to building clone PC’s and writing some of the first PoS(Point of Sale)/PoI(Point of Information) systems using Amiga 2000’s.
In the early 90’s Phil started working for QTMS, a company specialising in monitoring printing presses and other ancillary equipment and somehow is still doing it after two buy-outs and going from a company of 6, to one of 3000.
Currently, Phil leads a team of 4 programmers spread throughout the UK and the USA.
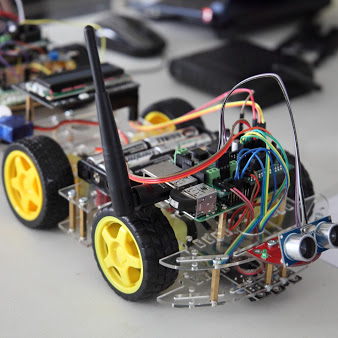
TractorBot II’s first public outing at CamJam
At home, he enjoys cooking, swimming and building robots with his children. Phil lives in Suffolk, with his youngest daughter “Miss Steady Cam” (Cheerleader for the TractorBot team). With Keith, Phil designed and built the makerspace’s 2014 PiWars entry.
Recently Phil sneaked a Tractorbot II out of its high security vault and showed it off at the CamJam.
Lessons Learnt when Laser Cutting
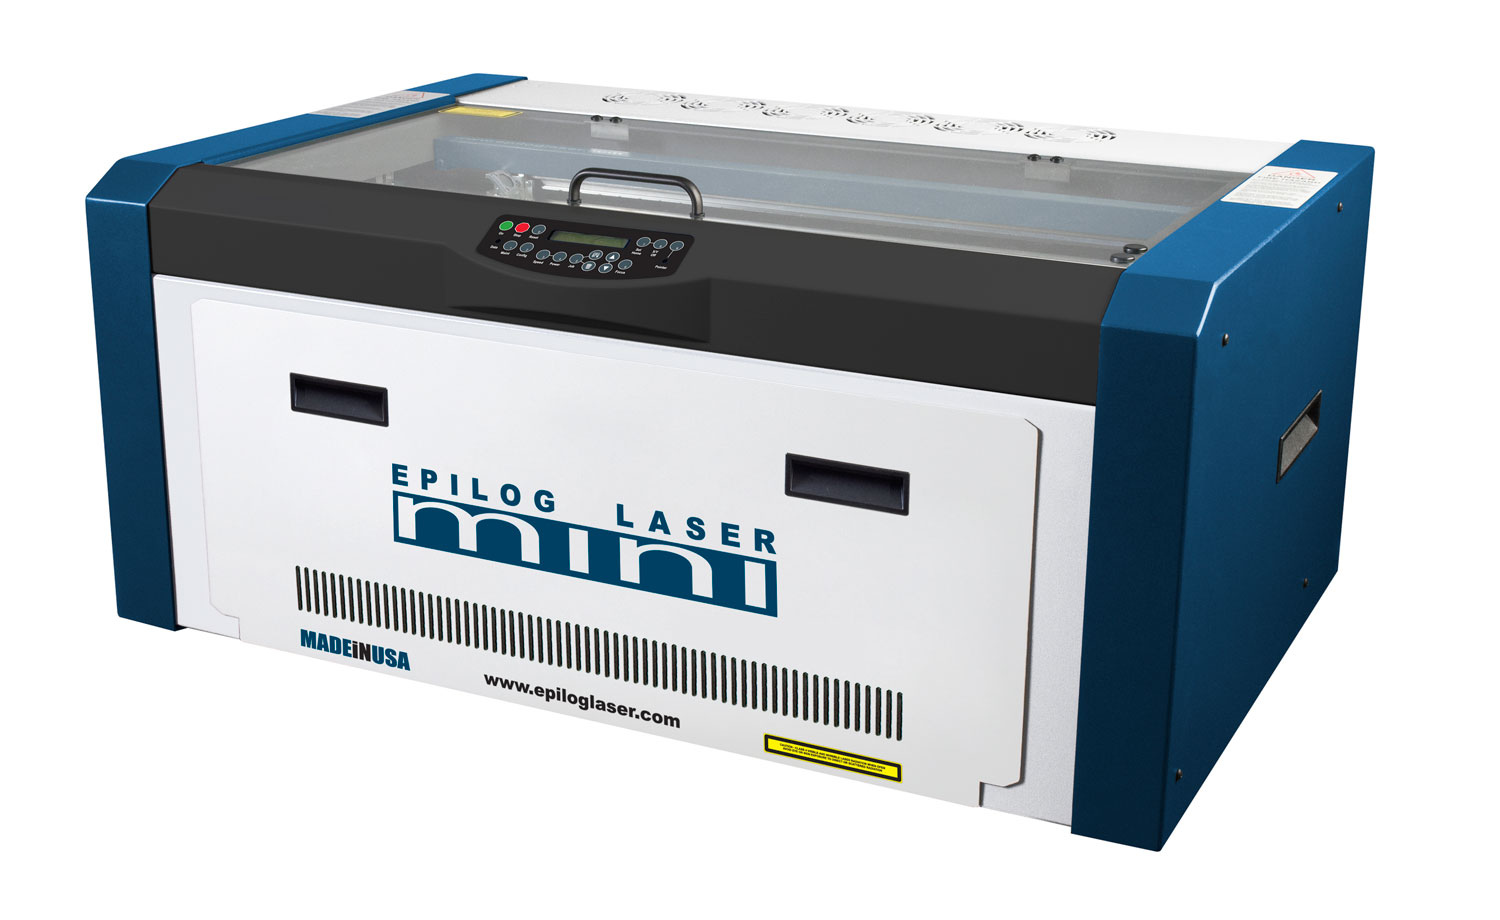 During the 2014 PiWars build, Keith used a local firm, Cedarcroft Productions, to do the laser cutting for TractorBot. The setup run by Andy includes a Epilog Mini 40watt laser cutter with a 457 x 305mm working area (A3 is 420 x 297mm). He interfaces with it through his CorelDRAWX5 software and prefers PDF files.
Over the past year Keith has sent numerous projects to Andy for cutting, with mixed results. The cutting has been in either acrylic or harboard though mostly hardboard, because it’s cheap and durable for robots. Over the year Keith has gained valuable experience in how to present projects for cutting and what does and doesn’t work. Whilst this is specific to Andy’s setup it should be useful for others wishing to get their files cut.
There are a few requirements, Andy’s main one is that files are in PDF format, which can be loaded into Corel Draw and simply printed to the laser cutter. Keith prefers to use AutoCAD to produce the files, since he uses it at work and with familiarity comes speed. Early in the process it became clear that PDFs produced from AutoCAD were not loading into CorelDraw so Keith switched to using InkScape. InkScape’s PDFs where much better behaved, the only caveat was that all objects should be exploded and placed on a single layer.
This workflow was successful and it produced the original TractorBot and its custom parts. However, Keith wasn’t happy with using InkScape, as he found it cumbersome and not precise enough. For example, it takes quite a few steps to produce a line of a set length, and for circles it appears it is not possible at all, the bounding box of the circle can be set, but this does not allow for line thickness and as such circles are often the wrong size. This year Keith investigated AutoCAD again, he also wanted a cheaper or free solution, to allow the files to be created on his own computers rather than work equipment. After sending out a request to the Makerspace, Draftsight was recommended. A free version is available on both Mac OSX and Linux and copies virtually all the AutoCAD key bindings so Keith was able to use it very efficiently.
However, once again the PDFs created could not be imported into CorelDraw. Keith then looked at using Inkscape to import the Draftsight file and export it to PDF. It is possible but it did take a while to work out how to do it. The steps below describe Keith’s process.
1) Create drawing in Draftsight, using mm and ensuring the units were set to mm and export as a dxf. Within the drawing insert a scale bar so the scale can be checked at run-time.
2) In Inkscape, import the DXF. File/Import, select the file and an DXF Import dialog box should appear. Ensure the check box next to “Use automatic scaling to A4” is not selected and the manual scale factor of 1.0 is shown. It took Keith a frustrating week or so to work out that this is what was needed to keep the DXF at the same scale.
3) Once the image is in Inkscape, select all objects and press CRT+SHIFT+G lots of times, this should ensure all groups or blocks are ungrouped.
4) Set the page size to 450mm wide by 300mm high and arrange the items to ensure they fit within the page foot print.
5) Again, double check all items are ungrouped and on a single layer. Delete all other layers.
6) Export to PDF, File/Save as copy, making sure to select PDF in the file type pull down box.
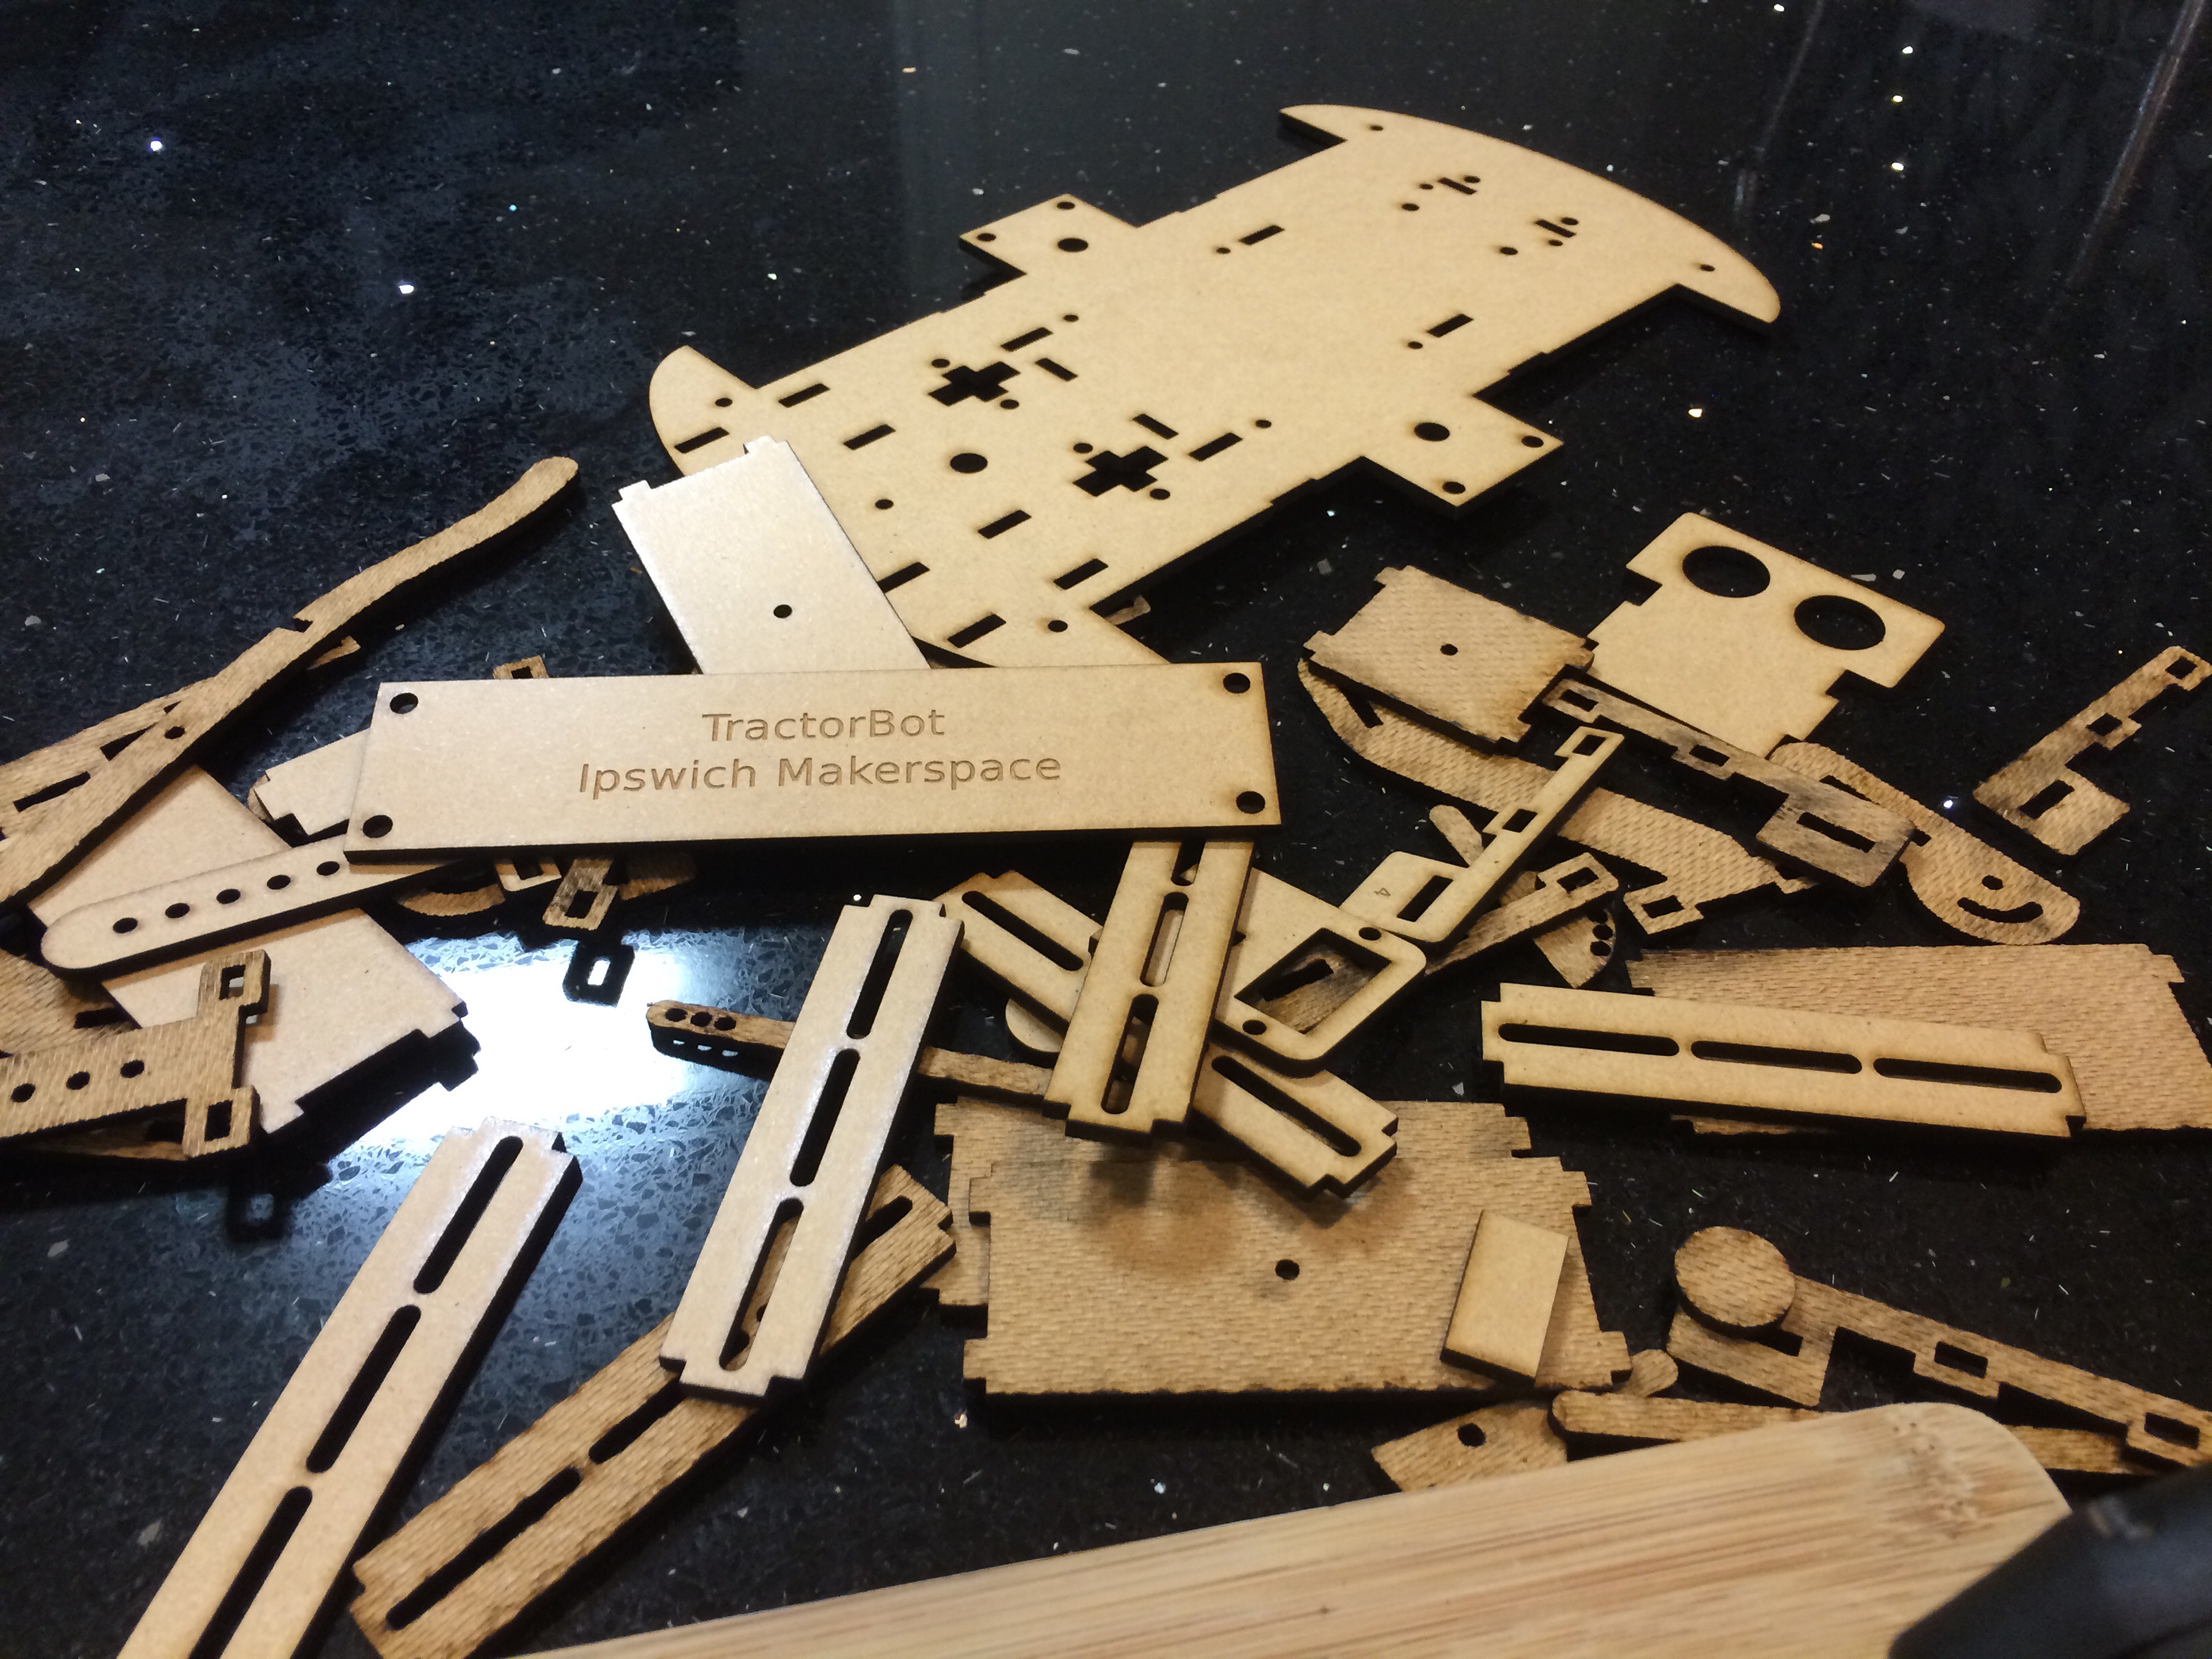
Some assembly required
This PDF file gets sent to Andy at Cedarcroft Productions and back come the laser cut parts. Because Andy and Keith live close together it makes for a very quick turnaround which is particularly useful when several design iterations are required.
PiWars 2015 Blog
Ipswichmakerspace : September 6, 2015 18:16 : PiWars 2015Welcome to our PiWars 2015 blog. In the blog we’ll be talking about our 2014 entry TractorBot, our team, some suitably vague information about our 2015 entry plus a few side topics for variety.
I’ve already given away that we entered the 2014 PiWars and to say that competition day was a roller coaster ride of emotions is no exaggeration. No matter how much you test your bot there’s still a lot of tension while it’s running one of the challenges. It was also tremendous fun. Building a robot and running it around the floor is quite an achievement and pretty cool but going head to head with other people’s creations takes it to a whole new level. The robots at the event came in all shapes and sizes, from a pirate galleon to some tiny tracked creations to a black box covered in LEDs. Everyone was excited to take part and had worked hard on their entries, with added Lego stunt drivers or massive staring eyes added to show it wasn’t too serious.
Our main robo-nauts were Keith Ellis and Phil Willis with a small band of moral supporters. Their first design decision was whether to go for the under £75 or the over £75 category. While it was definitely tempting to throw some money at the problem it was decided that it would be just as much fun building a cheaper robot. Of course the £75 limit was for the robot that would run on the day, it didn’t include anything needed for R&D in the run up to the competition. Because there was such a limited budget the early focus was finding the best components at the lowest cost. Clearly we needed a Pi and the obvious choice was the B. In broad brush terms we also needed a platform, motors and controllers, power, sensors and a remote control for the driving tests. Should you want to have a look at the finished design it’s now been open sourced and you can find it on the Ipswich Makerspace GitHub.
Slowly the robot came together and each time it came to a makerspace meeting it was able to do something new, and occasionally it forgot how to do something old. The last two weeks were particularly frantic with the late night soldering and debugging that no project should be without. Sadly, one of the development Pi’s gave its life for the project but we had a spare so all was not lost. The R&D effort was helped no end by the generosity of Rapid Electronics in Colchester who gave us a considerable amount of hardware. (Including the sacrificial Pi, please don’t tell them).
I’d not been to a PiJam before and with the addition of the competition the venue was absolutely buzzing with excitement. As well as Keith and Phil, we also had Frank in charge of the video camera, Tim and I in charge of morale, and TractorBot in charge of being the robot. Our first event was the robot sumo which is a far more civilized version of the old Robot Wars idea. Two robots go in and there is only one winner. The main difference was that no preposterously over-specced house robots were involved and everyone walked away with a whole and intact robot, as damaging your opponent was against the rules. Keith drove TractorBot via Wii-mote and by driving skill and low cunning pushed the first two opponents off the mat. Sadly there was no way we were going to be able to push the giant pirate ship so easily and after some hair raising twists and turns the inevitable happened and we were out. In all, a pretty good first test. I’ll run through some of the other tests in later blogs, look out for the closest to the wall test and the three point turn test.
This year’s team includes Keith and Phil as before with Jon Leach and me Steve Chalkley. There are two major differences to the 2015 competition from our perspective. The first being the division of the entries into size categories rather than budget. So far it looks like we’re very firmly in the up to A3 category. The second is that with a little tweaking we could probably re-enter TractorBot. Obviously that’s not what we’re going to do even if TractorBot II looks similar to the original, strikingly similar. Over the next few weeks I’ll be sharing some of our design thoughts, for example, TBII will most likely have a touch screen user interface replacing the push-button and blinking LEDs which was the low-cost solution to the same problem last year. It was remarkable how much control one button could exert.
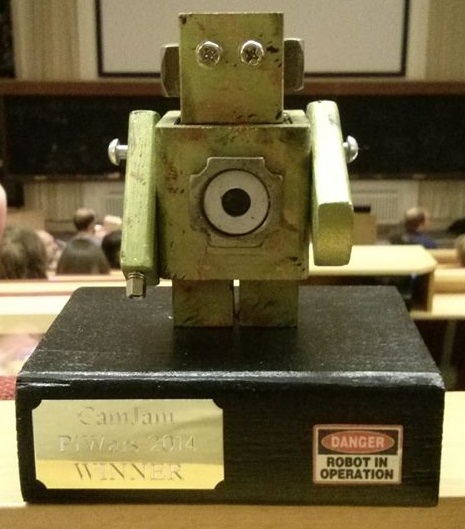 Finally, I can’t let you go without answering the question you’ve been dying to ask: how did we do? I’m pleased and proud to say that thanks to Keith and Phil’s combination of hard work, mad coding skills and dangerous driving we won the under £75 category. Which meant they walked away with some very cool Pi related goodies and the cute robot trophy. We even have video highlights to prove I’m not making it up.