
A lot has happened since the last blog post, but we still do not have much to show for it.
Jon has bee refining the proximity code along with his library for the VL6180 sensor. TractorBot now gradually reduces speed as an object is approached. Hopefully this will enable us to get extremely close. I’m still wondering how this be scored on the day, last year measuring the distances involved torches and calipers. Maybe this year feeler gauges would be useful.
Phil, has been doing a general tidy up to the code and refining it where necessary. We now have a different control system called “Tank Mode”, this allows us to use the two sticks on the Wii Classic controller to control the left and right motors individually in a skid steer manner.
Keith has been producing fancy virtual images of what TractotBot 2015 might look like.
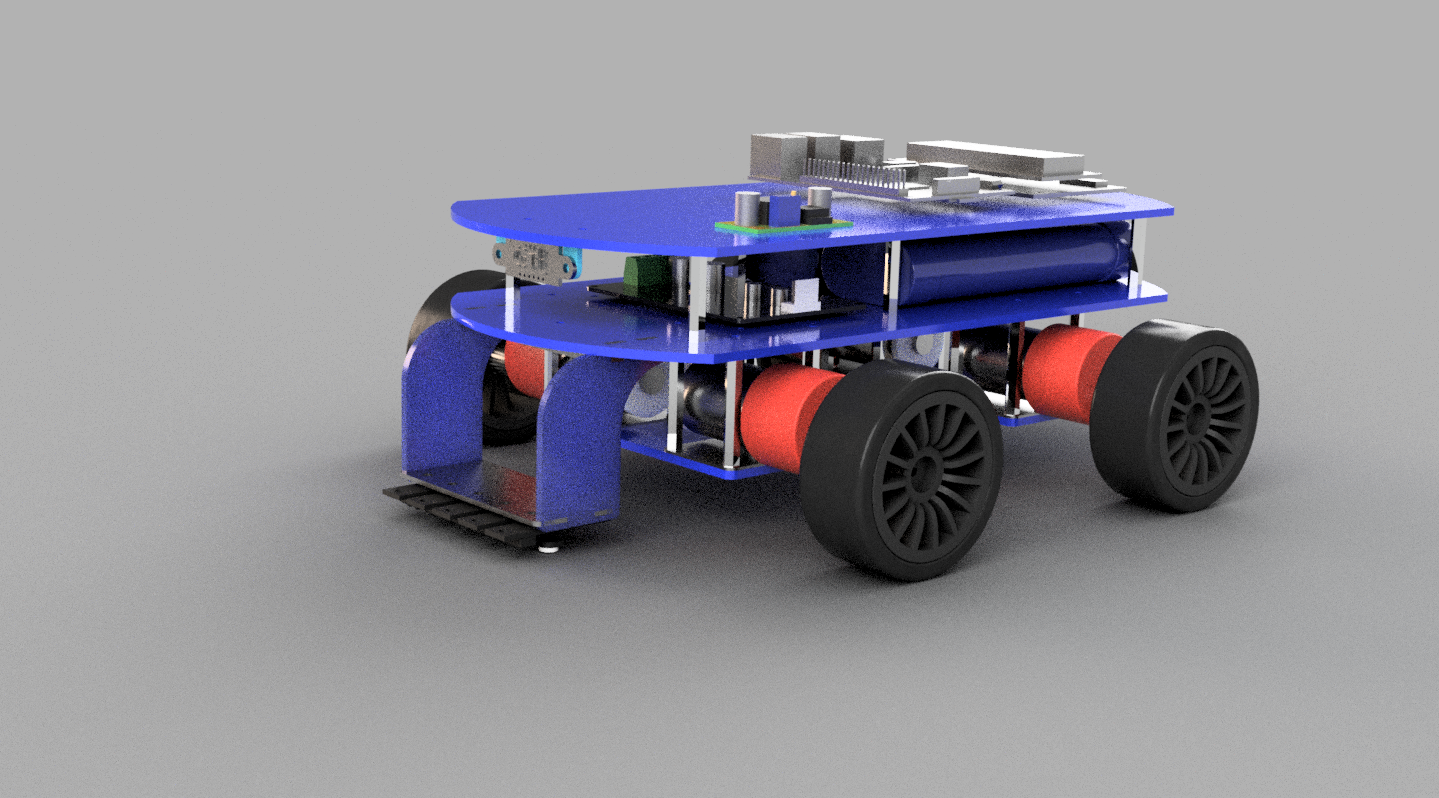
Fancy virtual model
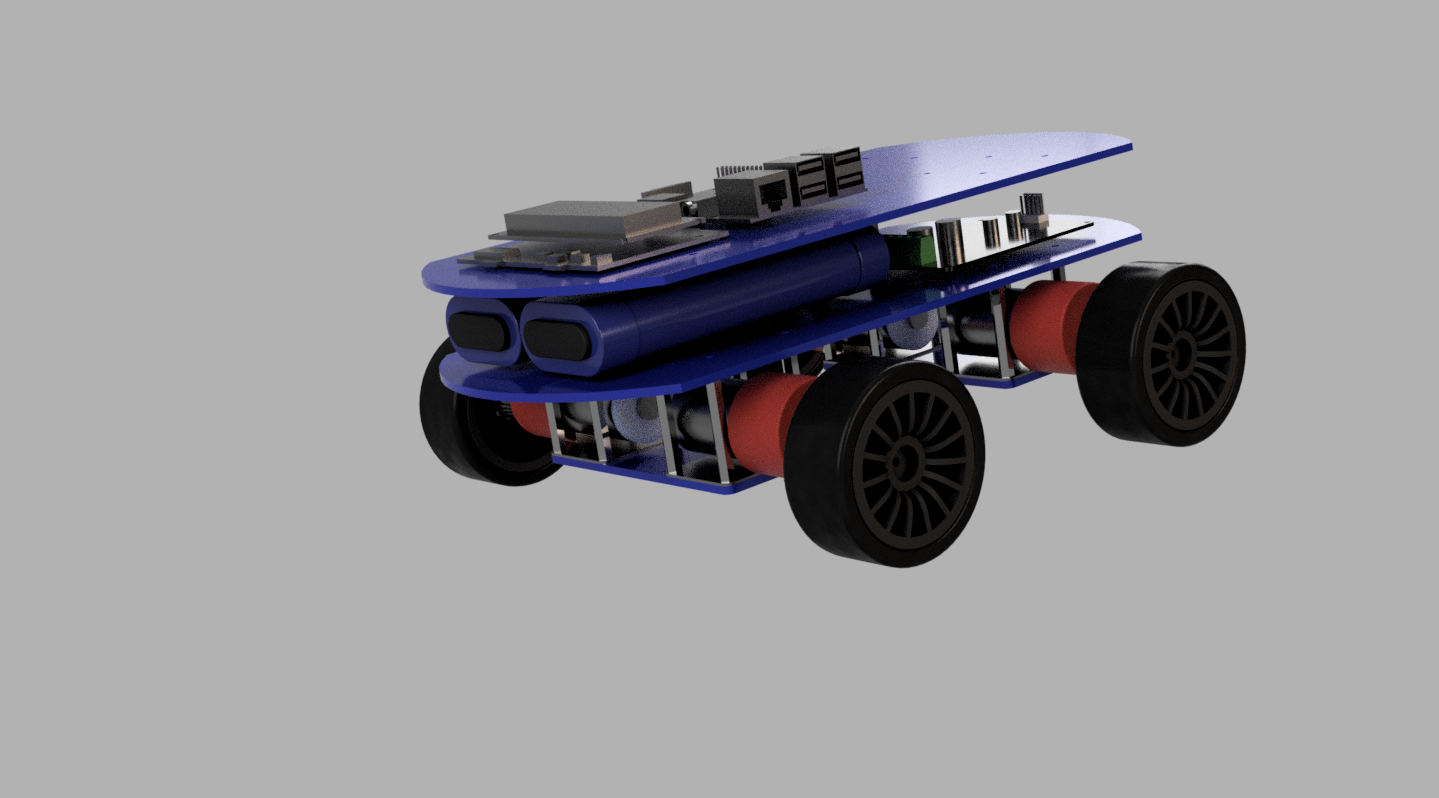 Whilst this looks very nice and has allowed Keith to design the robot in 3D ensuring all the parts fit together nicely, he was getting worried out how to make the virtual model a real one. It was simple to produce the STL files for the 3D printer but what was unclear was how to extract the data for the laser cut element. Anyhow, Keith plowed on, after all, the images did look very good.
The wheels described in the last post have now been refined and Phil dutifully printed them out. The quick time lapse below condenses the 13 hour print job into a few quick seconds.
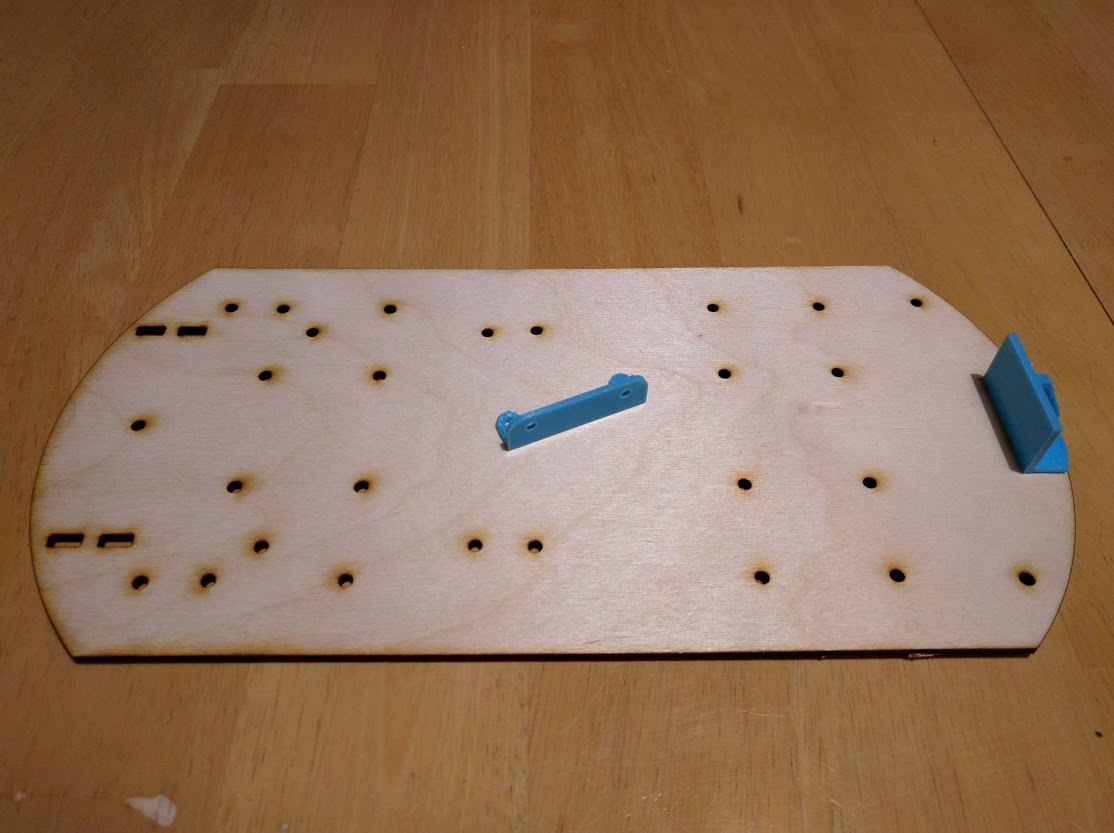
First laser cut elements
A couple of days ago though, it all came together, Keith discovered how to extract DXF files for the laser cut elements, they were sent off to Phil for checking and he was able to use them with his laser cutter setup. So now the 3D model can become reality. Producing 3D images can be invaluable for understanding how something goes together and for getting an understanding on how something will work prior to actually building it. But now we have the possibility of 3D printing and laser cutting the elements directly from 3D model the whole build process becomes much more simplified. Last year the battery was held in place with a hair band and some blutack, this year however we have custom laser cut and 3D printed parts.
The tool being used is AutoDesk Fusion 360, it is free for makers and tinkers and is quite easy to pick up and has some very good build in tutorials. It has software for OSX and Windows and there is an online collaboration element called A360 which enables team members to view and rotate the model and provide comments.
Over the next week or so, Keith will be finalising the design and sending the files to Phil for printing and cutting. Hopefully soon we shall have an actual TractorBot to test and complete the code refinements.