
Instead of trying to finish off one project at a time, I got distracted with dissecting a SNES controller. In this brief project I am converting it into an XINPUT compatible controller by way of a custom PCB and Teensy LC.
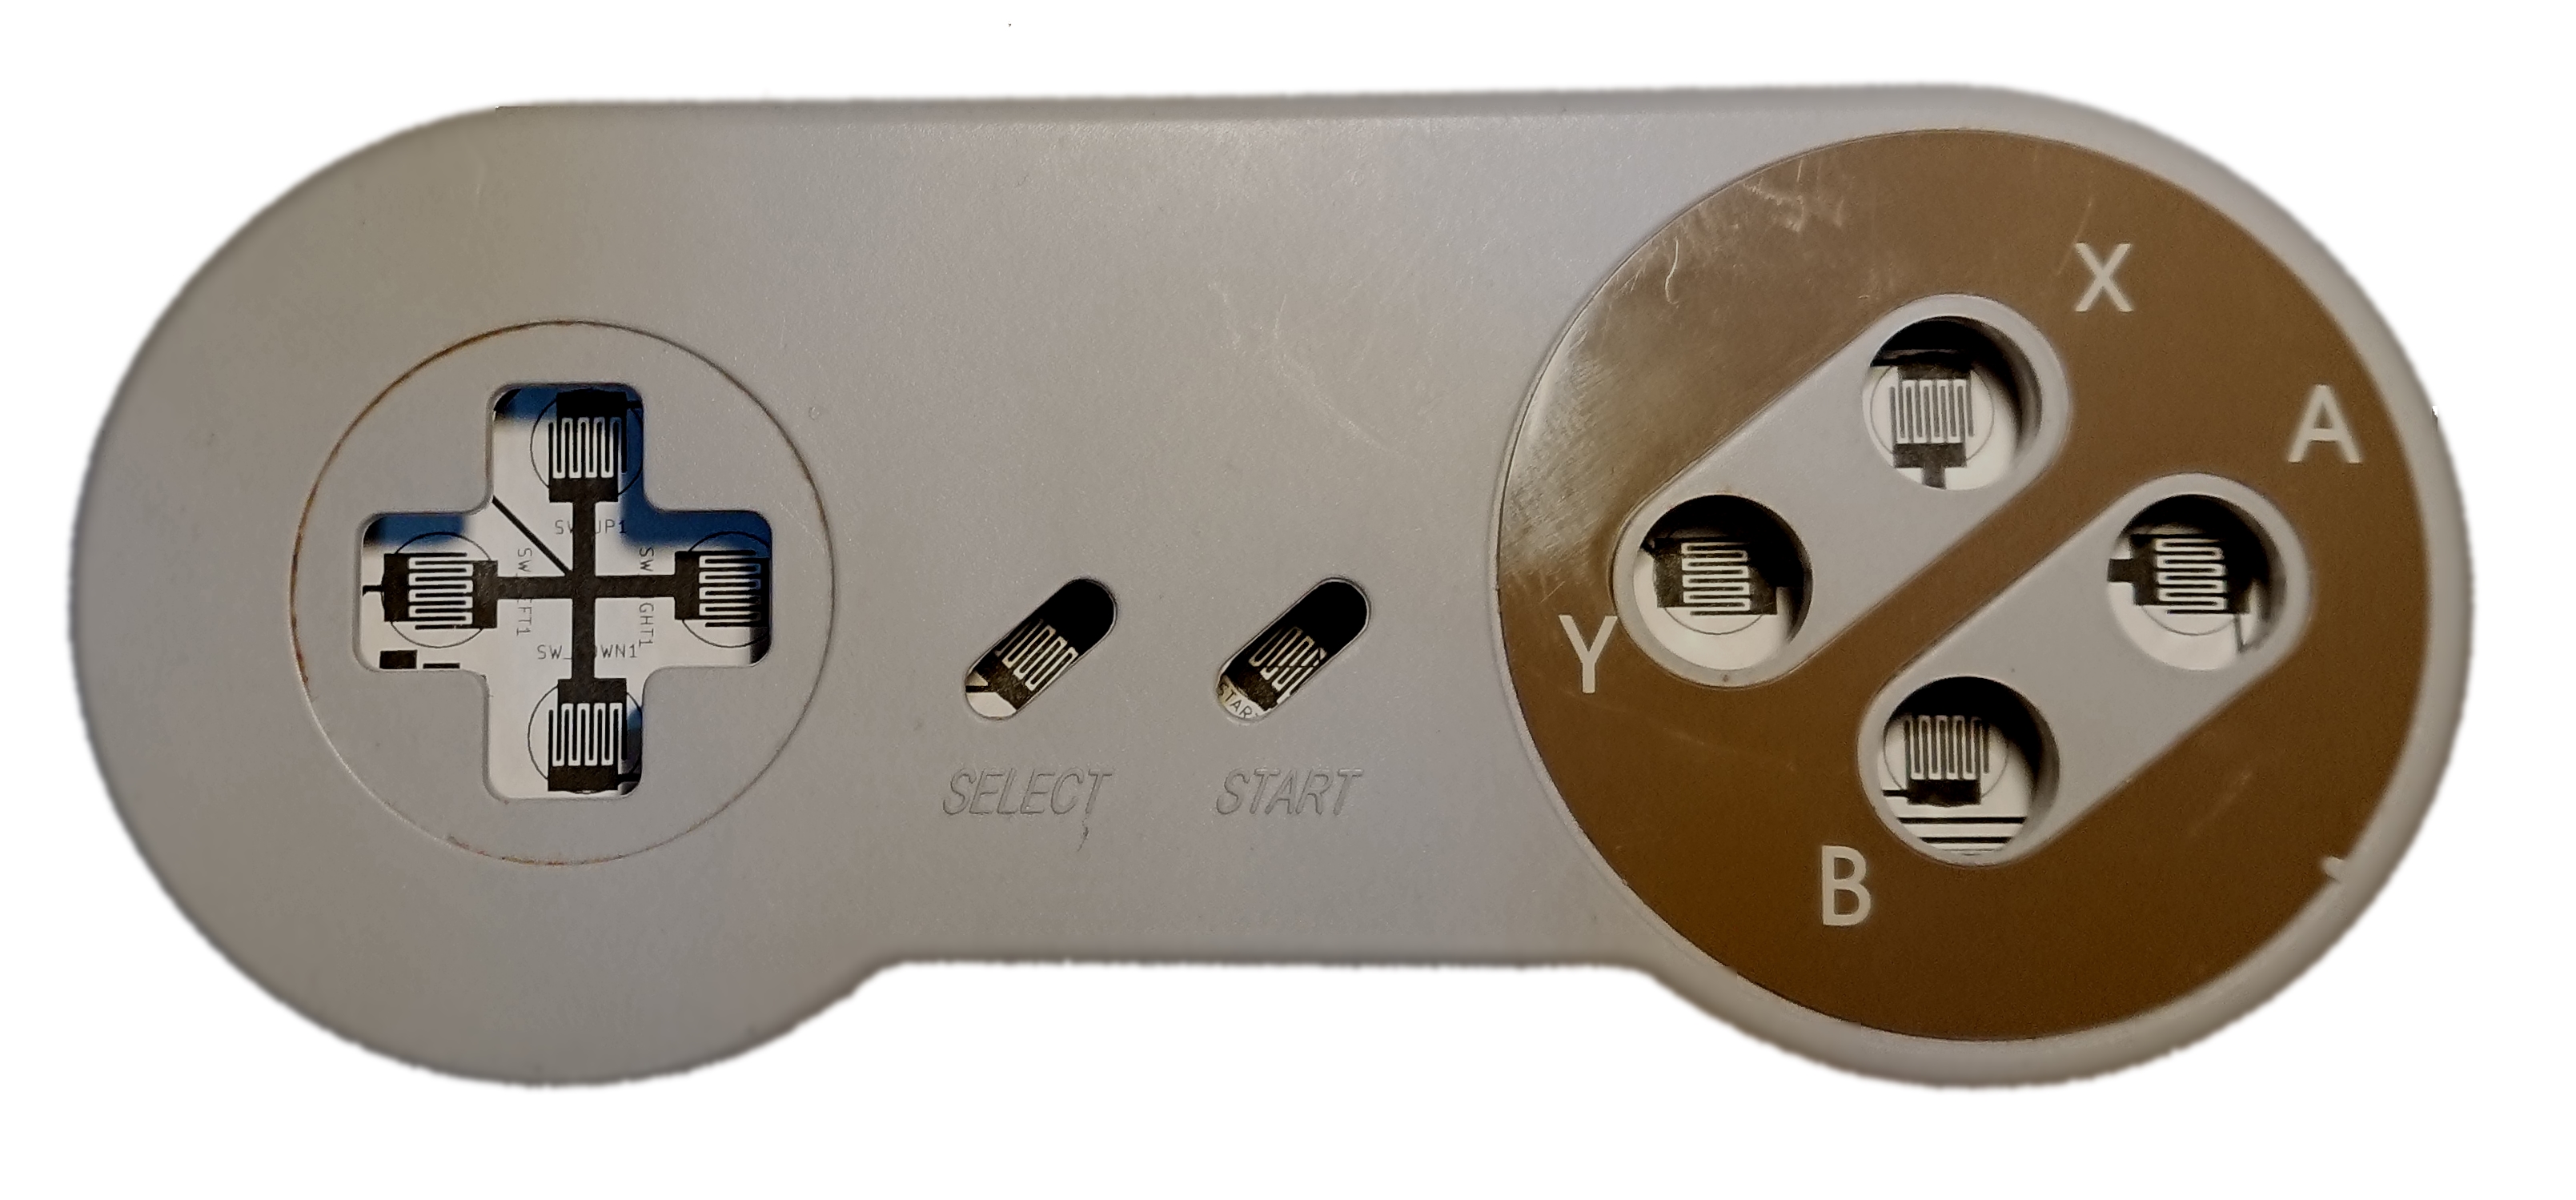
Firstly I cracked open the case a got a good look at its innards. Its made up of the PCB, buttons and rubber parts with conductive pads.
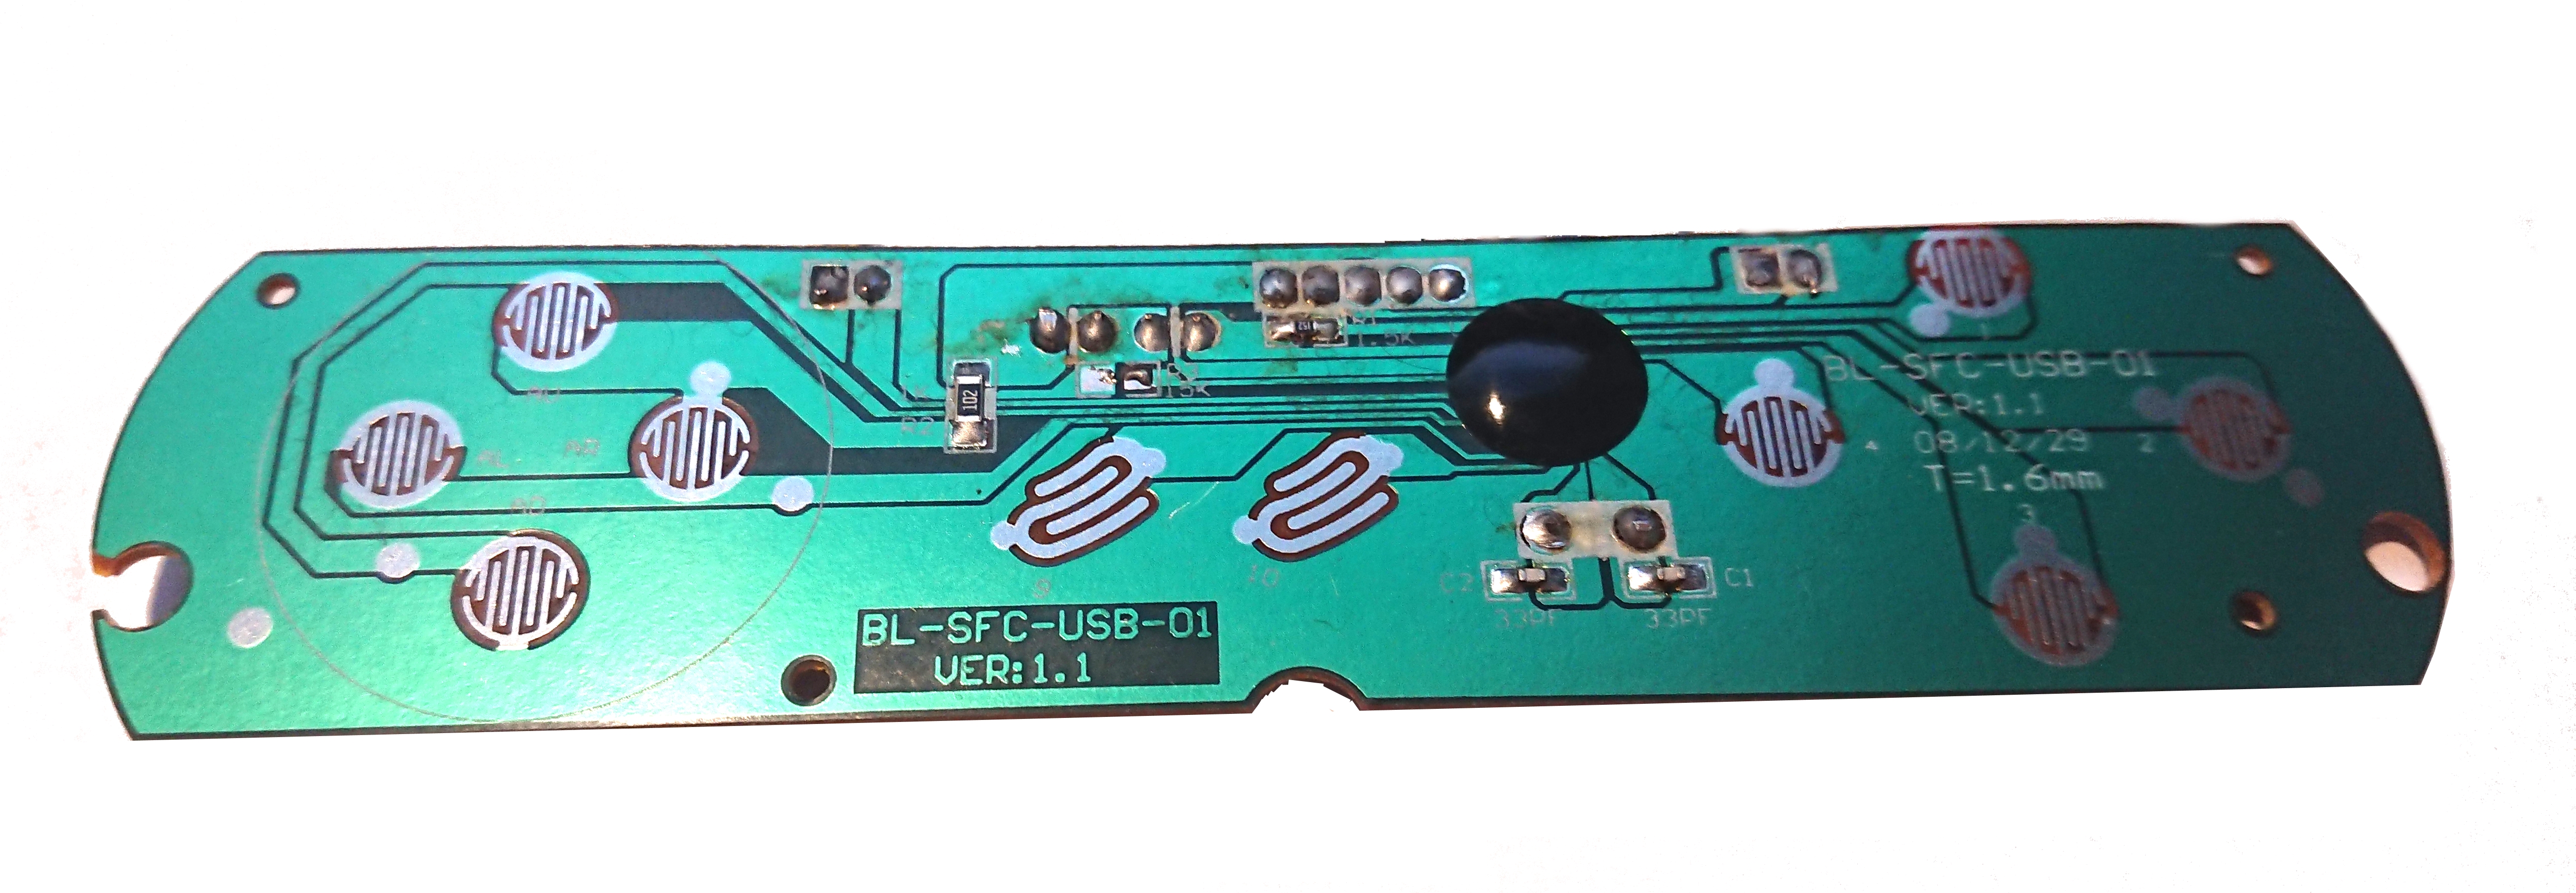
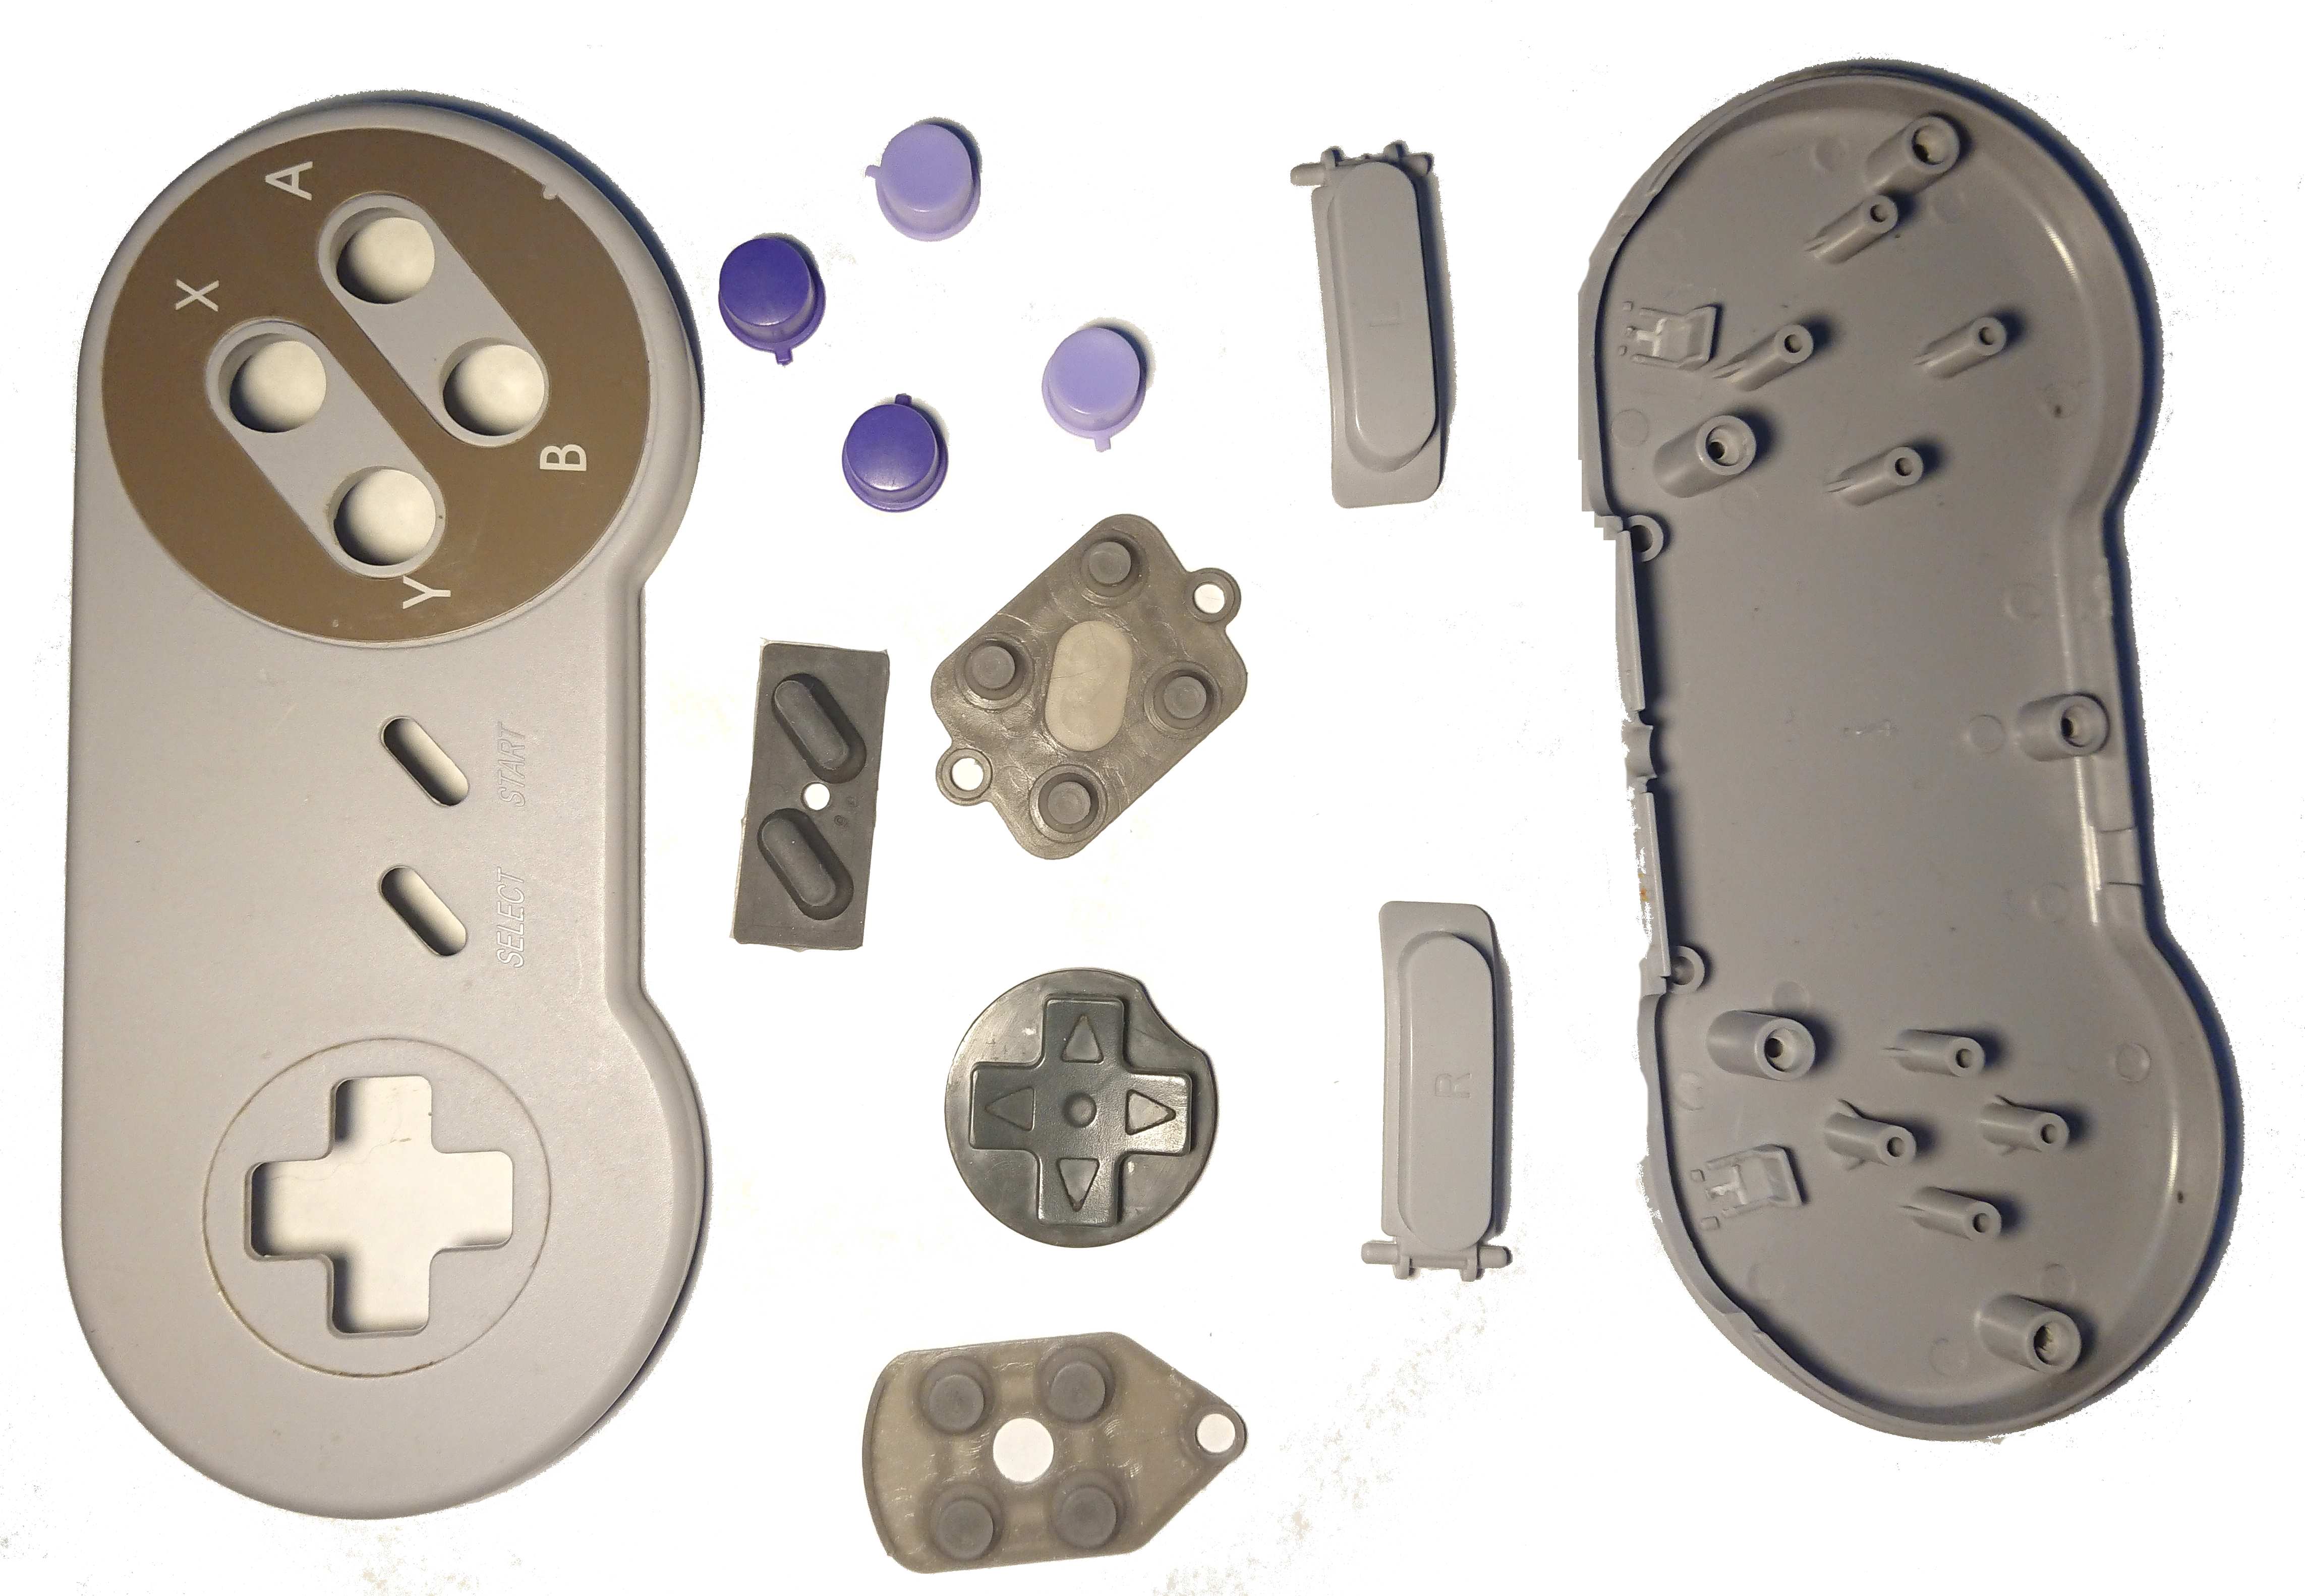
The challenge is to fit a Teensy-LC into the case, in roughly the same size PCB. As with my other XINPUT Teensy project, each button needs wiring to GND and a GPIO. I decided to upgrade the controller a bit by adding a Neopixel.
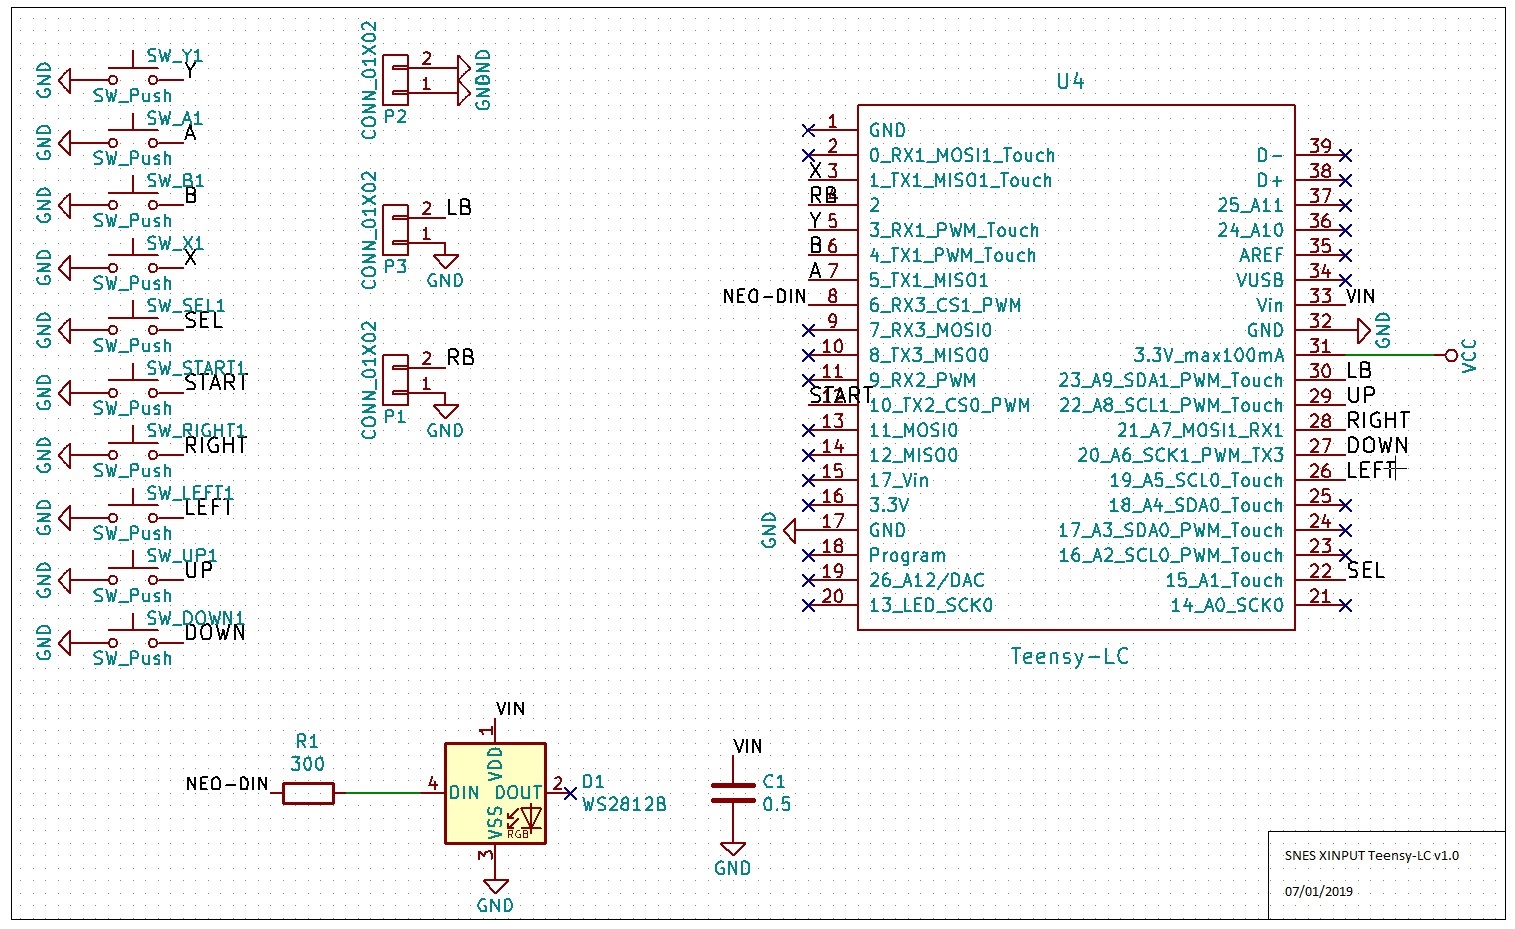
The schematic shown below uses:
1 Teensy-LC component for Kicad
10 push switches for the top buttons
pin headers for shoulder buttons and grounds
1 x Neopixel plus is resistor and capacitor
The layout took a few iterations and much measuring before finalising it. My first challenge was to create a footprint for the button contacts.
In order to make pads of custom shape, I needed to upgrade to Kicad 5. To make the custom shape, one had to create a pad, then draw the rest of the irregular shapes using “graphic lines”. Once done, select them all, RMB and use “Create Pad from selected shapes”. The gaps between pads are 0.5mm.
I found a 3d render of a teensy-lc and modified it a bit to suit the project. This enabled me to visualise the fit. The teensy reset button made need poking out of the back of the case (or removing)

click to embiggen
The code is this time based on MSF Flightstick, which is a very easy way to make an XINPUT compatible device. I should really have done something cool like put an accelerometer in it. I think the next one might be wireless. I have found some sweet looking 433MHz modules “HC-12”, which I will mess around with in another blog. Here is it printed out and placed in the case, if only I could laser print copper.. It isn’t as badly aligned as it looks, that is just the parallax effect. It is that filthy though!
As I can get away with not plating the through holes I am tempted to use the recently renovated CNC milling machine in the makerspace to make the board. OSHPark nicely gives me the various layers, top and bottom copper, soldier mask and silk screen and drills. I guess I would have to figure out how to generate those layers myself from Kicad and make sure the dodgy Roland software running on Windows XP can understand it. I will also need to research if I can add soldier mask myself and how I can mask the pads. Yet another blog I think! I will do a seperate blog on my attempts to resurrect the Roland PNC-2300A!
Once I have produced a board and tested it, I will link to that blog from here 🙂 That is all, until our next adventure.