
Laser Cutter Adventure
Some time ago we (Ipswich Makerspace) found a local business which had a laser cutter and was happy to do cutting for us. This was pretty handy for last years (2014) PiWars where we started with a stock platform which Keith redesigned and enhanced to create TractorBot 2014. Fast forward to a couple of months ago when we were going through the same process with TractorBot 2015 when disaster struck. The main board on the laser cutter went down and the repair cost was eye-watering. Being the true souls of repair, re-use, re-cycle we are (read desperate) we investigated fixing it ourselves. On balance we could probably have got it back up and running but the commercial risk was just too great for them. We were in a bind, right up to the moment someone said “We could get a cheap Chinese cutter!”. It must have been Phil that said it because shortly after he posted that a ‘mystery’ crate was on the way.
This is the story of Phil’s Laser Cutter Adventure told mostly in his own words. There was some initial amusement as we cast knowing engineering eyes over it, for example the aquarium pump ‘cooling system’. Or the clever ‘hole in the bottom’ ventilation. The software raised a few eyebrows too. But with a bit of effort, quite a bit of effort really, Phil was able to wrestle this cheap gadget into a hi-tech manufacturing tool. Let’s hope it lasts until we’ve cut all the bits for PiWars.
Laser Cutter Adventure – Part 1
 The cutter is now sited in the garage on an old table, which has some handy drawers in the front. The first job was removal of the current engraving frame (before and after images). Note the 3D printed laser pointer holder and air assist nozzle, not sure if I will use these yet as I have found some more on thingiverse.com which might prove better.
Also note the hole in the bottom of the case!!! (Visions of laser cutting the desk, ed.)
The air duct at the back could do with being trimmed down as well.
Laser Cutter Adventure – Part 2
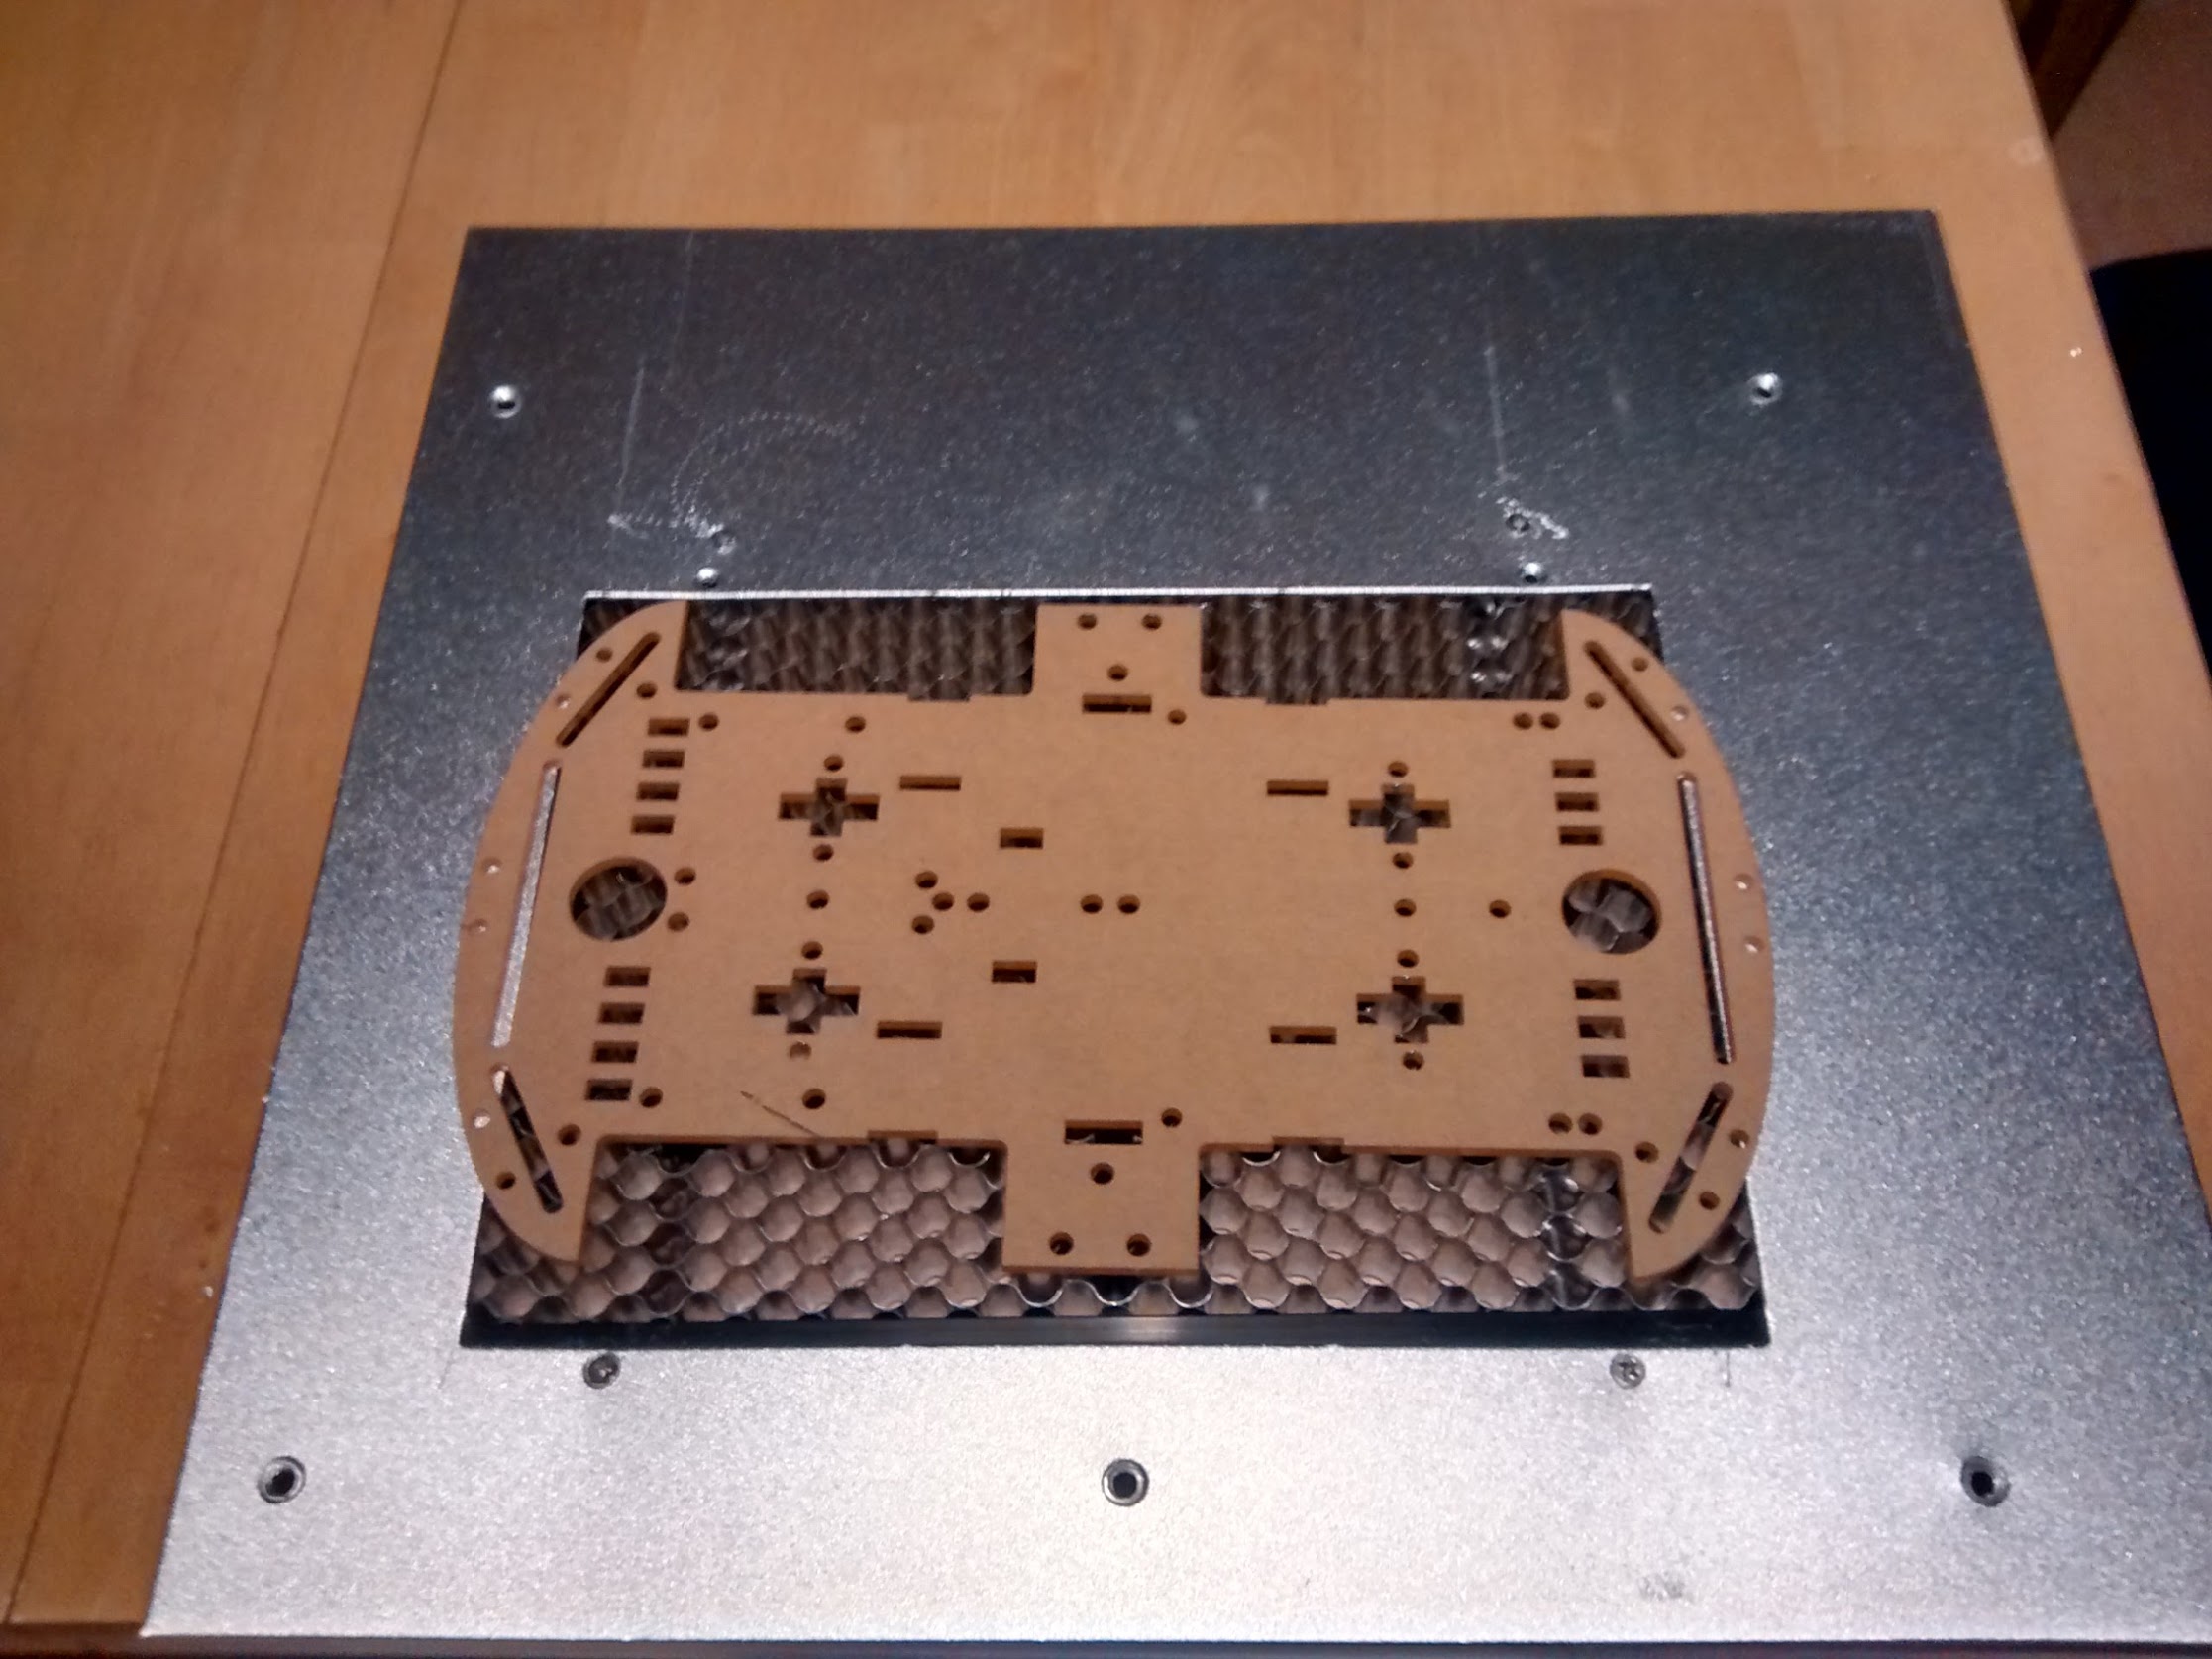
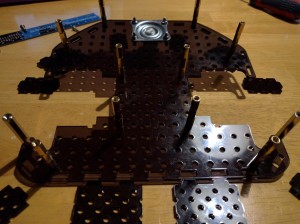
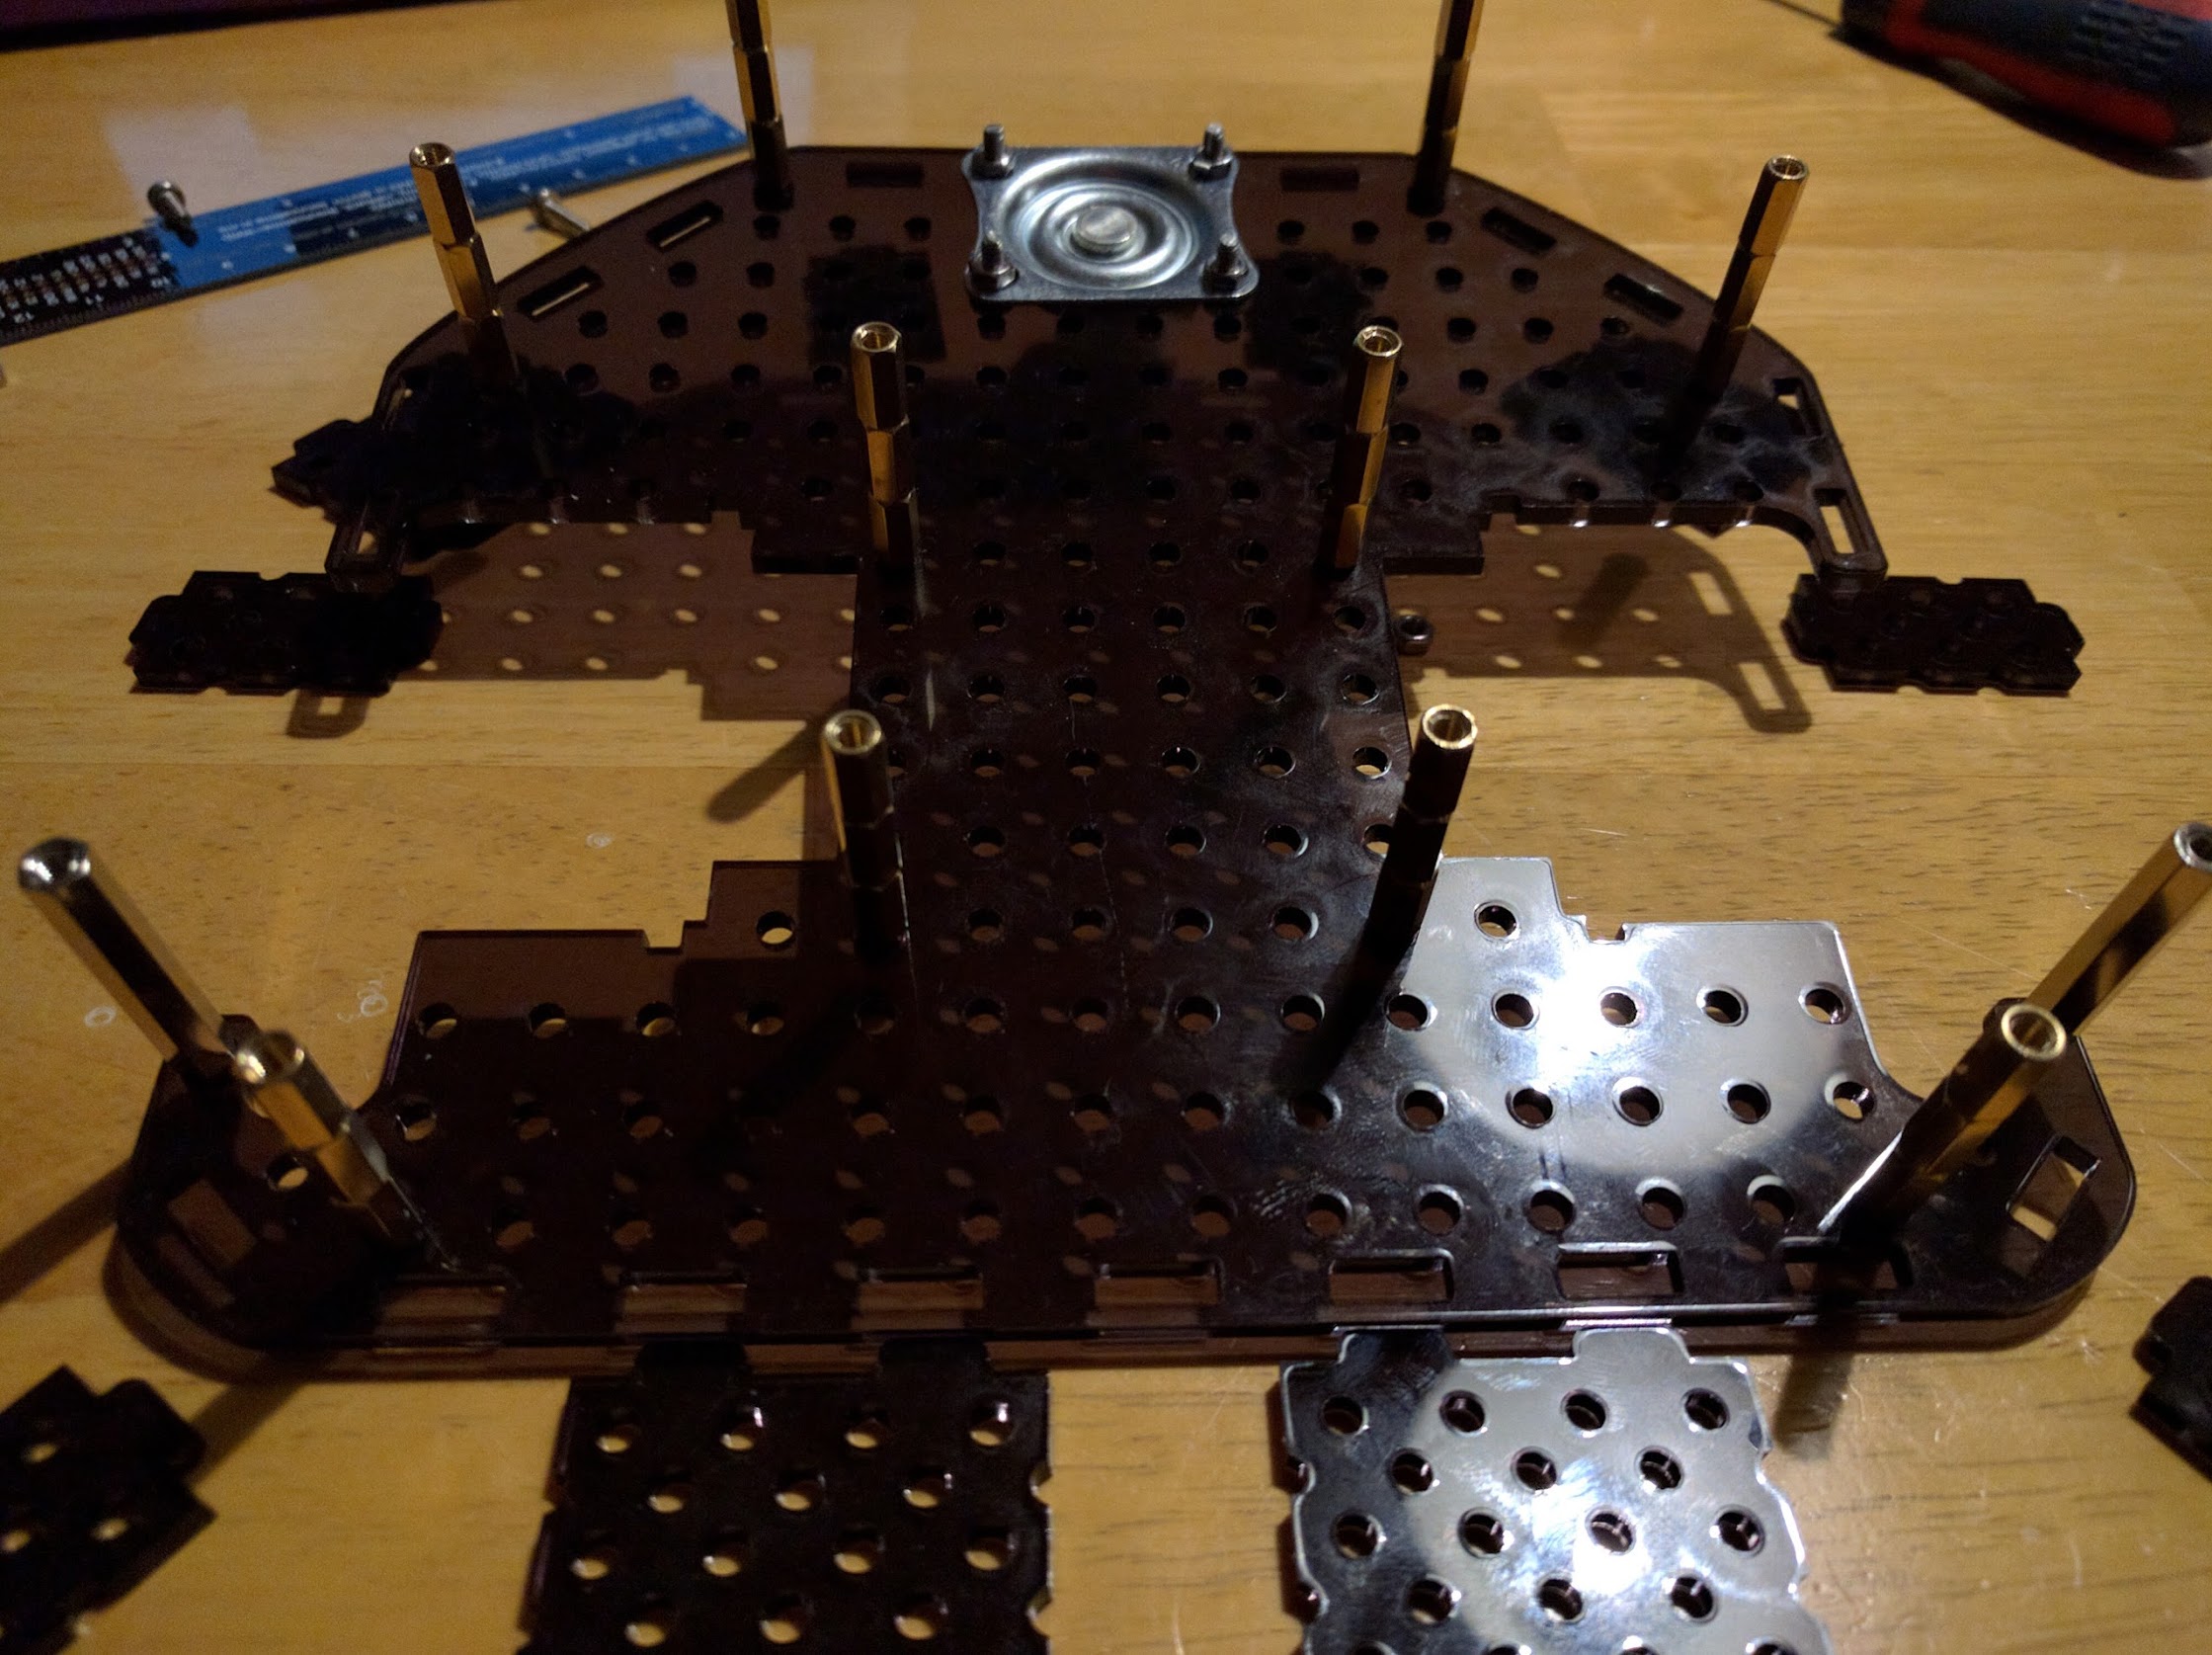
TractorBot 2014 base for comparison
So I wasn’t going to fit the new honeycomb bed tonight but I did and managed to re-use the original screws. I can still remove some of the surround but that will require some (heavy) metal work and I am not sure I have any tools up to the task.
I think this probably will be ok for starters and I also have enough honeycomb lattice to make a new table that is as big as the cutter’s maximum reach, as per this: http://www.thingiverse.com/thing:273050
Laser Cutter Adventure – Part 3
So the cutter is now sited in the garage and awaiting its chiller, I thought I would have a look at installing the software and getting up to speed. The K40 comes with either Moshi Draw or Laser Draw (a plug-in for Corel as well as a standalone app). After hearing bad things about Moshi Draw I specifically brought a cutter that said it came with Corel, knowing Andy (the man with the broken cutter, ed.) used it I thought this might be best.
The install of Corel and Laser Draw went fine on a Windows 8 laptop, although I did enable windows XP SP3 compatibility for both. Laser Draw has a hardware dongle which seems petty since you can’t really use it without the cutter.
Unlike Andy’s cutter the K40 is does not appear to Windows as a printer and needs the Laser Draw plug-in to generate engraving, marking or cutting tasks. This video from BJ’s Wood Working was very handy:
Laser Cutter Adventure – Part 4
Its Alive!

Dear Laser, where have you put the text. Ah, OK, thx, bye.
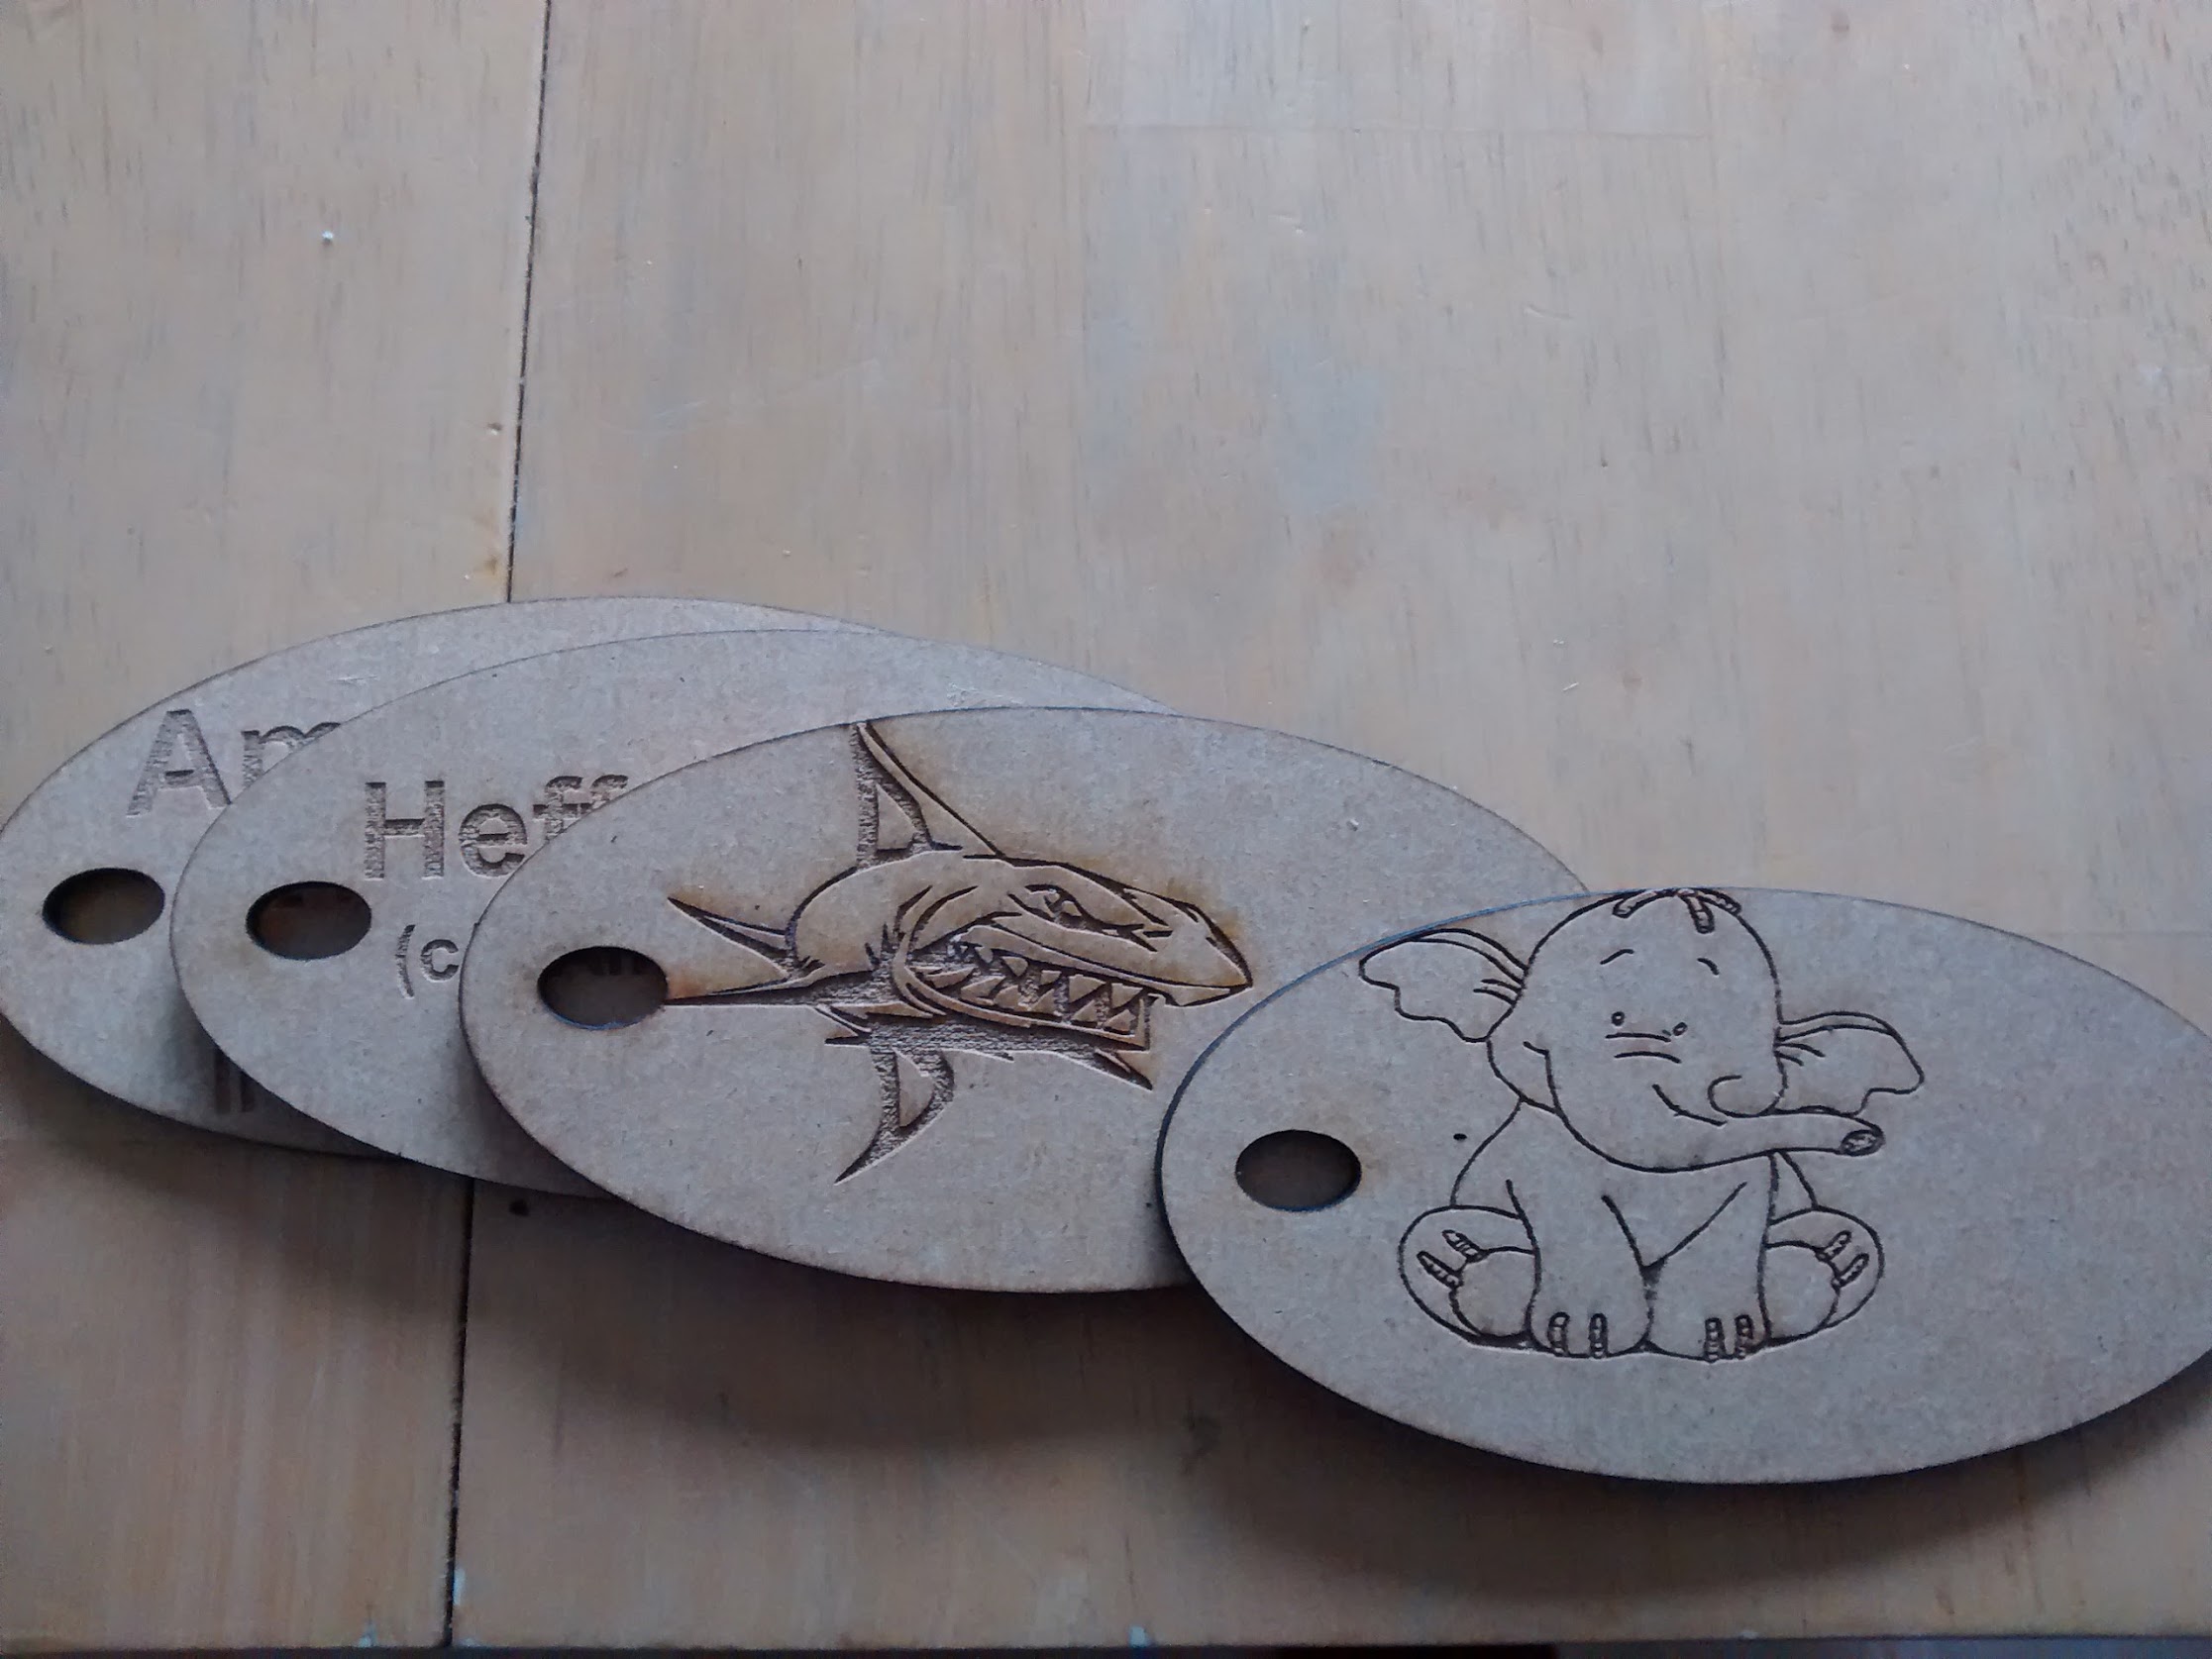
Some tweaking required! After a small amount of time playing with the cutter making name tags for Amy (Phil’s daugher and our team’s PiWars mascot, ed.) and Heffalump, I have discovered that the origin for cutting and engraving are different so some more work required to sort out what’s going on.
Also the original TractorBot design PDF’s don’t load into Corel. However, DXF files do so we should stick with DXF for the moment.
Laser Cutter Adventure – Part 5
Luggage Tag examples showing offset between cutter and engraving, these were printed after my first attempt at compensation!
Laser Cutter Adventure – Part 6
This image shows the 3D printed drag chain and red dot holder for the cutter. Just waiting for some hook up wire. Andy brought round a very nice compressor for my air assist, so the drag chain will hold both air line and the power for the red dot laser diode.

Ed: there was a stir in the Force when we all saw this. The 3D printer was making components for the laser cutter. It felt like some kind of line had been crossed and we were suddenly in a whole new landscape of possibility. I won’t lie, there was an actual few seconds of silent awe in the makerspace.
Laser Cutter Adventure – Part 7
This morning I have been trying out different materials, power and speeds. I can cut the perspex at 5mm/s and 75% power and the engraving works quite well. Although the negative image of the snow leopard has some random blotches on it which I am not sure where they came from. Heffalump was engraved at 10, 20 and 30% power at 360mm/s ( the last on hardboard and perspex ).
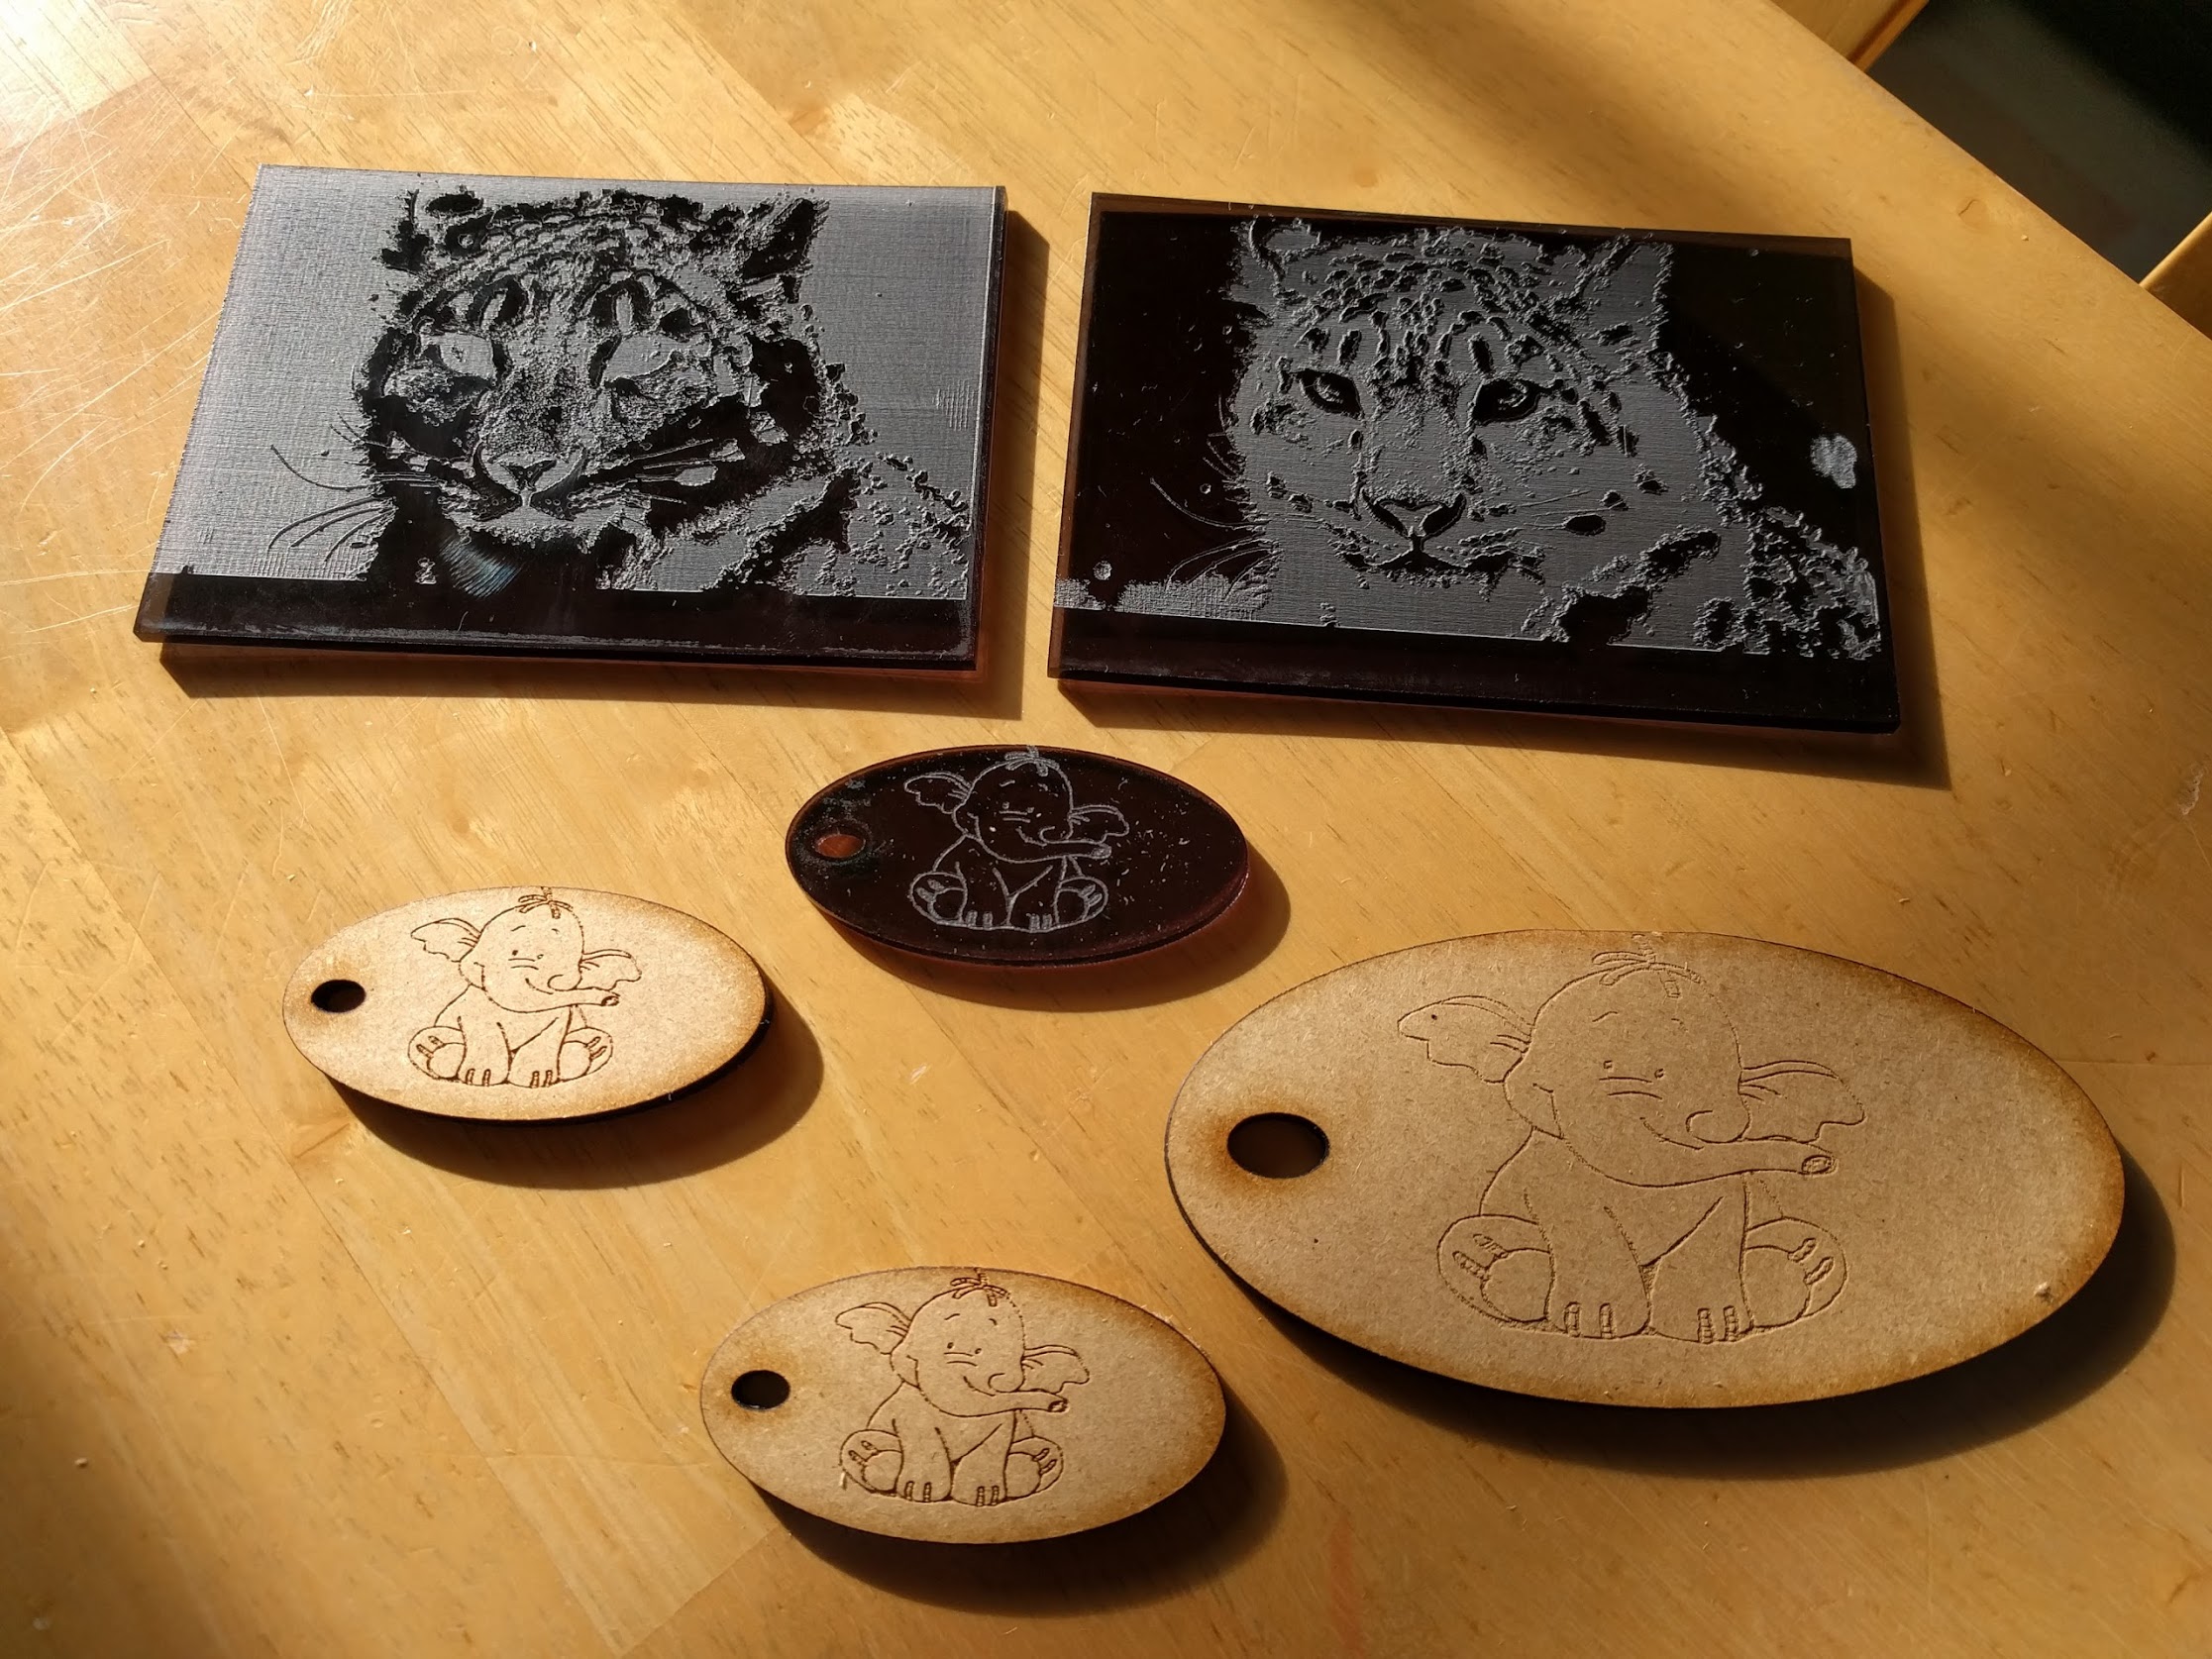
Gift tags anyone?
The perspex cuts easier than ply 5mm/s and about 75% power. The air assist works really well on the hardboard not a flame to be seen!! Perspex engraves without any visible burn. The cut is ok as long as you remove the top protective layer but leave the bottom one on.
Laser Cutter Adventure – Part 8
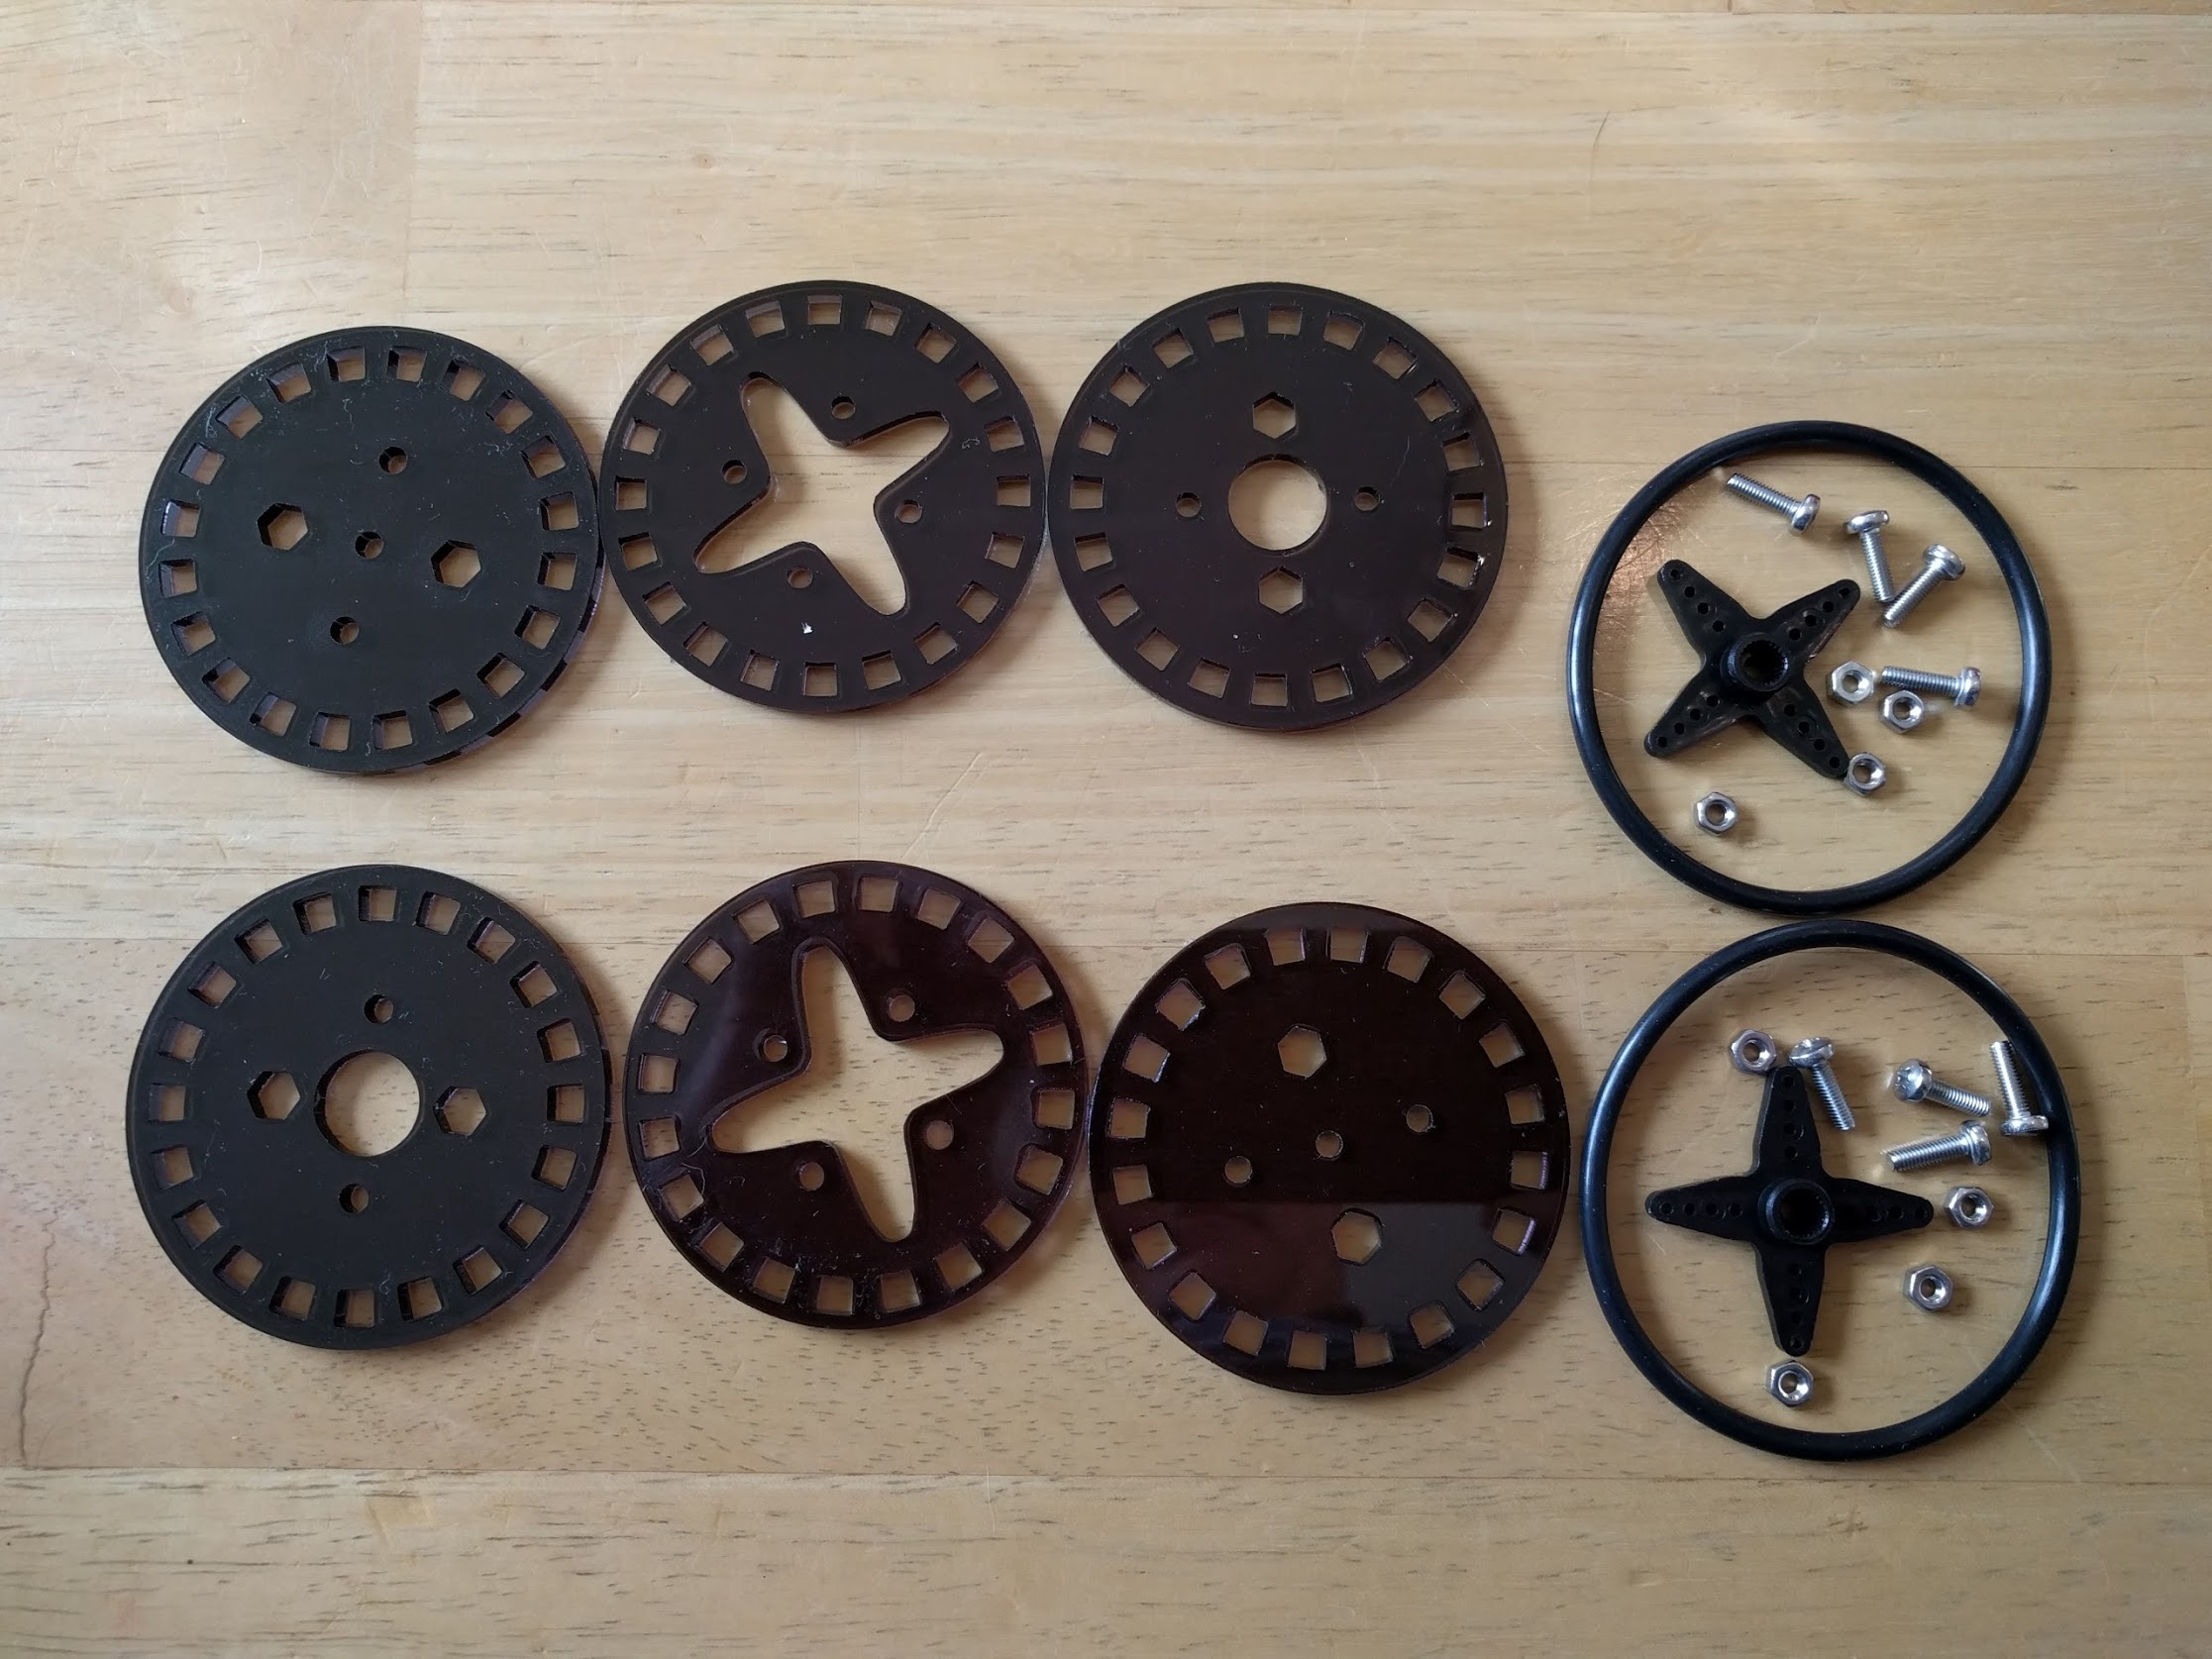
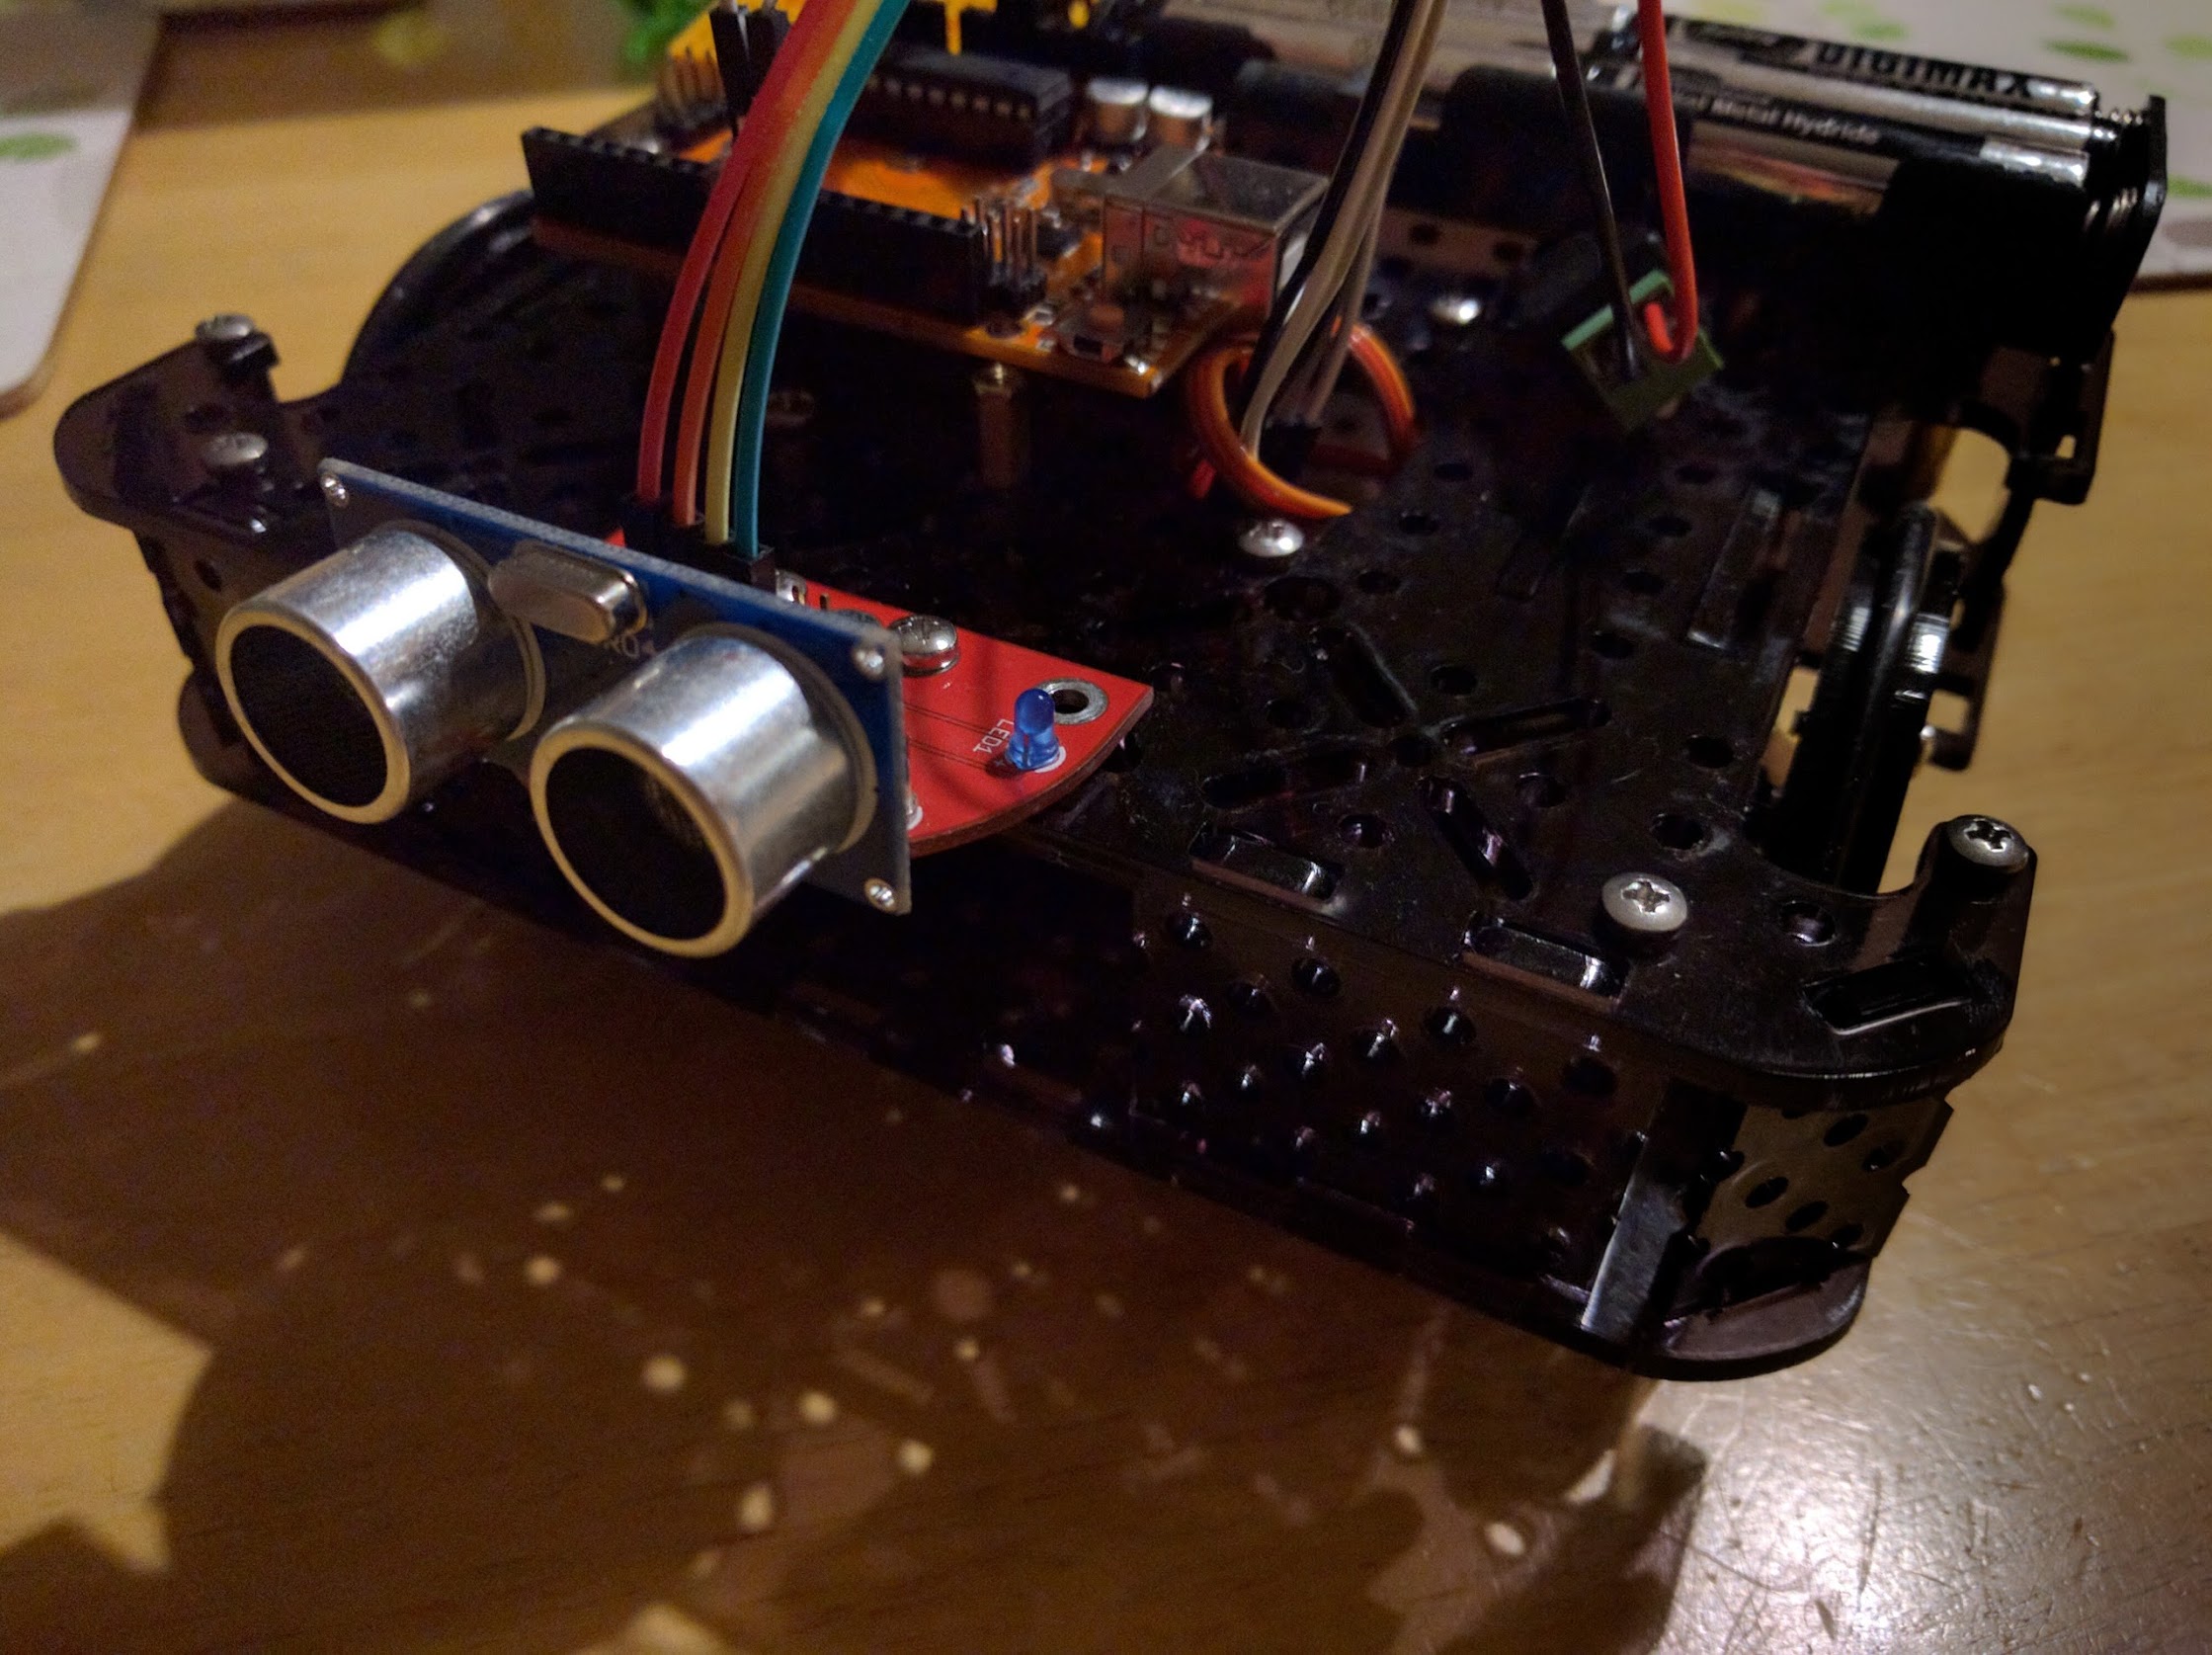
In this last set of images the body parts for a BaseBot have been cut out of all black acrylic. Amy instantly dubbed it Kiwi. It’s very impressive how fast a project like this can go from a download to a physical object wandering round the kitchen avoiding bumping into wall, cupboards etc. As a simple bot it’s been invaluable as a test bed for different facets of TractorBot anatomy and physiology. This one has a temporary Arduino clone in it while the Pi is in another TractorBot prototype. Thanks to the team at BaseBot and we’re all looking forward to seeing them at PiWars.
.

Final Word
Final Word
Ed: So there you have it, from disaster to triumph in one small blog. I’m sure we can cut a deal on the film rights if you’re interested. It has been a remarkable journey though, and Phil has been very dedicated and creative fettling his new machine. The 3D printed parts seem like an essential upgrade and the combo of laser and printer has allowed the team (Keith, Phil and Jon) to produce a very professional looking bot in my (Steve’s) opinion.
If you’re thinking of acquiring one of these machines then please be careful. Lasers are dangerous in a life-changing way and we’re suspicious of the value of the coloured plastic insert in this laser’s lid. It may, or may not, offer any protection from the scattered laser beam, and scattered laser light will damage your eyesight very effectively.