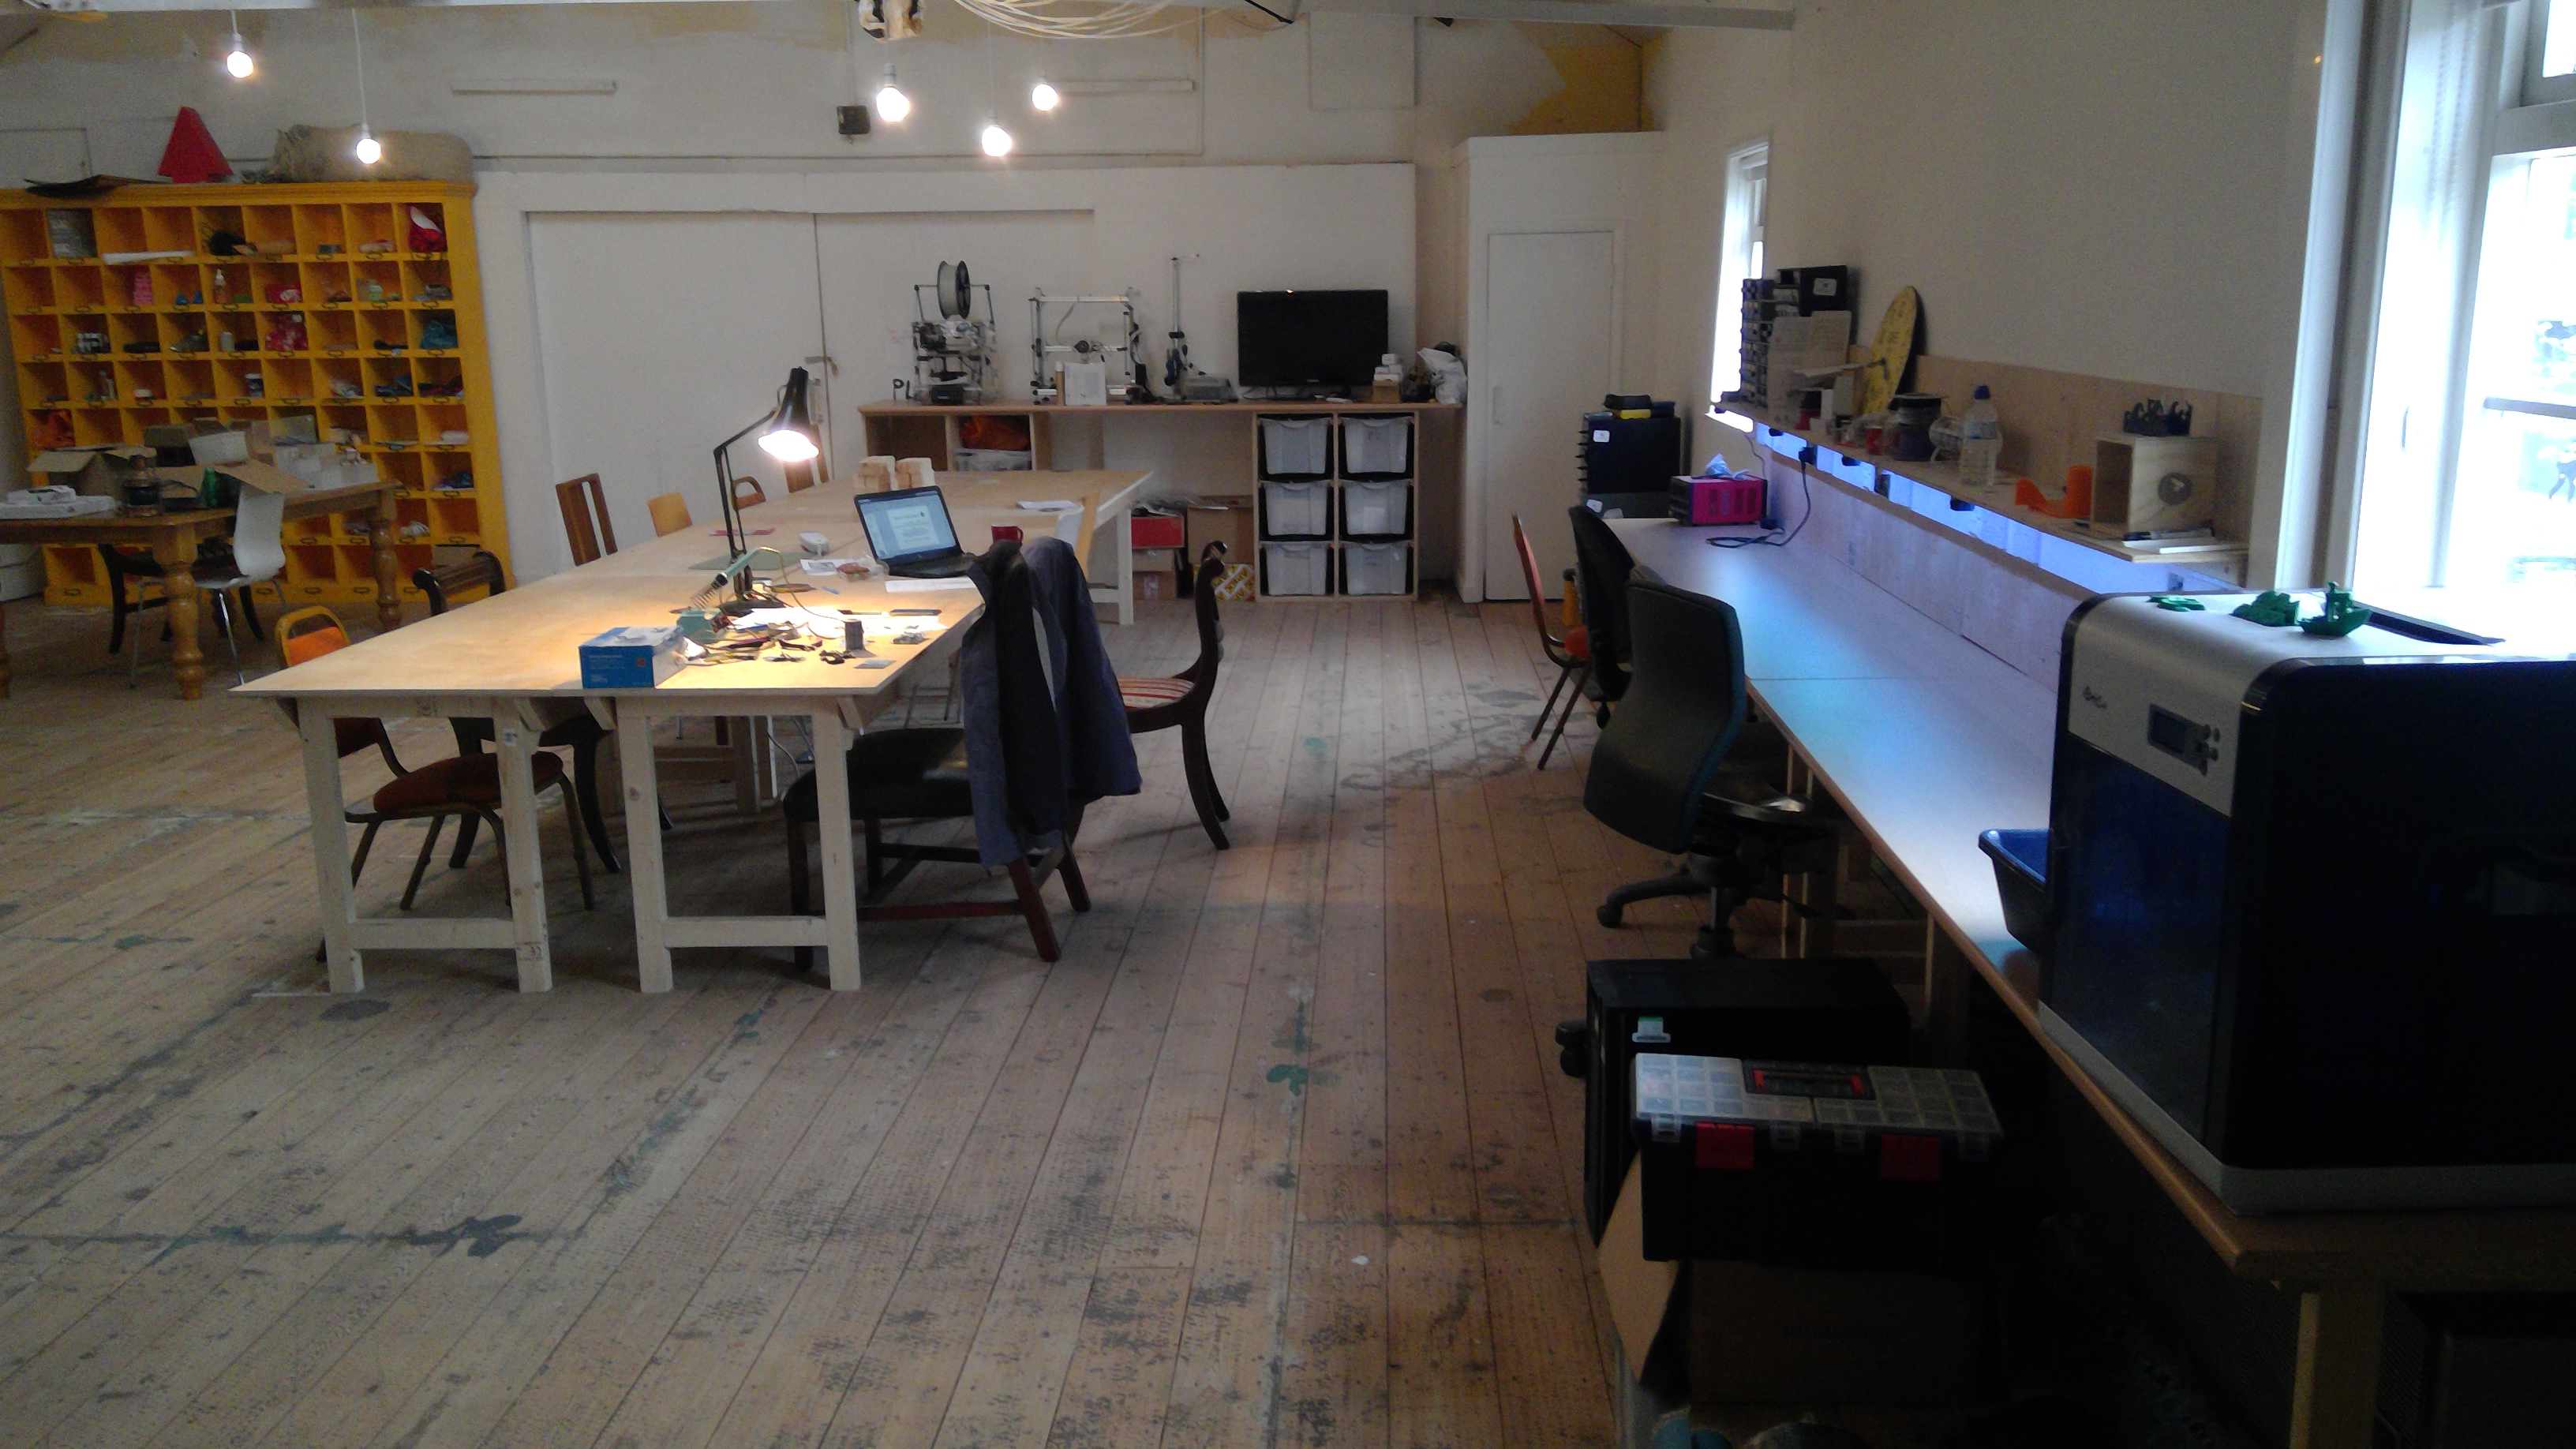
Today we’re going to have some background on one of our team members, and get hints and tips about prototyping using a laser cutting service.
Introducing Phil Willis, team member

Jedi mind trick?
Phil started getting interested in computers at age 7, when his Dad took him to work at Essex County hospital where the Pathology department had a PDP 11 running BASIC. It ran several games including lunar lander and golf…….. all on paper via state of the art Teletype 33.
Later at secondary school, he started programming in BASIC and Forth, using a shared acoustic coupler terminal connected to a huge black and white TV and the county main frame. This experience was only for the chosen few and amounted to only a few minutes of computer time a week.
By now hooked, a series of computers came into his life, Acorn System 1, ZX80, ZX81, Spectrum and QL as well as those at Hatfield Poly where he got a degree in Electronics and Computing, learning PASCAL, C m16e, z80 and 6502 assembler.
After Poly came work at a local computer supplier writing printer drivers for a word processor running on the Commodore PET. Then on to building clone PC’s and writing some of the first PoS(Point of Sale)/PoI(Point of Information) systems using Amiga 2000’s.
In the early 90’s Phil started working for QTMS, a company specialising in monitoring printing presses and other ancillary equipment and somehow is still doing it after two buy-outs and going from a company of 6, to one of 3000.
Currently, Phil leads a team of 4 programmers spread throughout the UK and the USA.
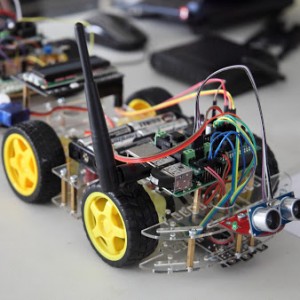
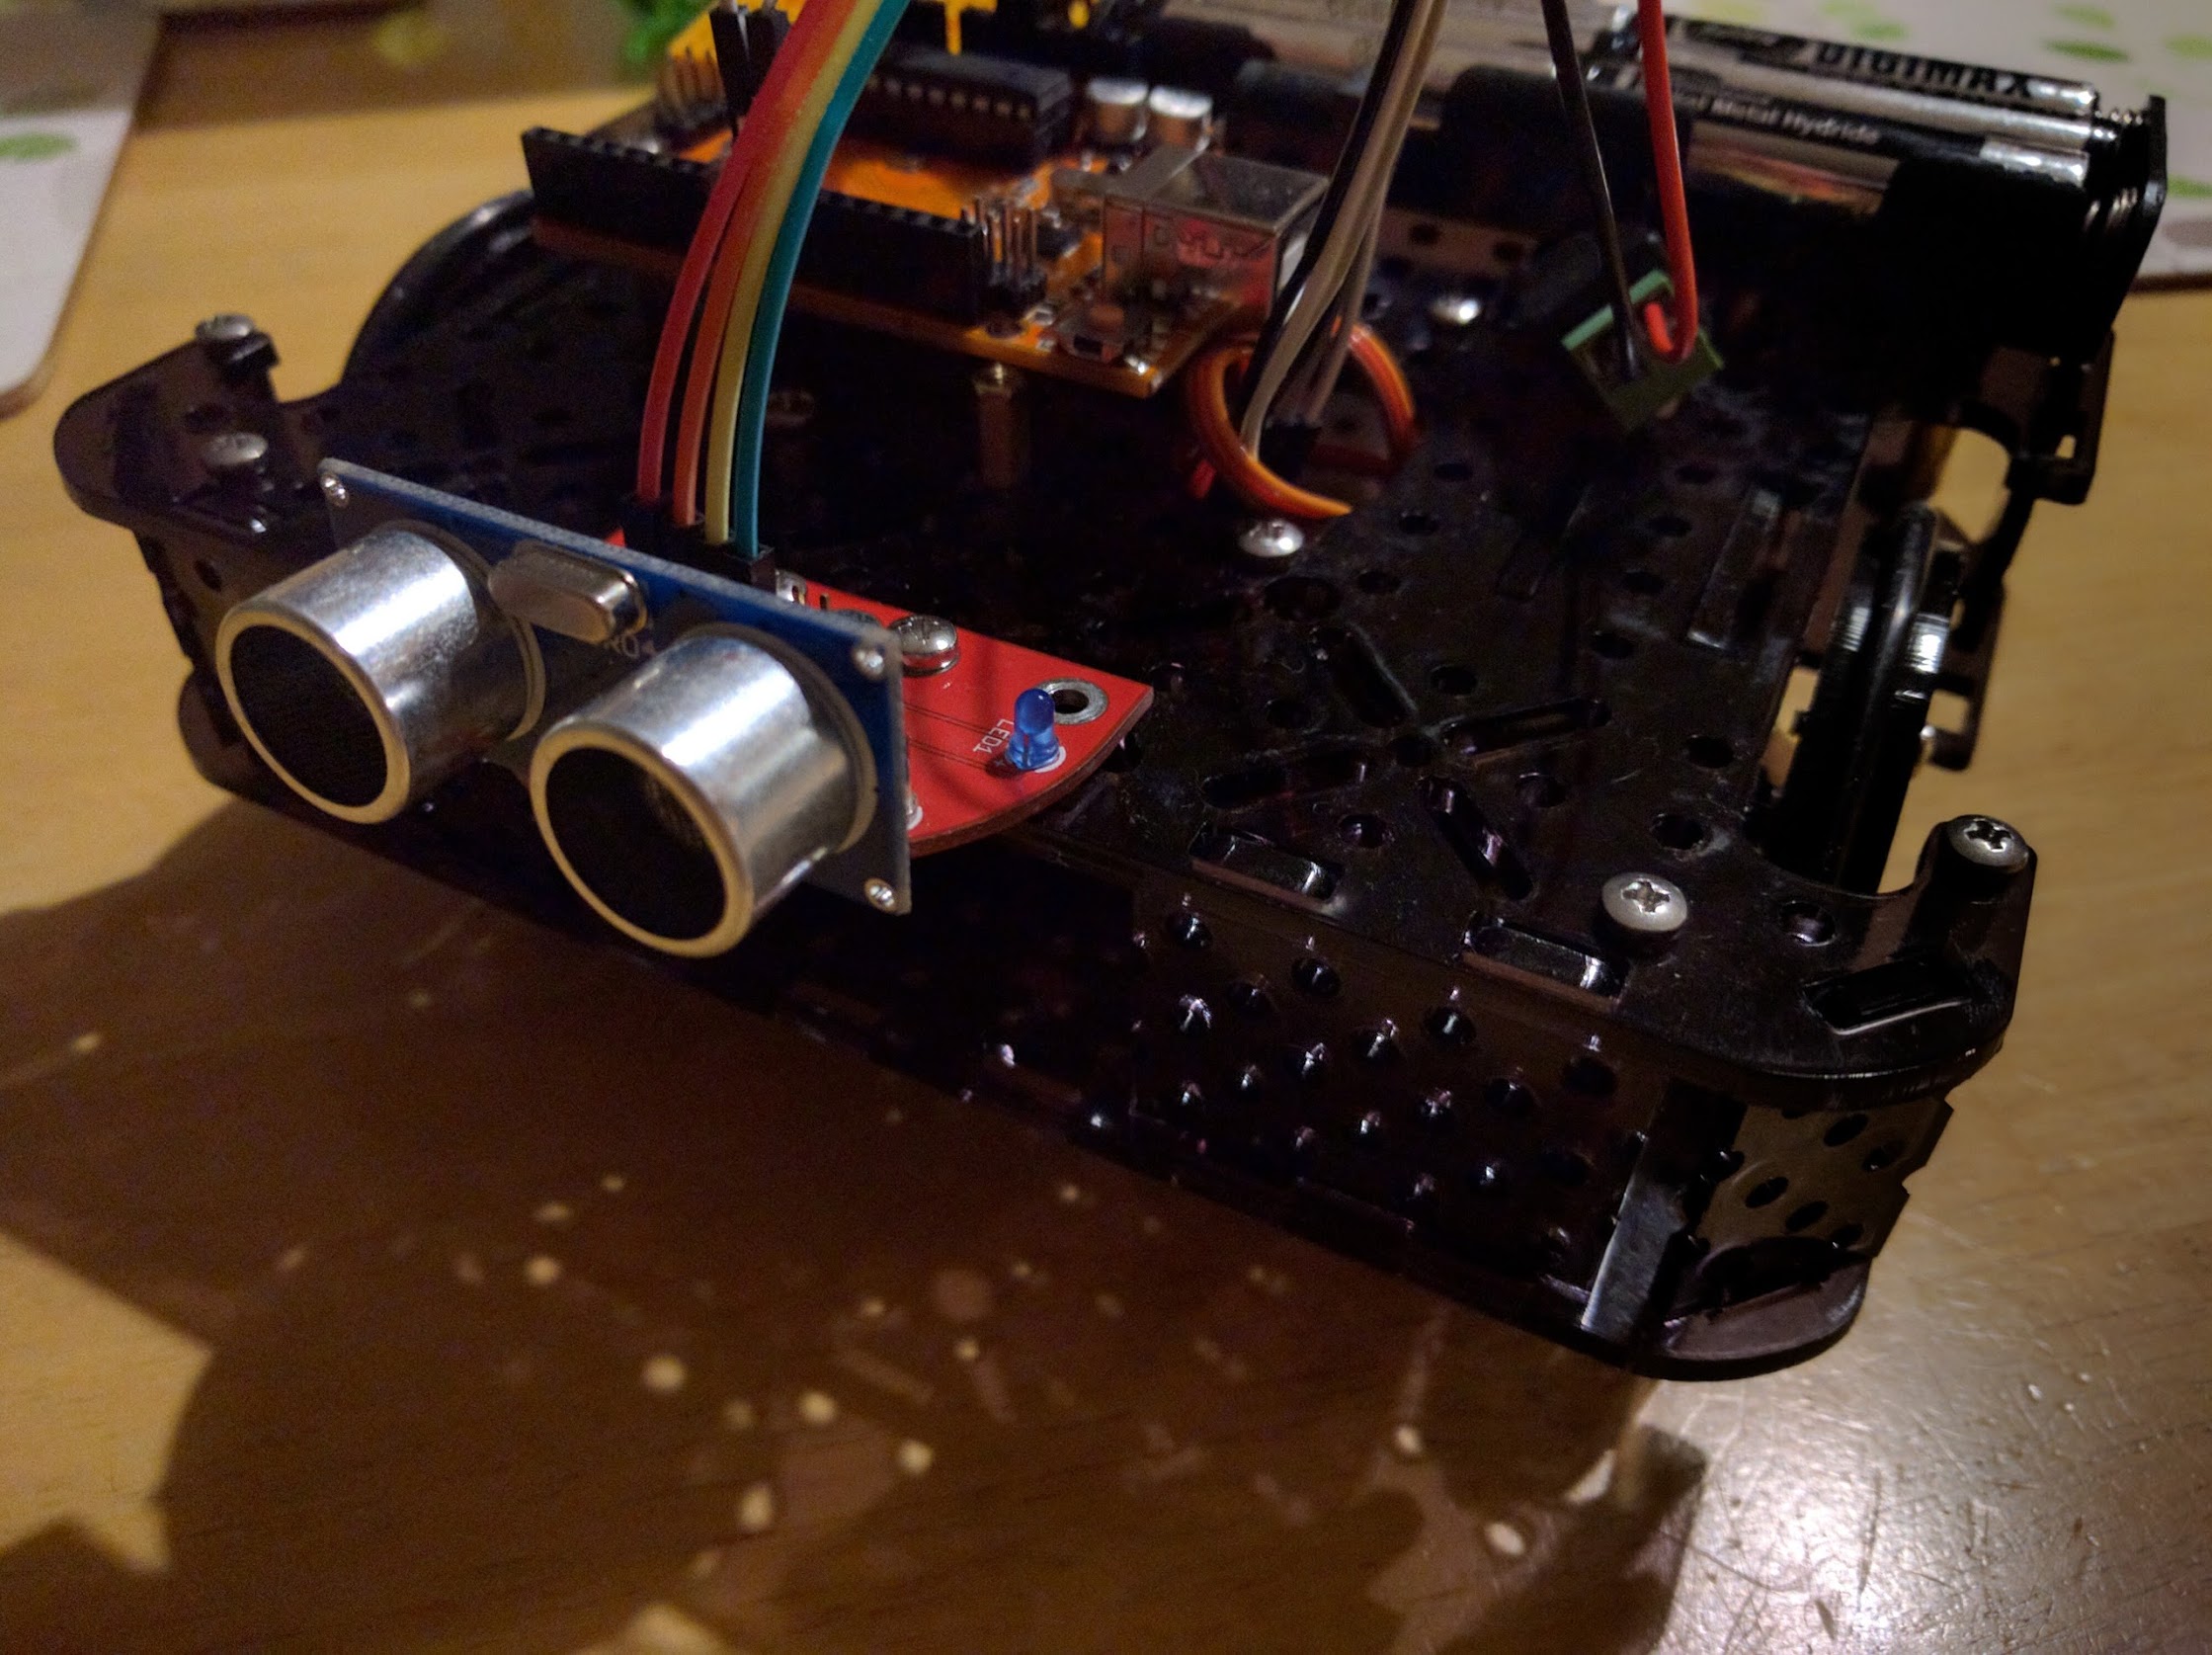
TractorBot II’s first public outing at CamJam
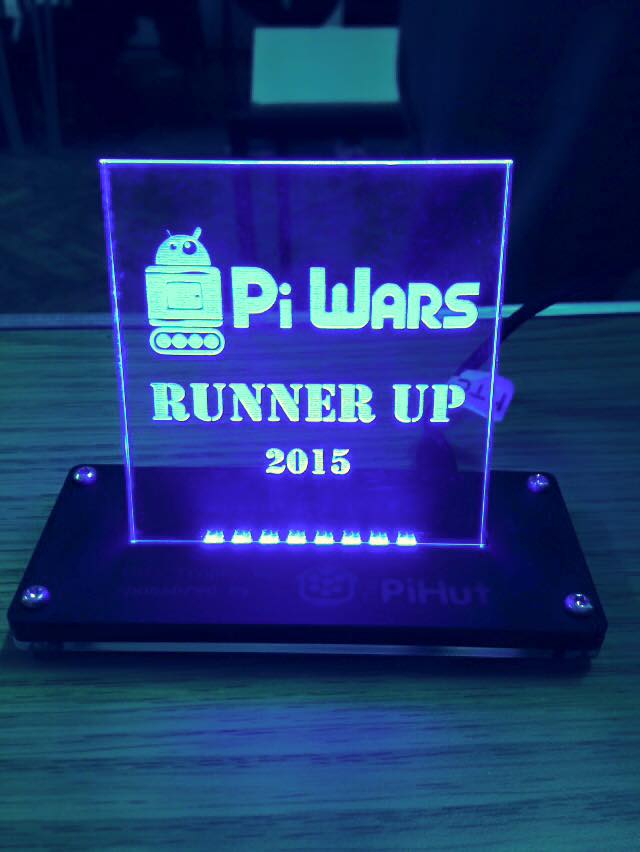
At home, he enjoys cooking, swimming and building robots with his children. Phil lives in Suffolk, with his youngest daughter “Miss Steady Cam” (Cheerleader for the TractorBot team). With Keith, Phil designed and built the makerspace’s 2014 PiWars entry.
Recently Phil sneaked a Tractorbot II out of its high security vault and showed it off at the CamJam.
Lessons Learnt when Laser Cutting
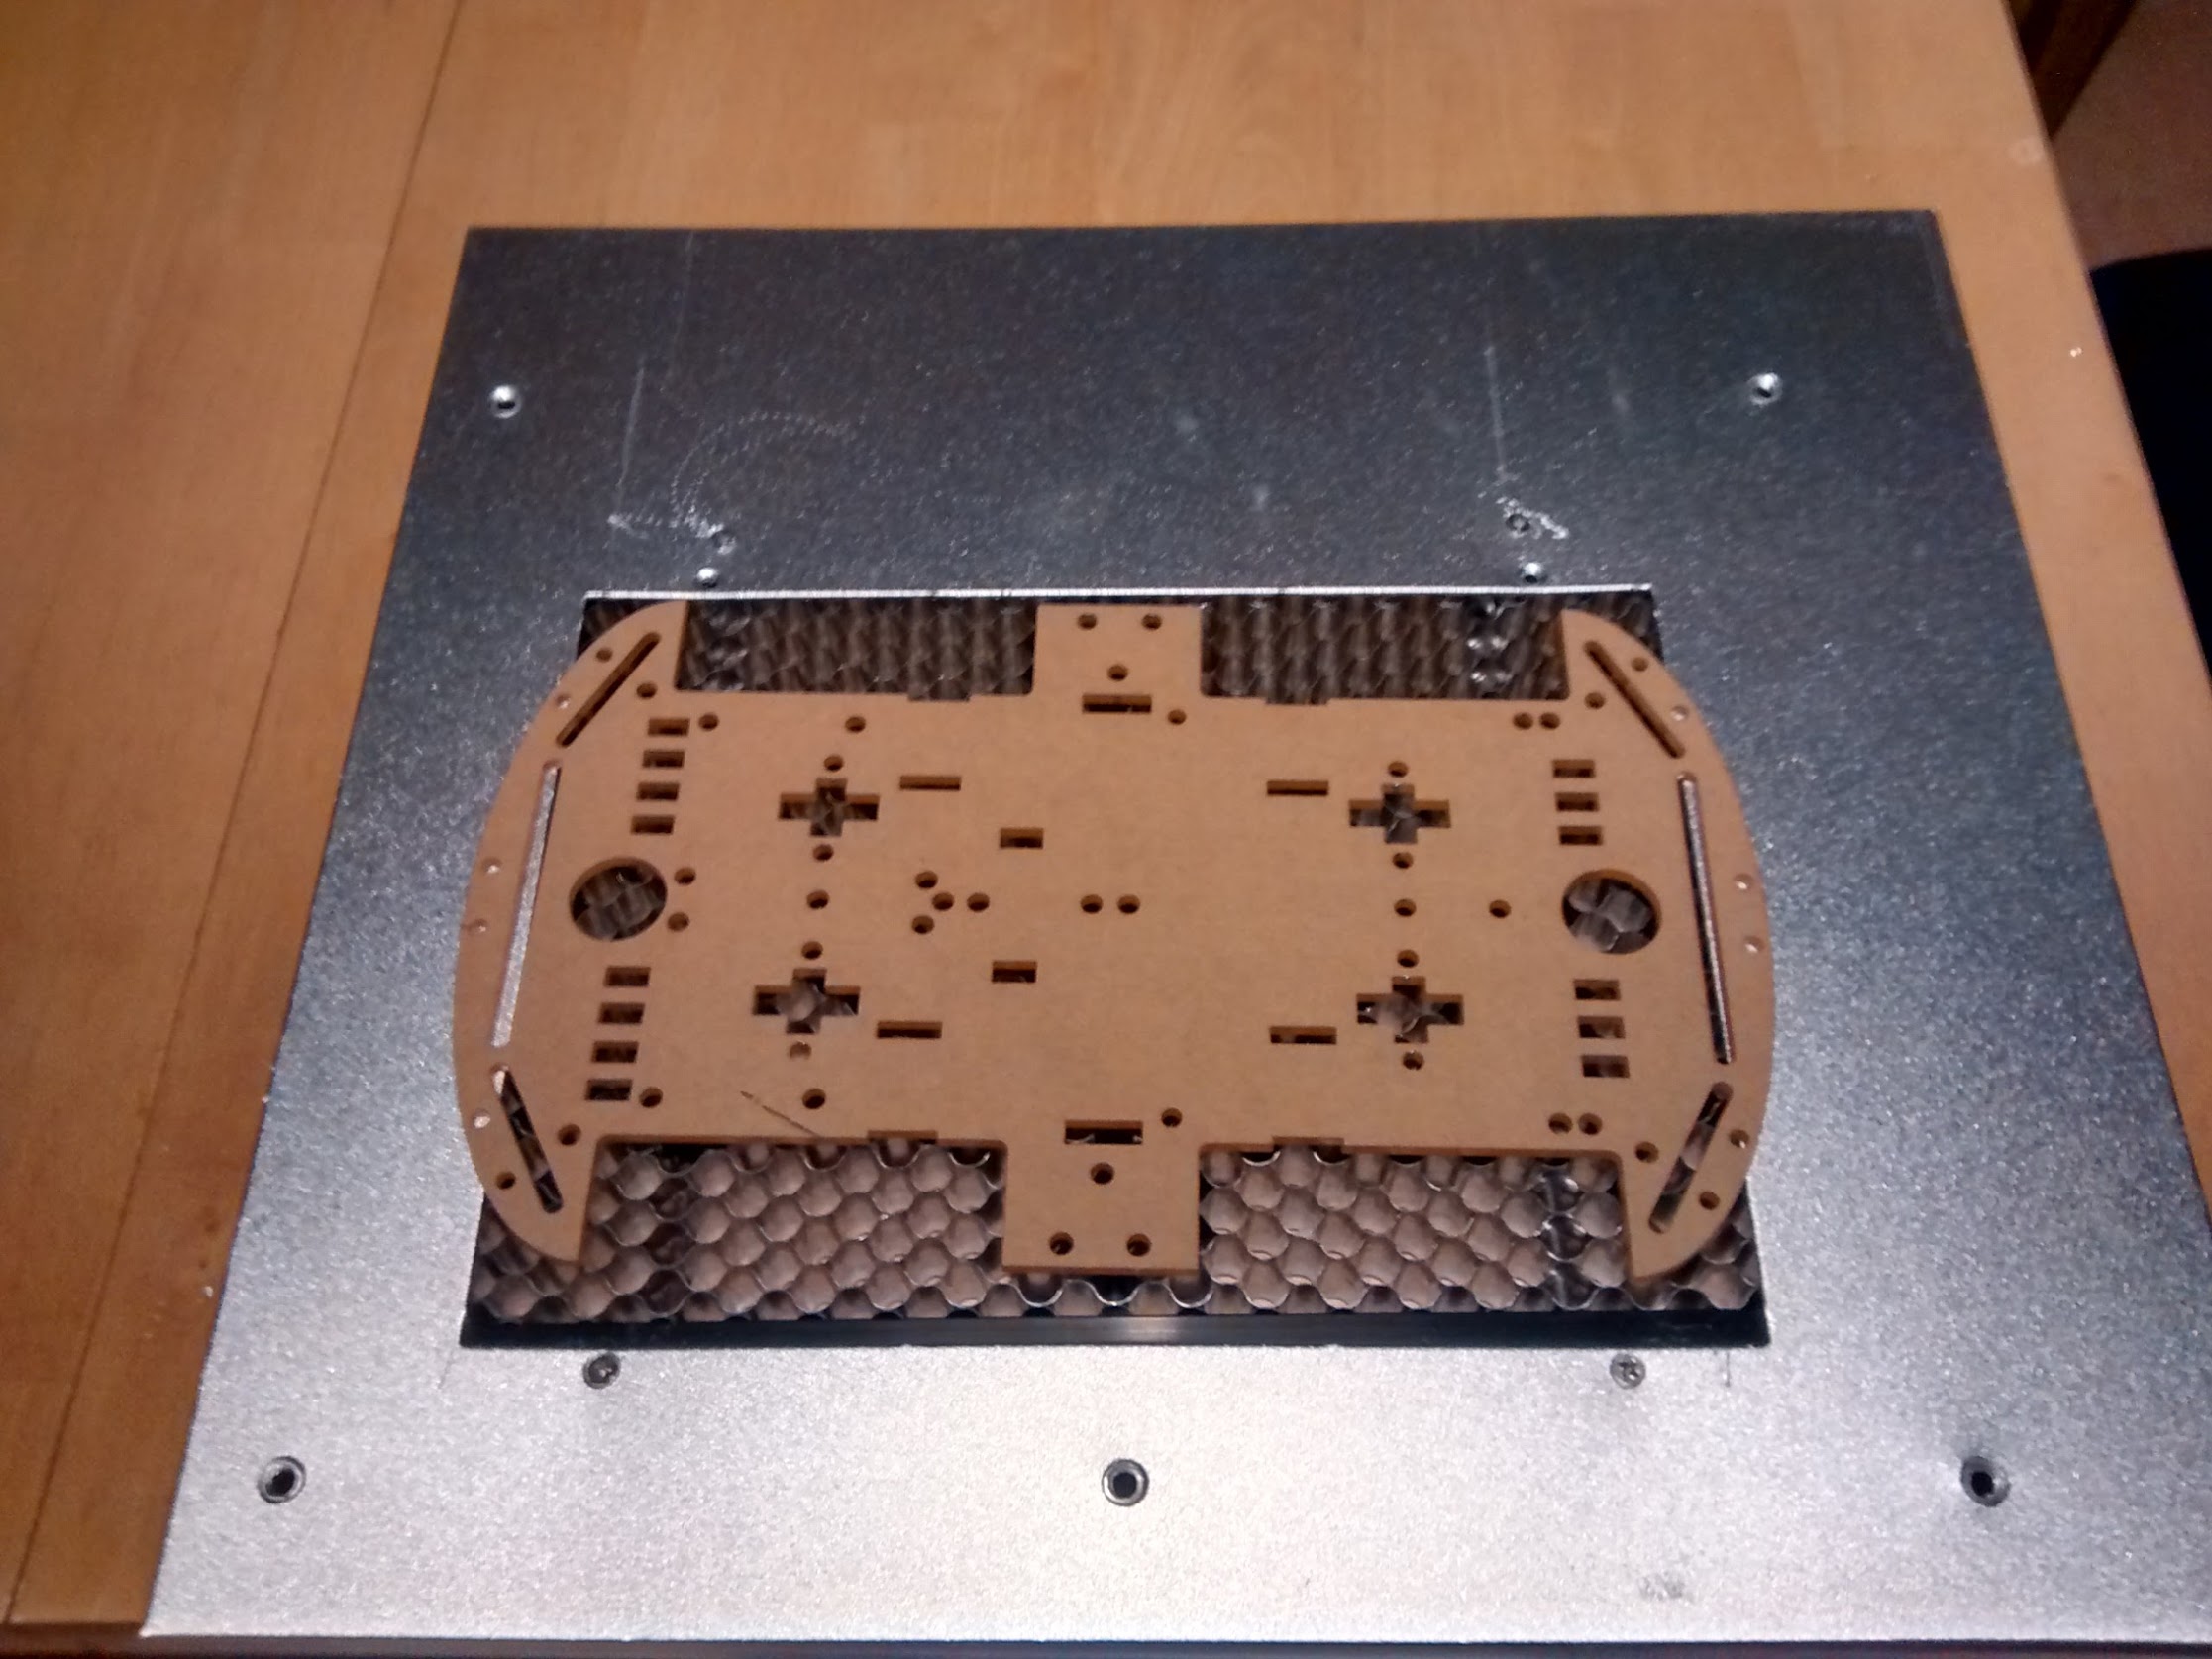
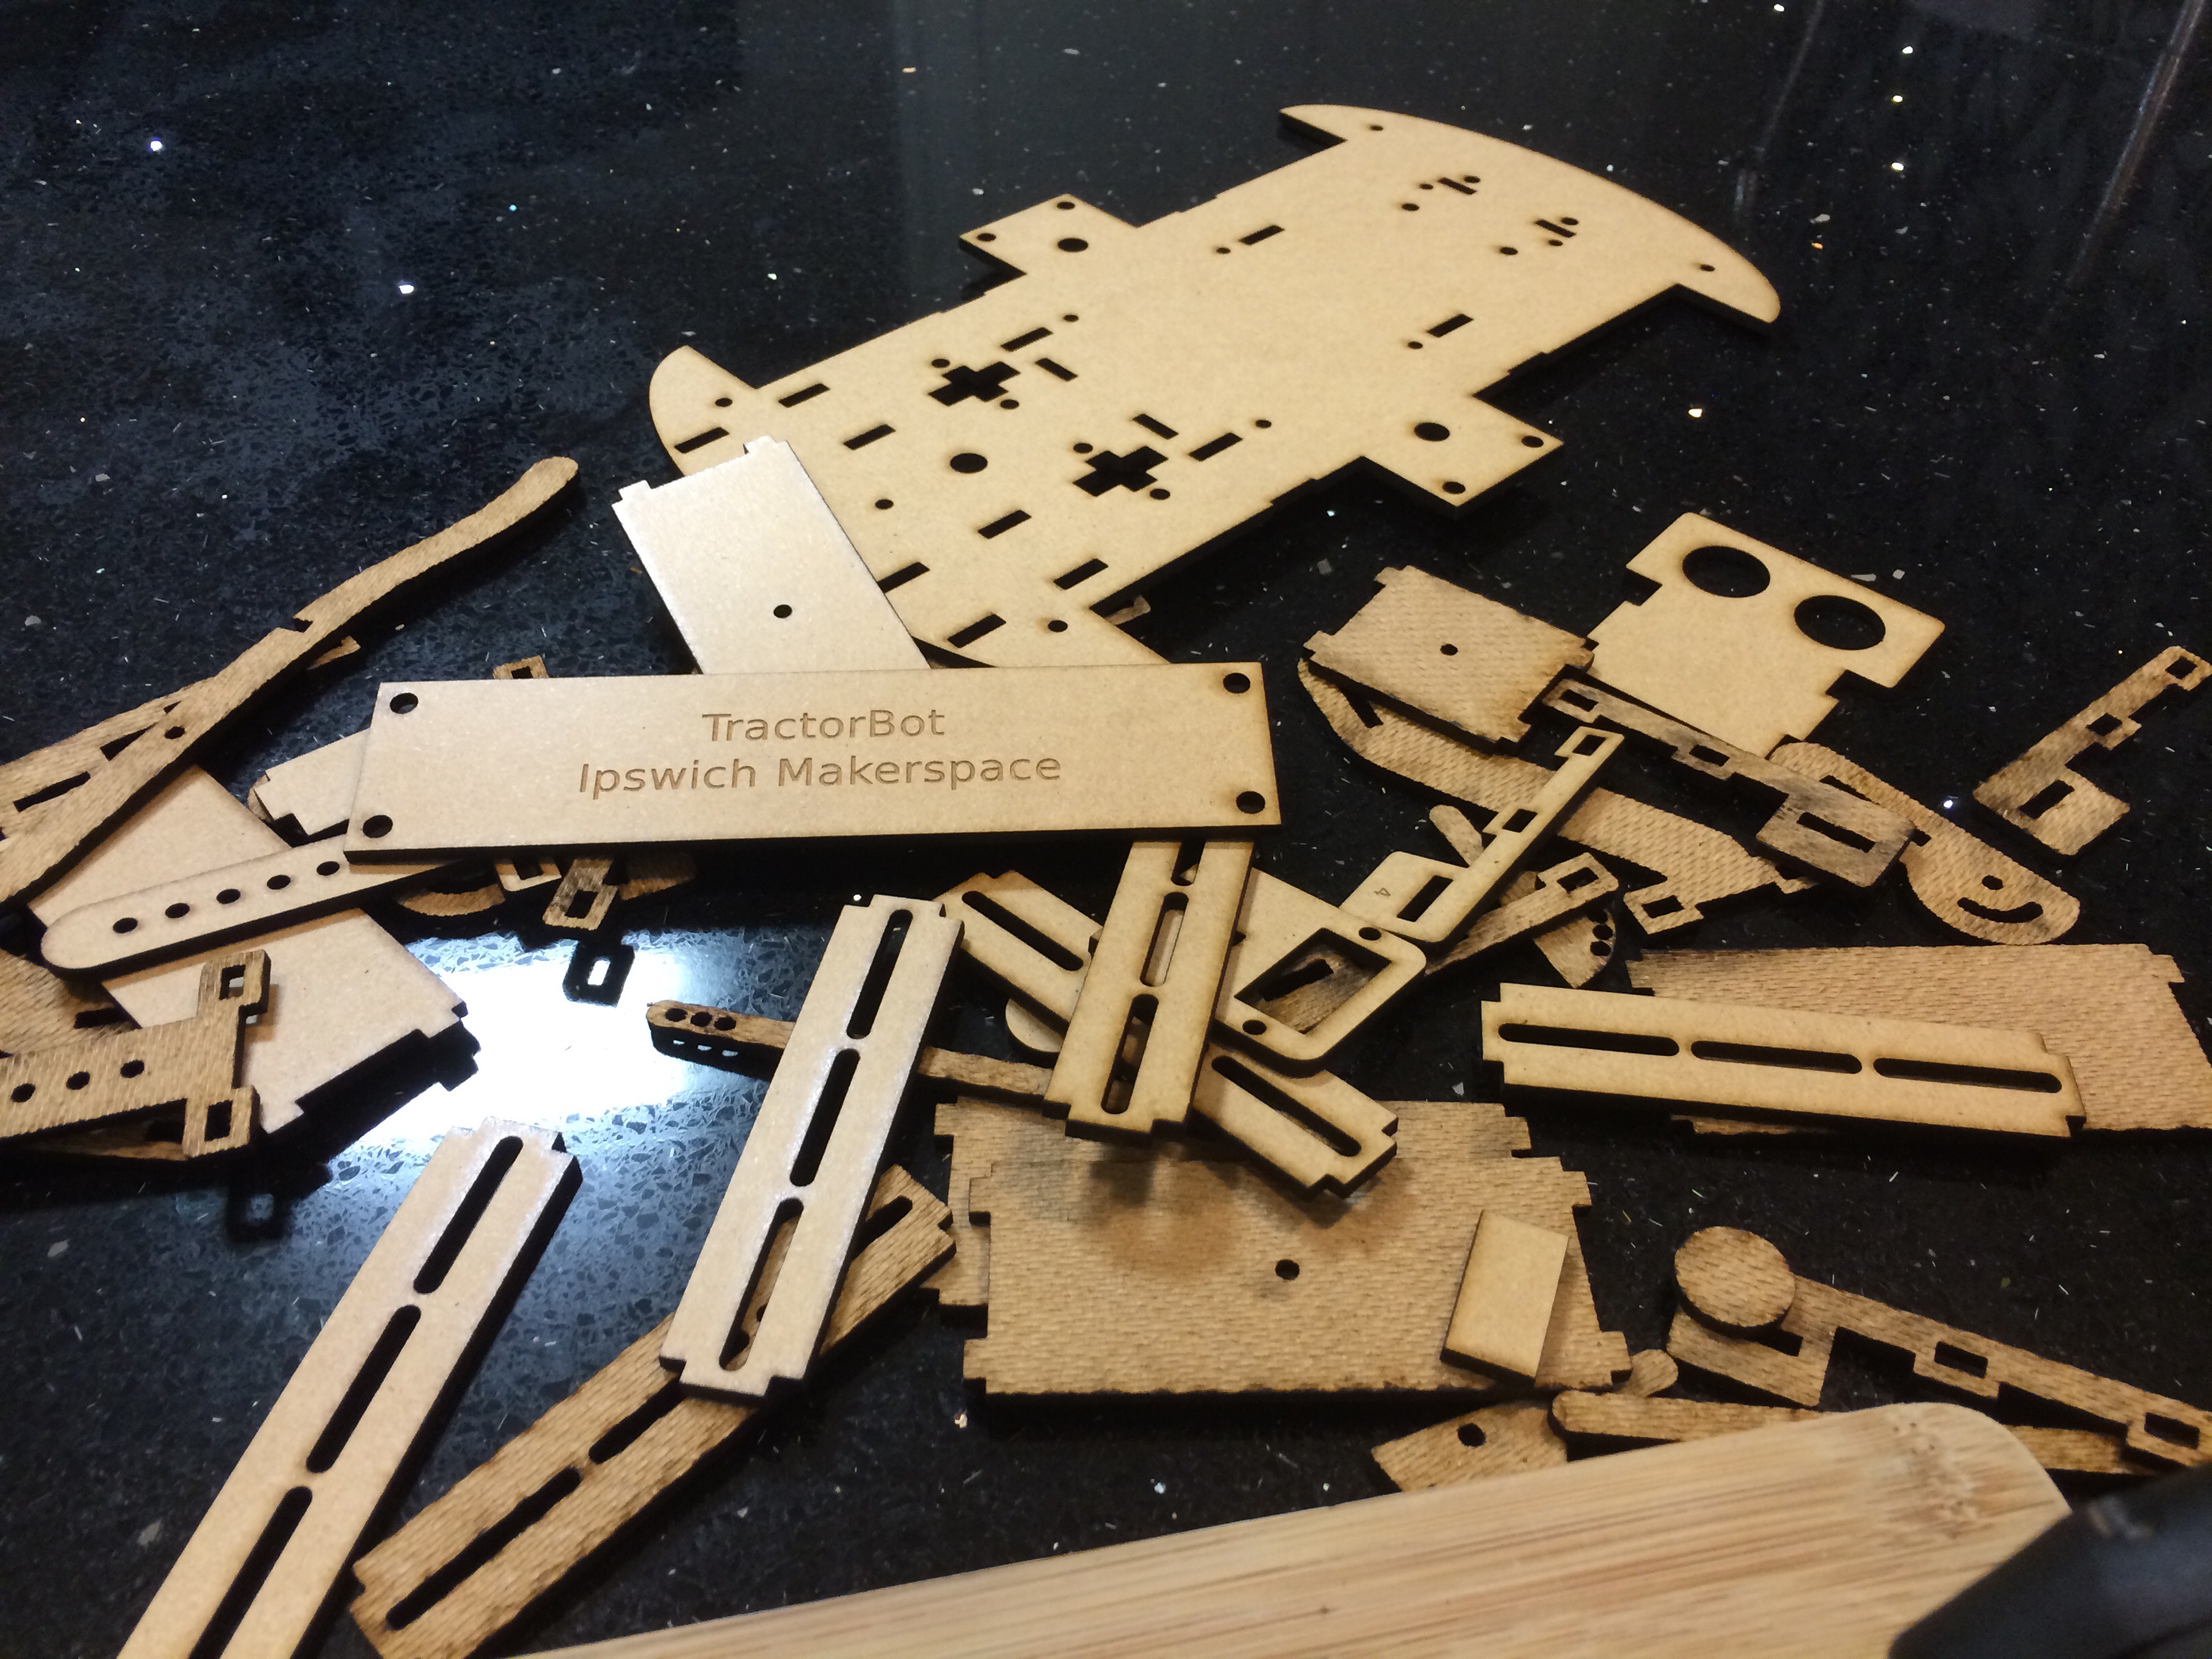
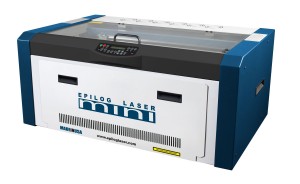 During the 2014 PiWars build, Keith used a local firm, Cedarcroft Productions, to do the laser cutting for TractorBot. The setup run by Andy includes a Epilog Mini 40watt laser cutter with a 457 x 305mm working area (A3 is 420 x 297mm). He interfaces with it through his CorelDRAWX5 software and prefers PDF files.
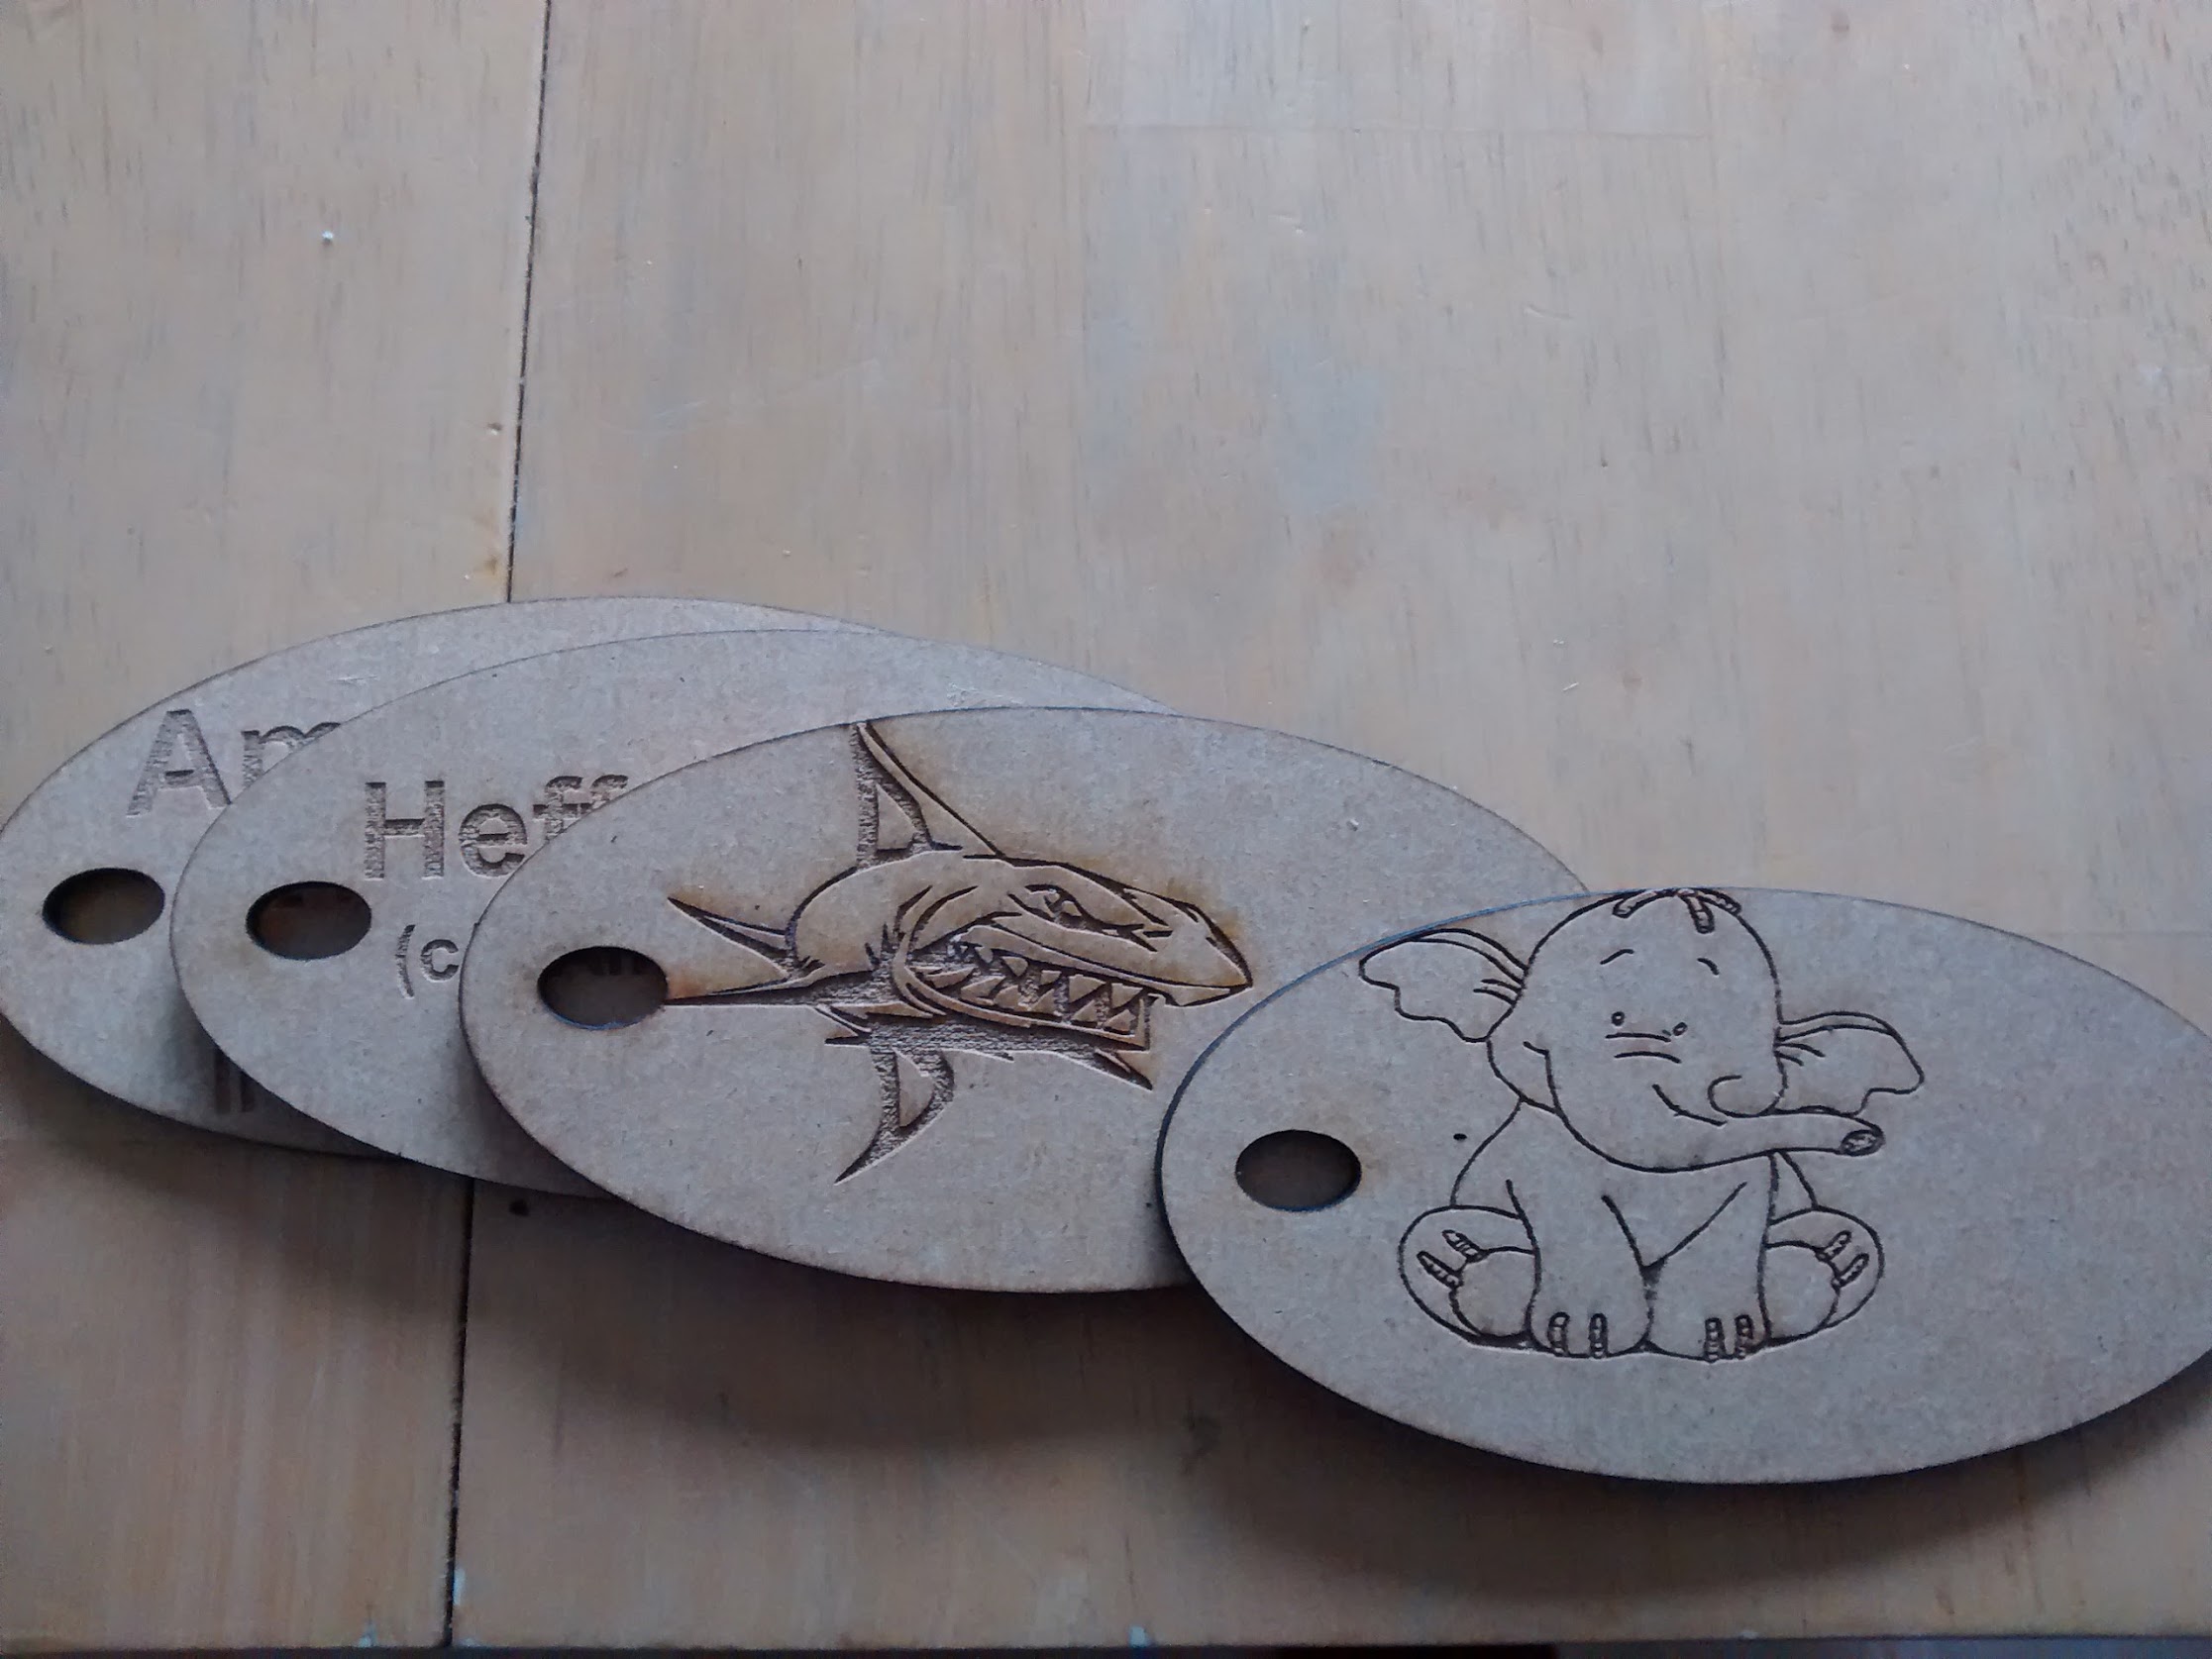
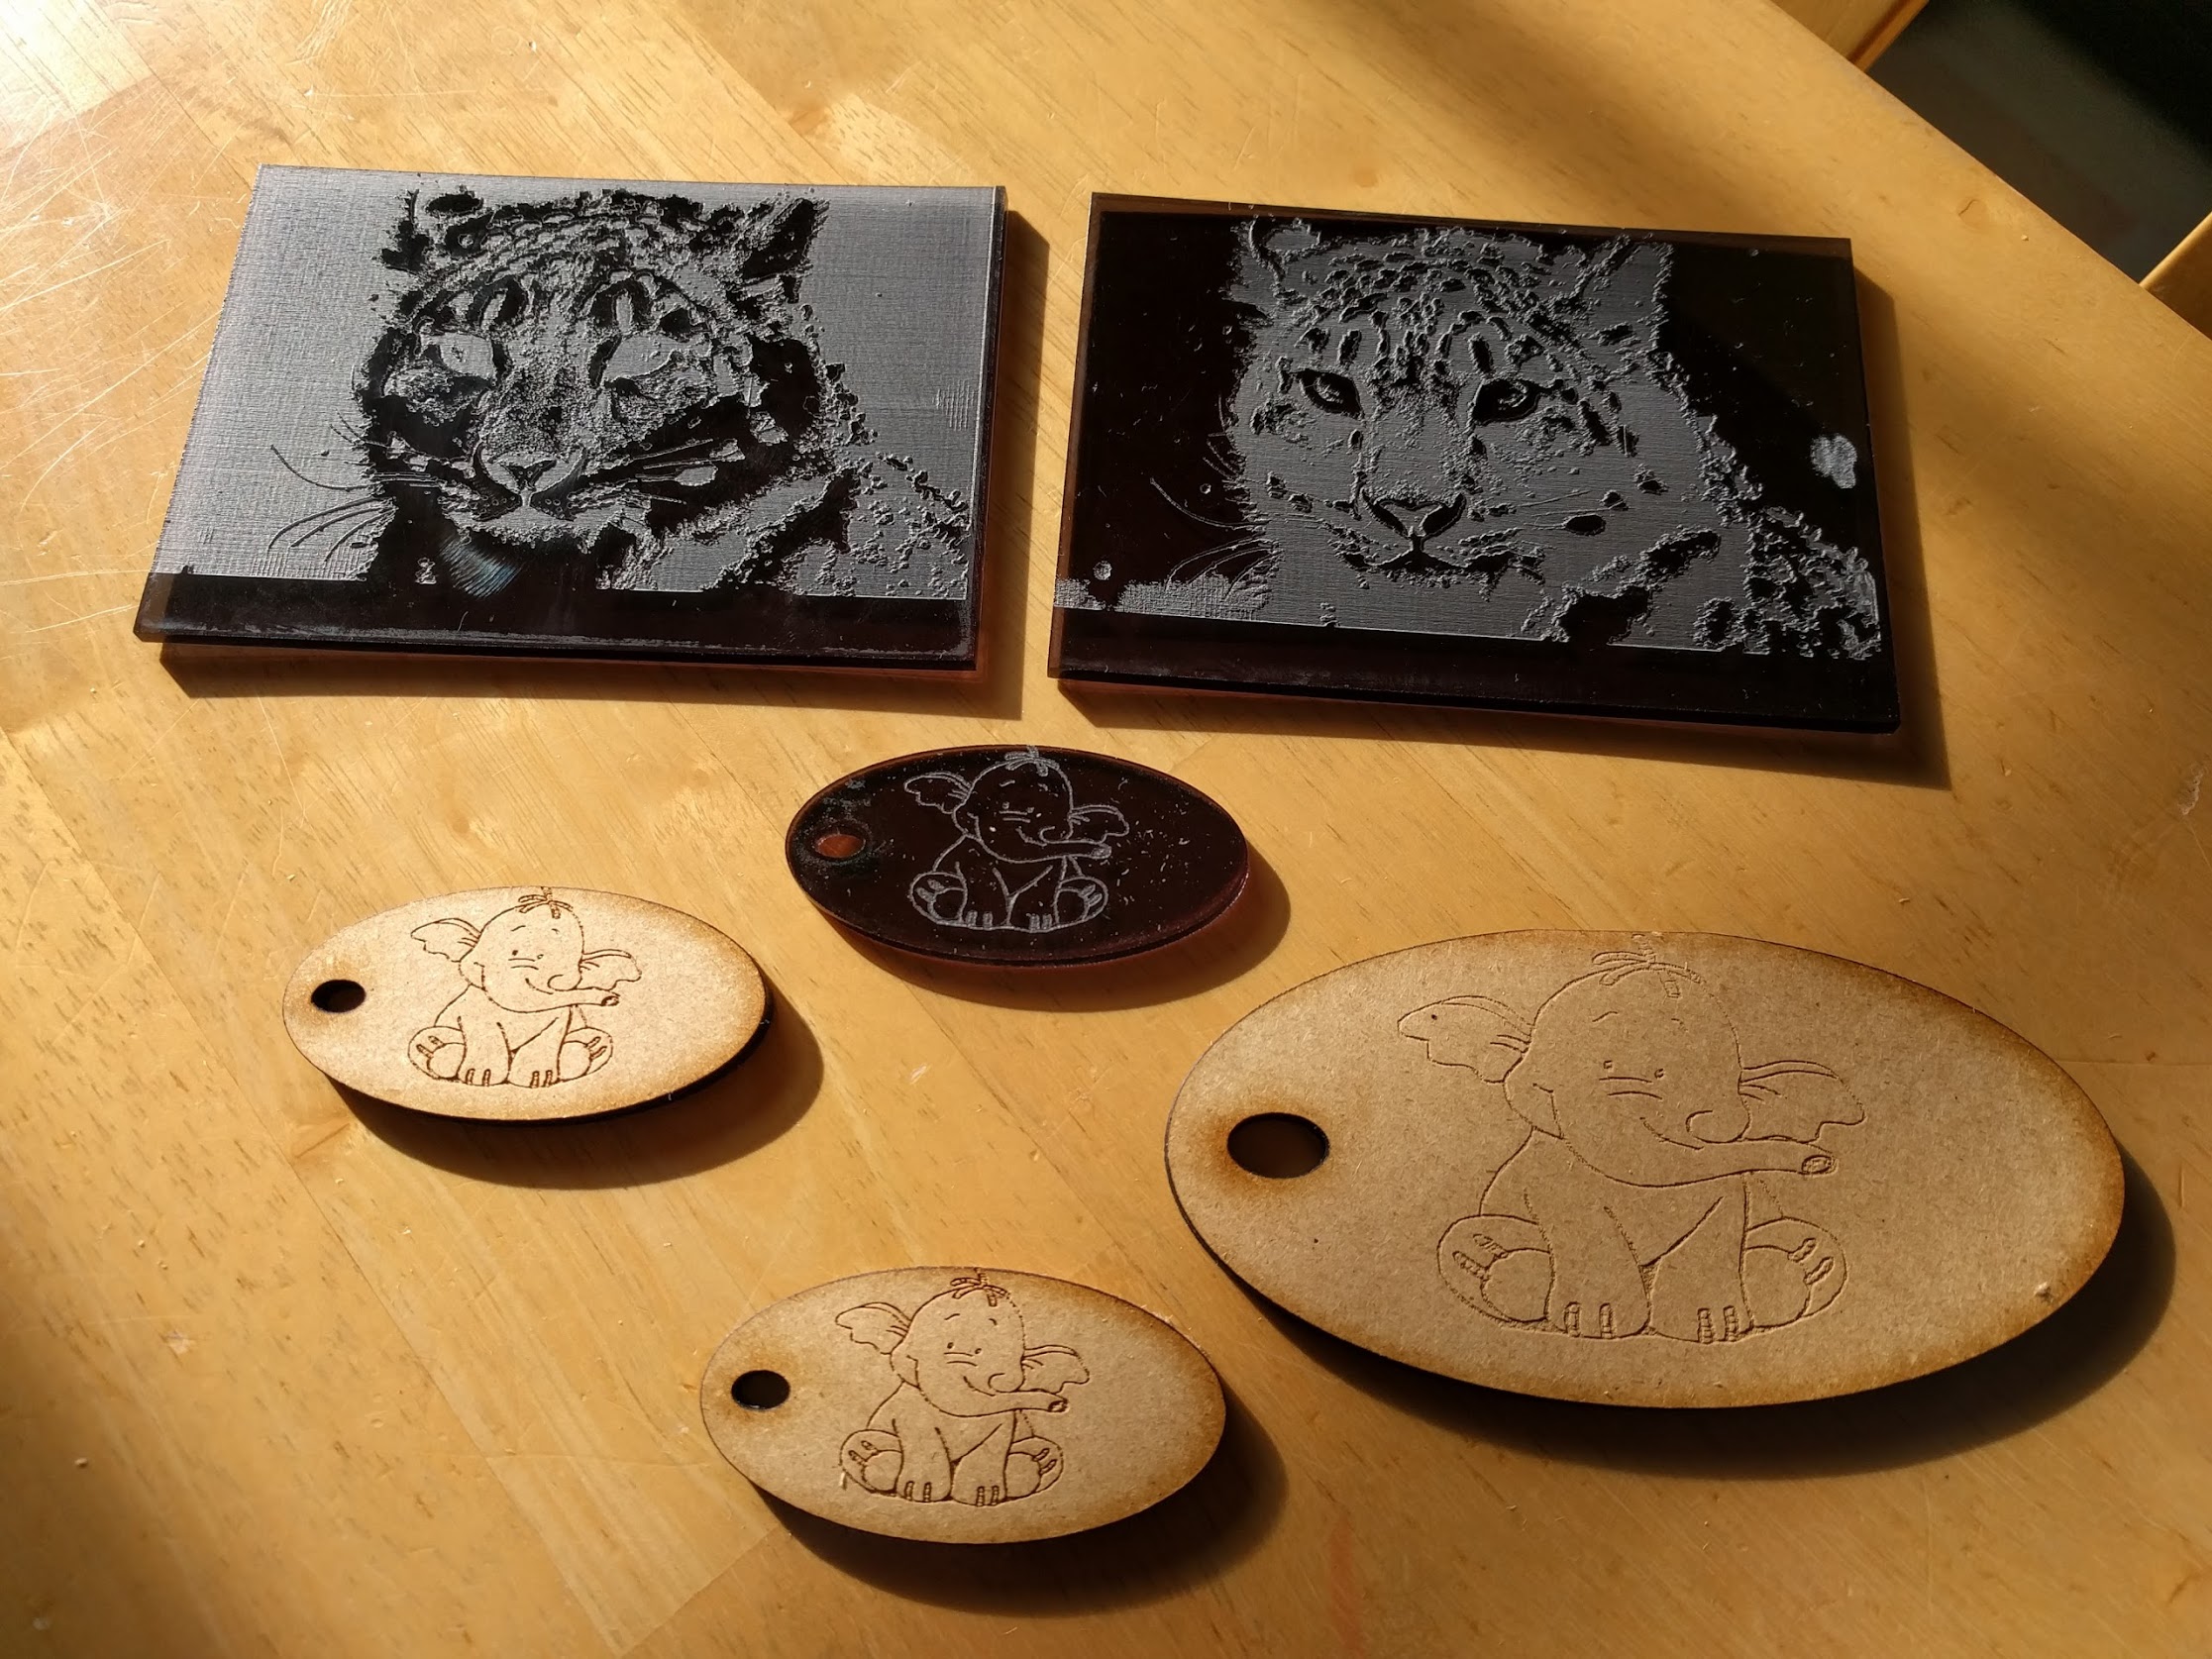
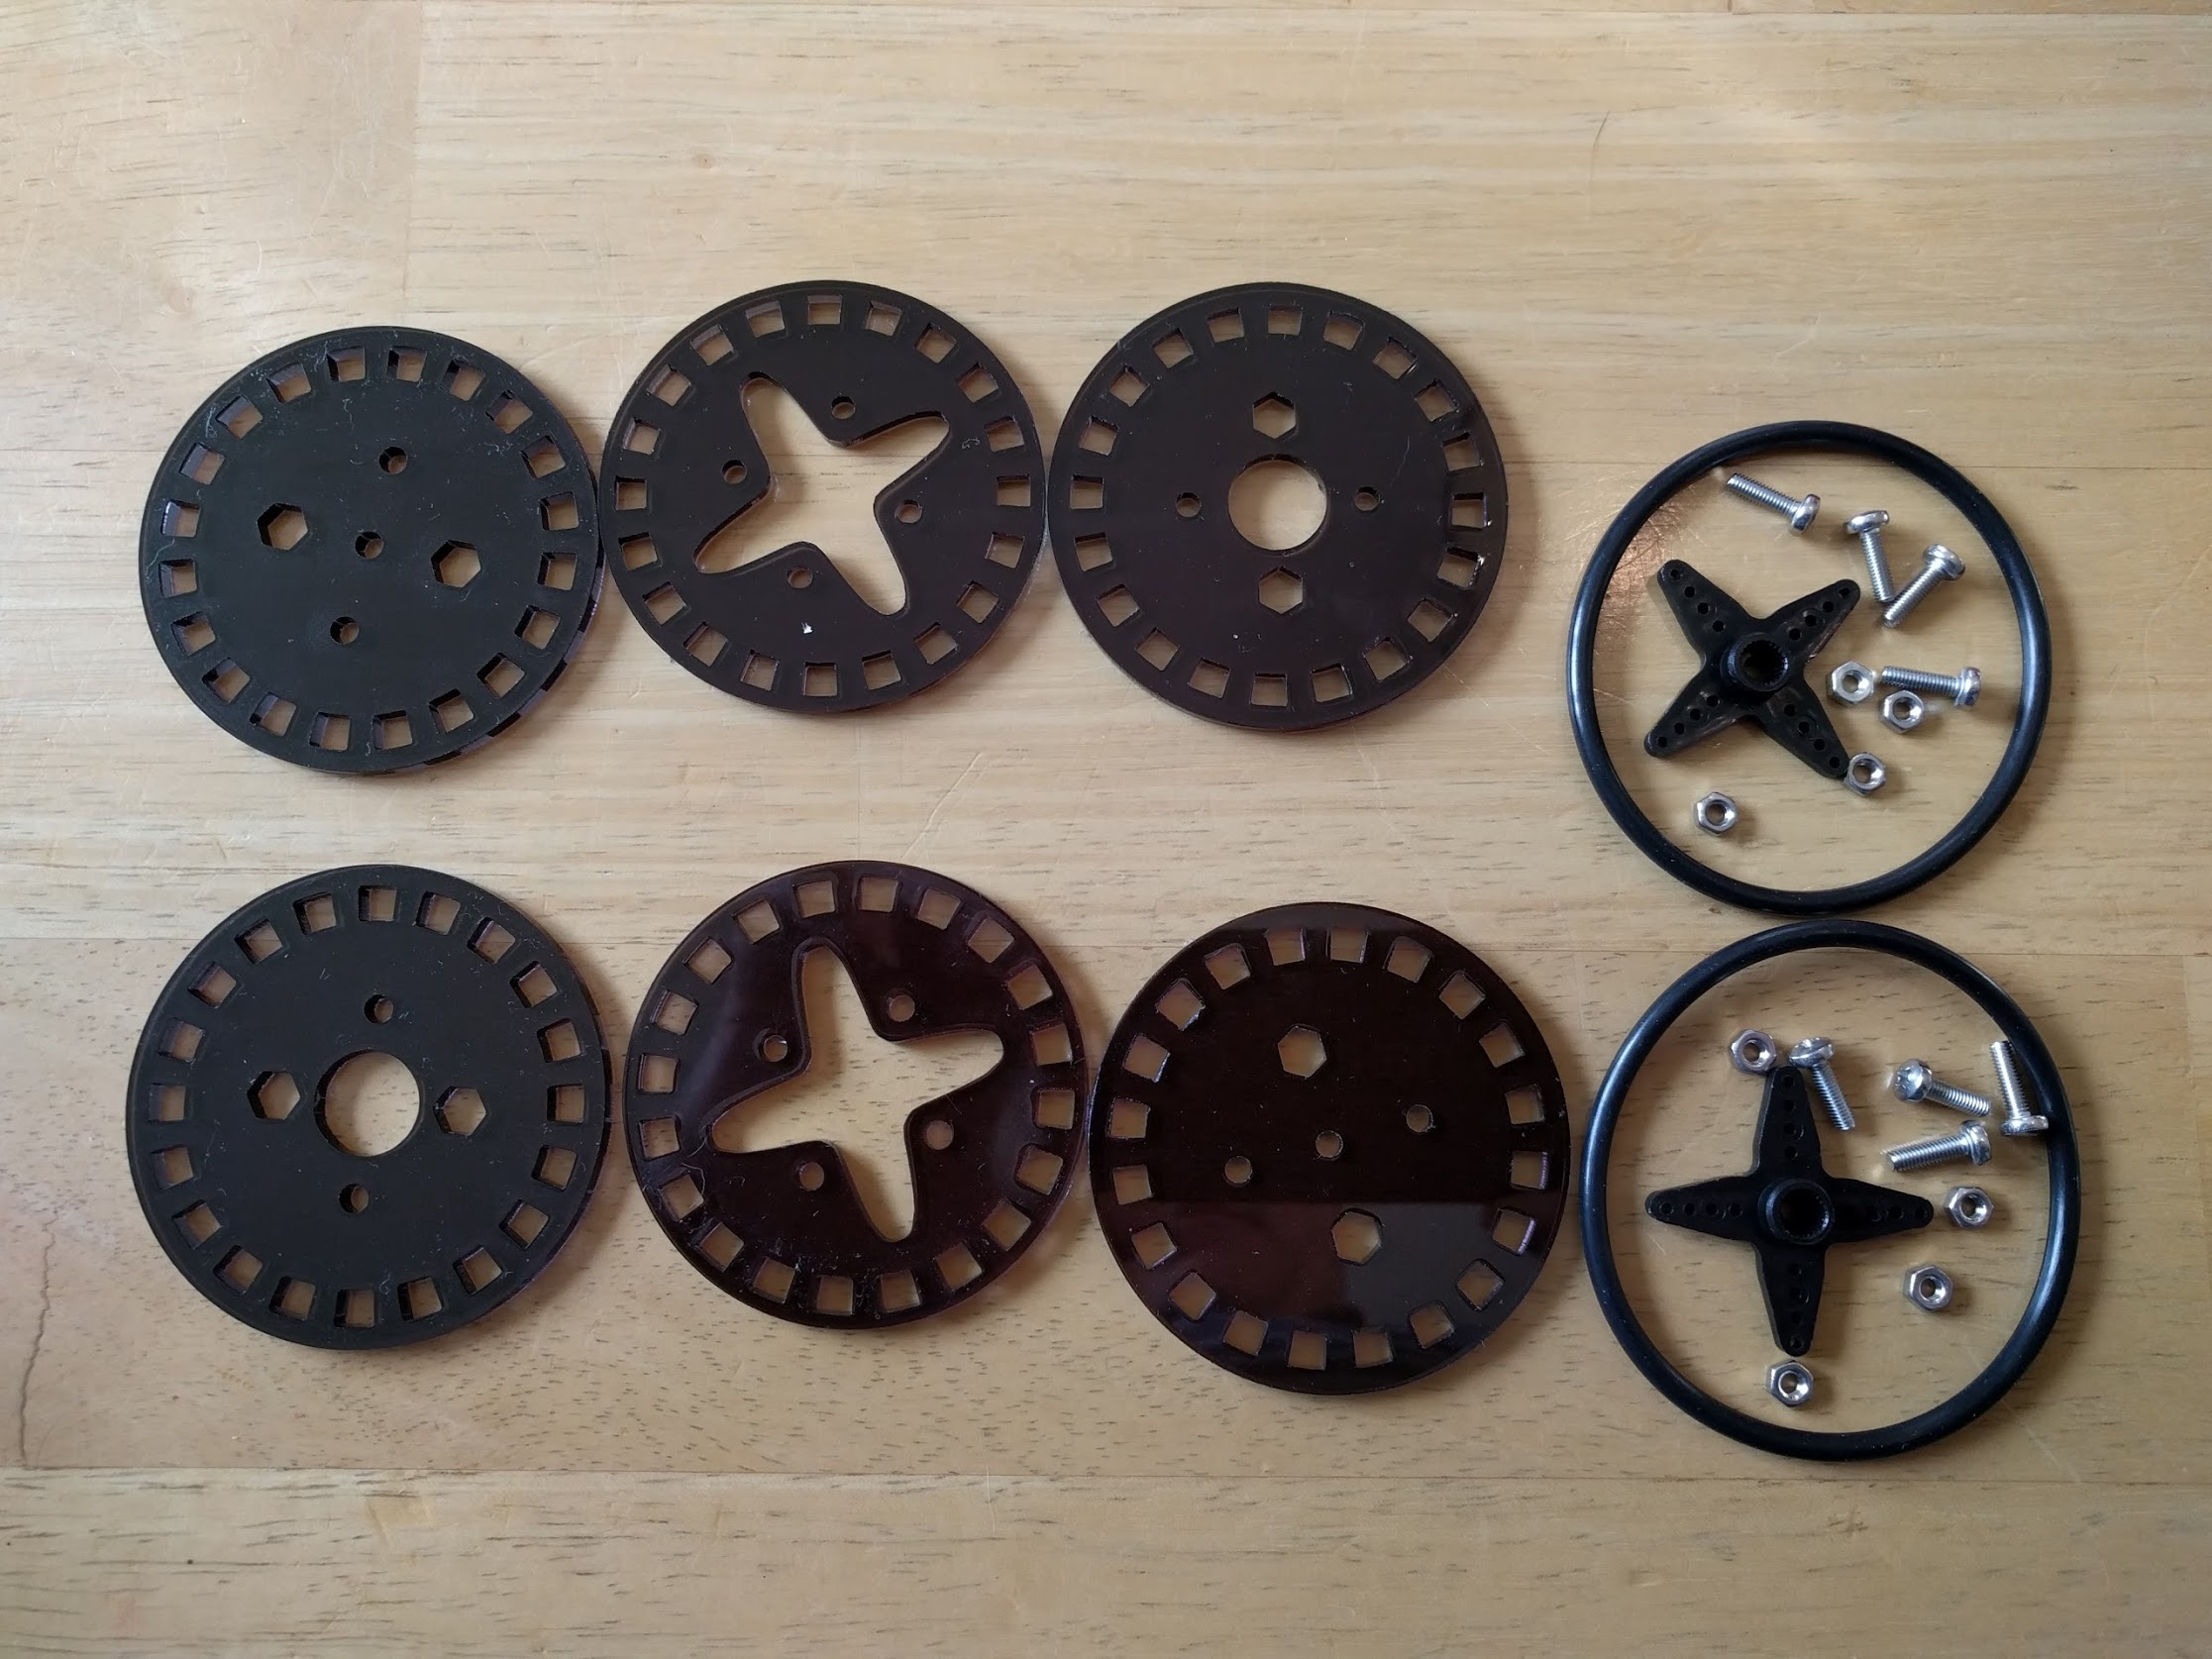
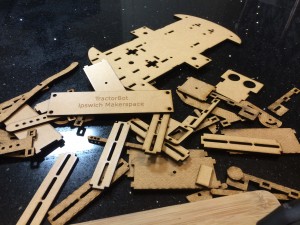
Over the past year Keith has sent numerous projects to Andy for cutting, with mixed results. The cutting has been in either acrylic or harboard though mostly hardboard, because it’s cheap and durable for robots. Over the year Keith has gained valuable experience in how to present projects for cutting and what does and doesn’t work. Whilst this is specific to Andy’s setup it should be useful for others wishing to get their files cut.
There are a few requirements, Andy’s main one is that files are in PDF format, which can be loaded into Corel Draw and simply printed to the laser cutter. Keith prefers to use AutoCAD to produce the files, since he uses it at work and with familiarity comes speed. Early in the process it became clear that PDFs produced from AutoCAD were not loading into CorelDraw so Keith switched to using InkScape. InkScape’s PDFs where much better behaved, the only caveat was that all objects should be exploded and placed on a single layer.
This workflow was successful and it produced the original TractorBot and its custom parts. However, Keith wasn’t happy with using InkScape, as he found it cumbersome and not precise enough. For example, it takes quite a few steps to produce a line of a set length, and for circles it appears it is not possible at all, the bounding box of the circle can be set, but this does not allow for line thickness and as such circles are often the wrong size. This year Keith investigated AutoCAD again, he also wanted a cheaper or free solution, to allow the files to be created on his own computers rather than work equipment. After sending out a request to the Makerspace, Draftsight was recommended. A free version is available on both Mac OSX and Linux and copies virtually all the AutoCAD key bindings so Keith was able to use it very efficiently.
However, once again the PDFs created could not be imported into CorelDraw. Keith then looked at using Inkscape to import the Draftsight file and export it to PDF. It is possible but it did take a while to work out how to do it. The steps below describe Keith’s process.
1) Create drawing in Draftsight, using mm and ensuring the units were set to mm and export as a dxf. Within the drawing insert a scale bar so the scale can be checked at run-time.
2) In Inkscape, import the DXF. File/Import, select the file and an DXF Import dialog box should appear. Ensure the check box next to “Use automatic scaling to A4” is not selected and the manual scale factor of 1.0 is shown. It took Keith a frustrating week or so to work out that this is what was needed to keep the DXF at the same scale.
3) Once the image is in Inkscape, select all objects and press CRT+SHIFT+G lots of times, this should ensure all groups or blocks are ungrouped.
4) Set the page size to 450mm wide by 300mm high and arrange the items to ensure they fit within the page foot print.
5) Again, double check all items are ungrouped and on a single layer. Delete all other layers.
6) Export to PDF, File/Save as copy, making sure to select PDF in the file type pull down box.
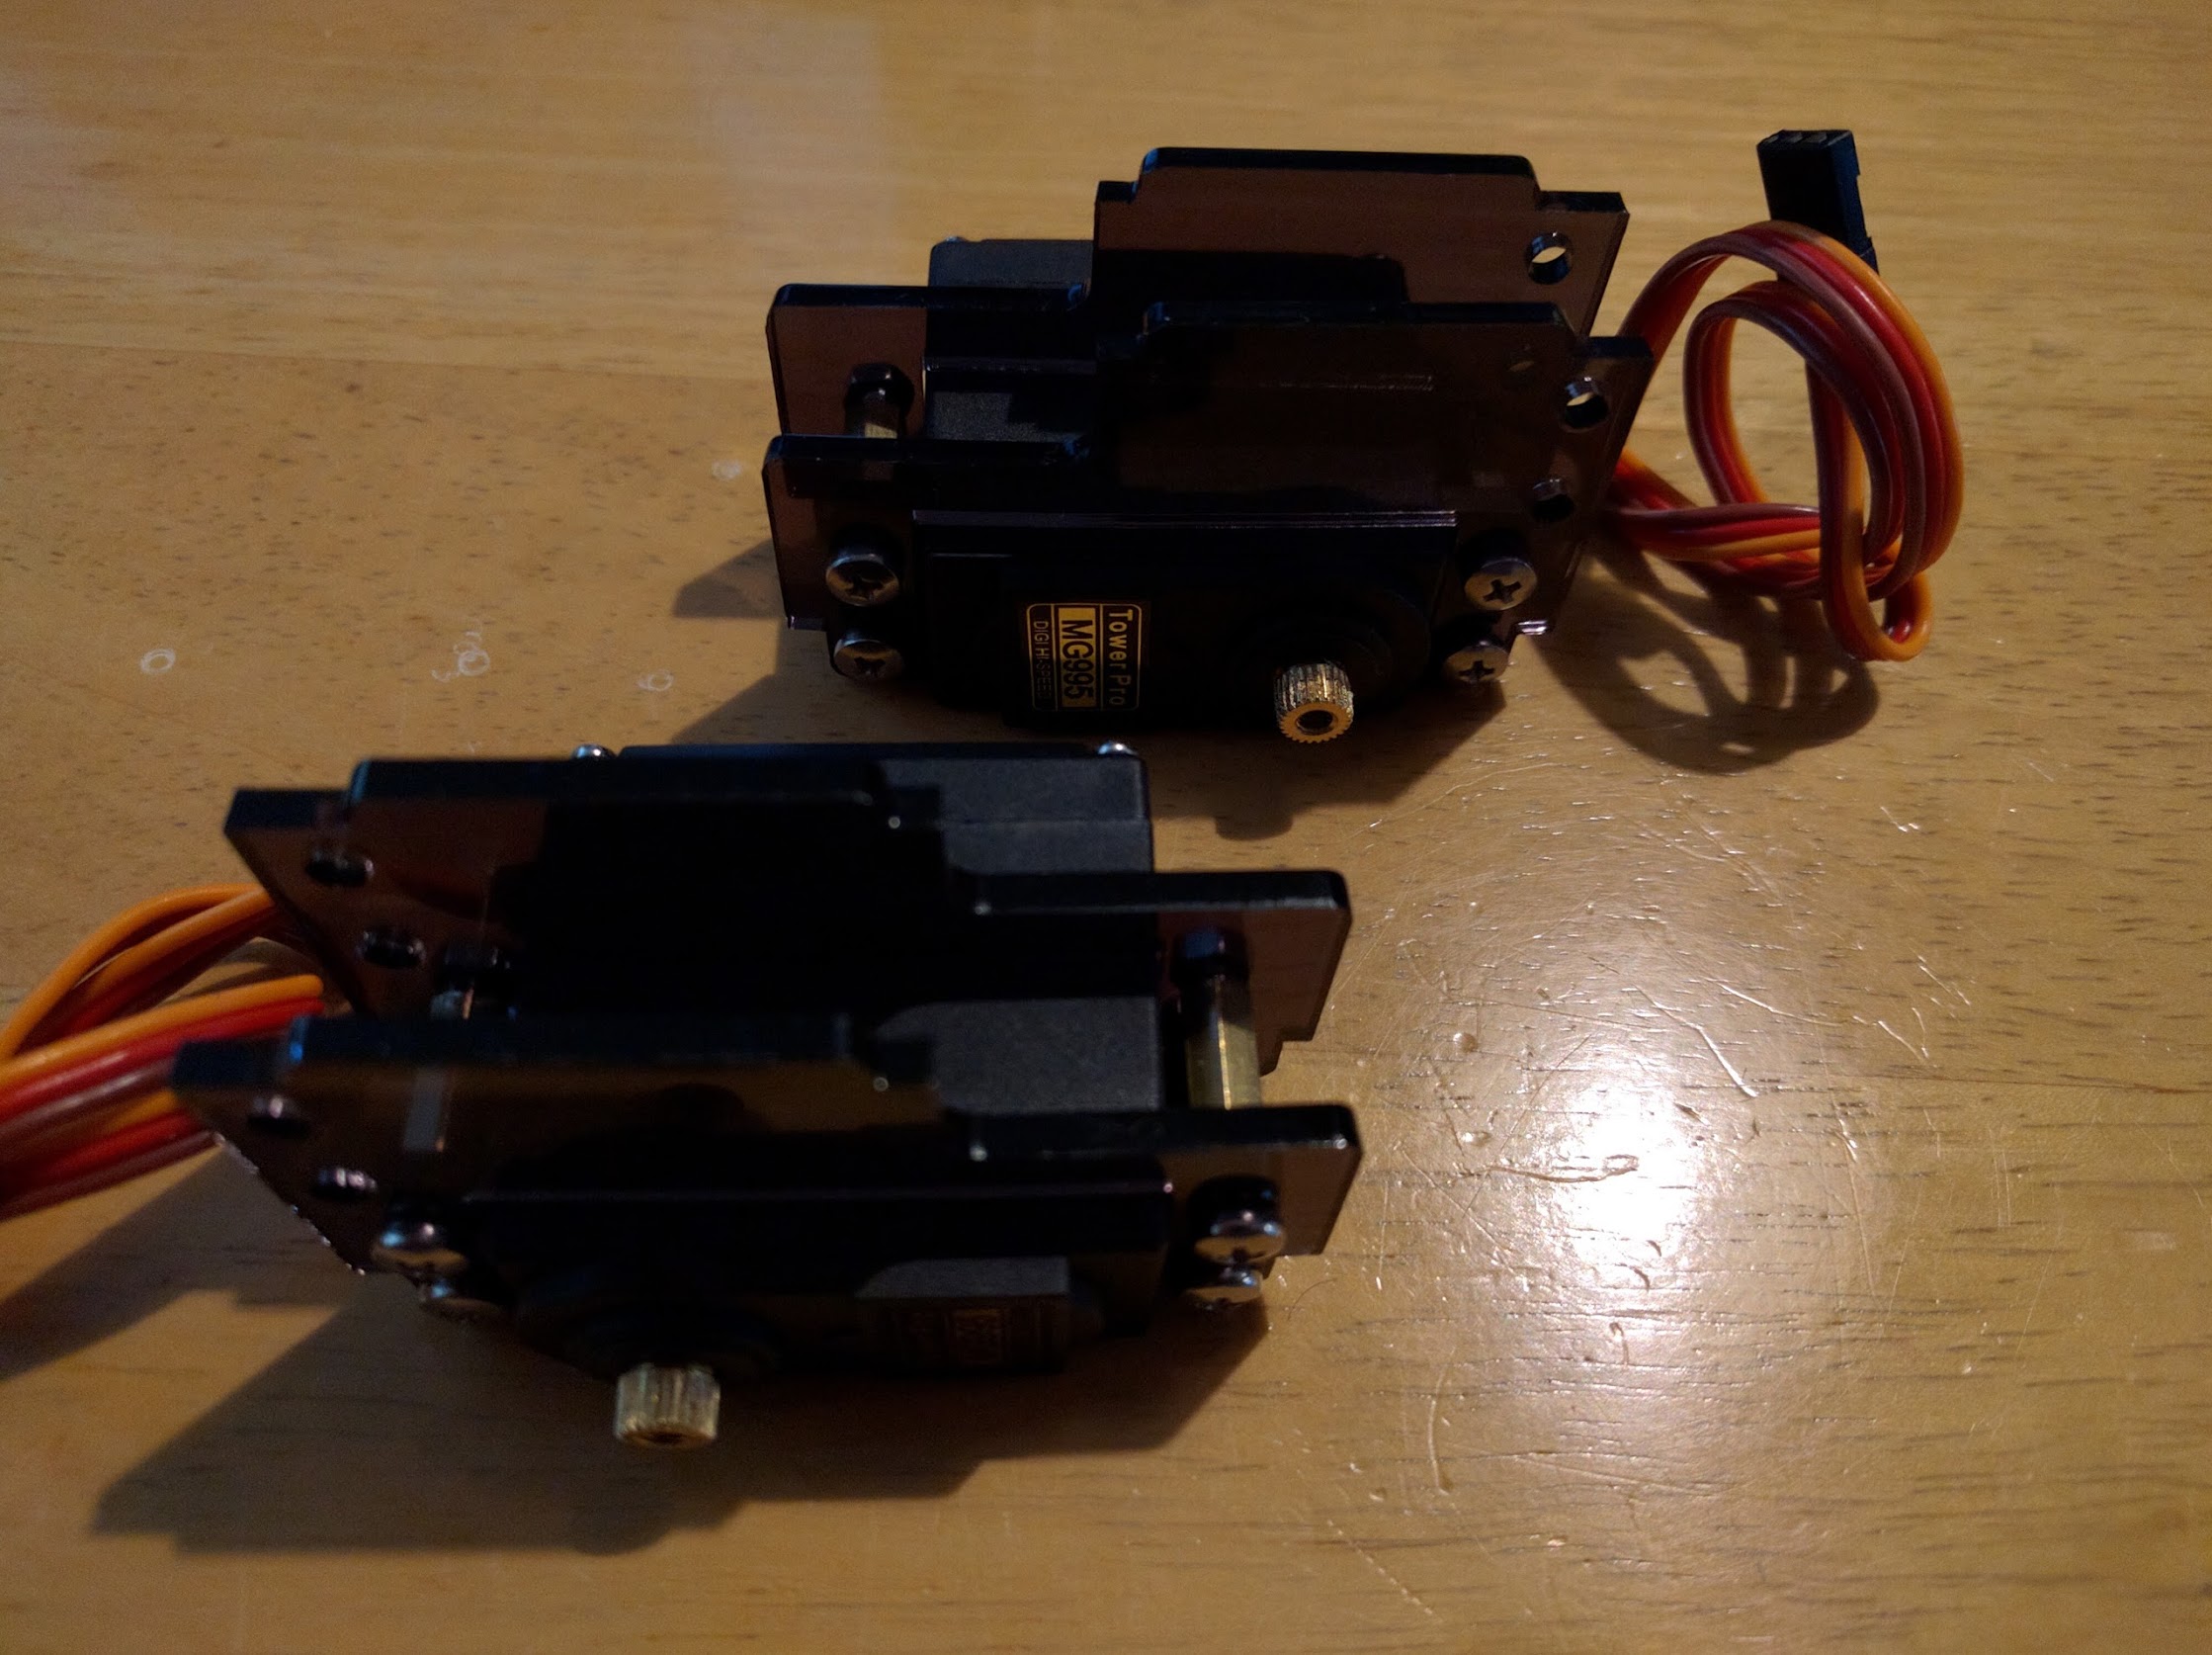
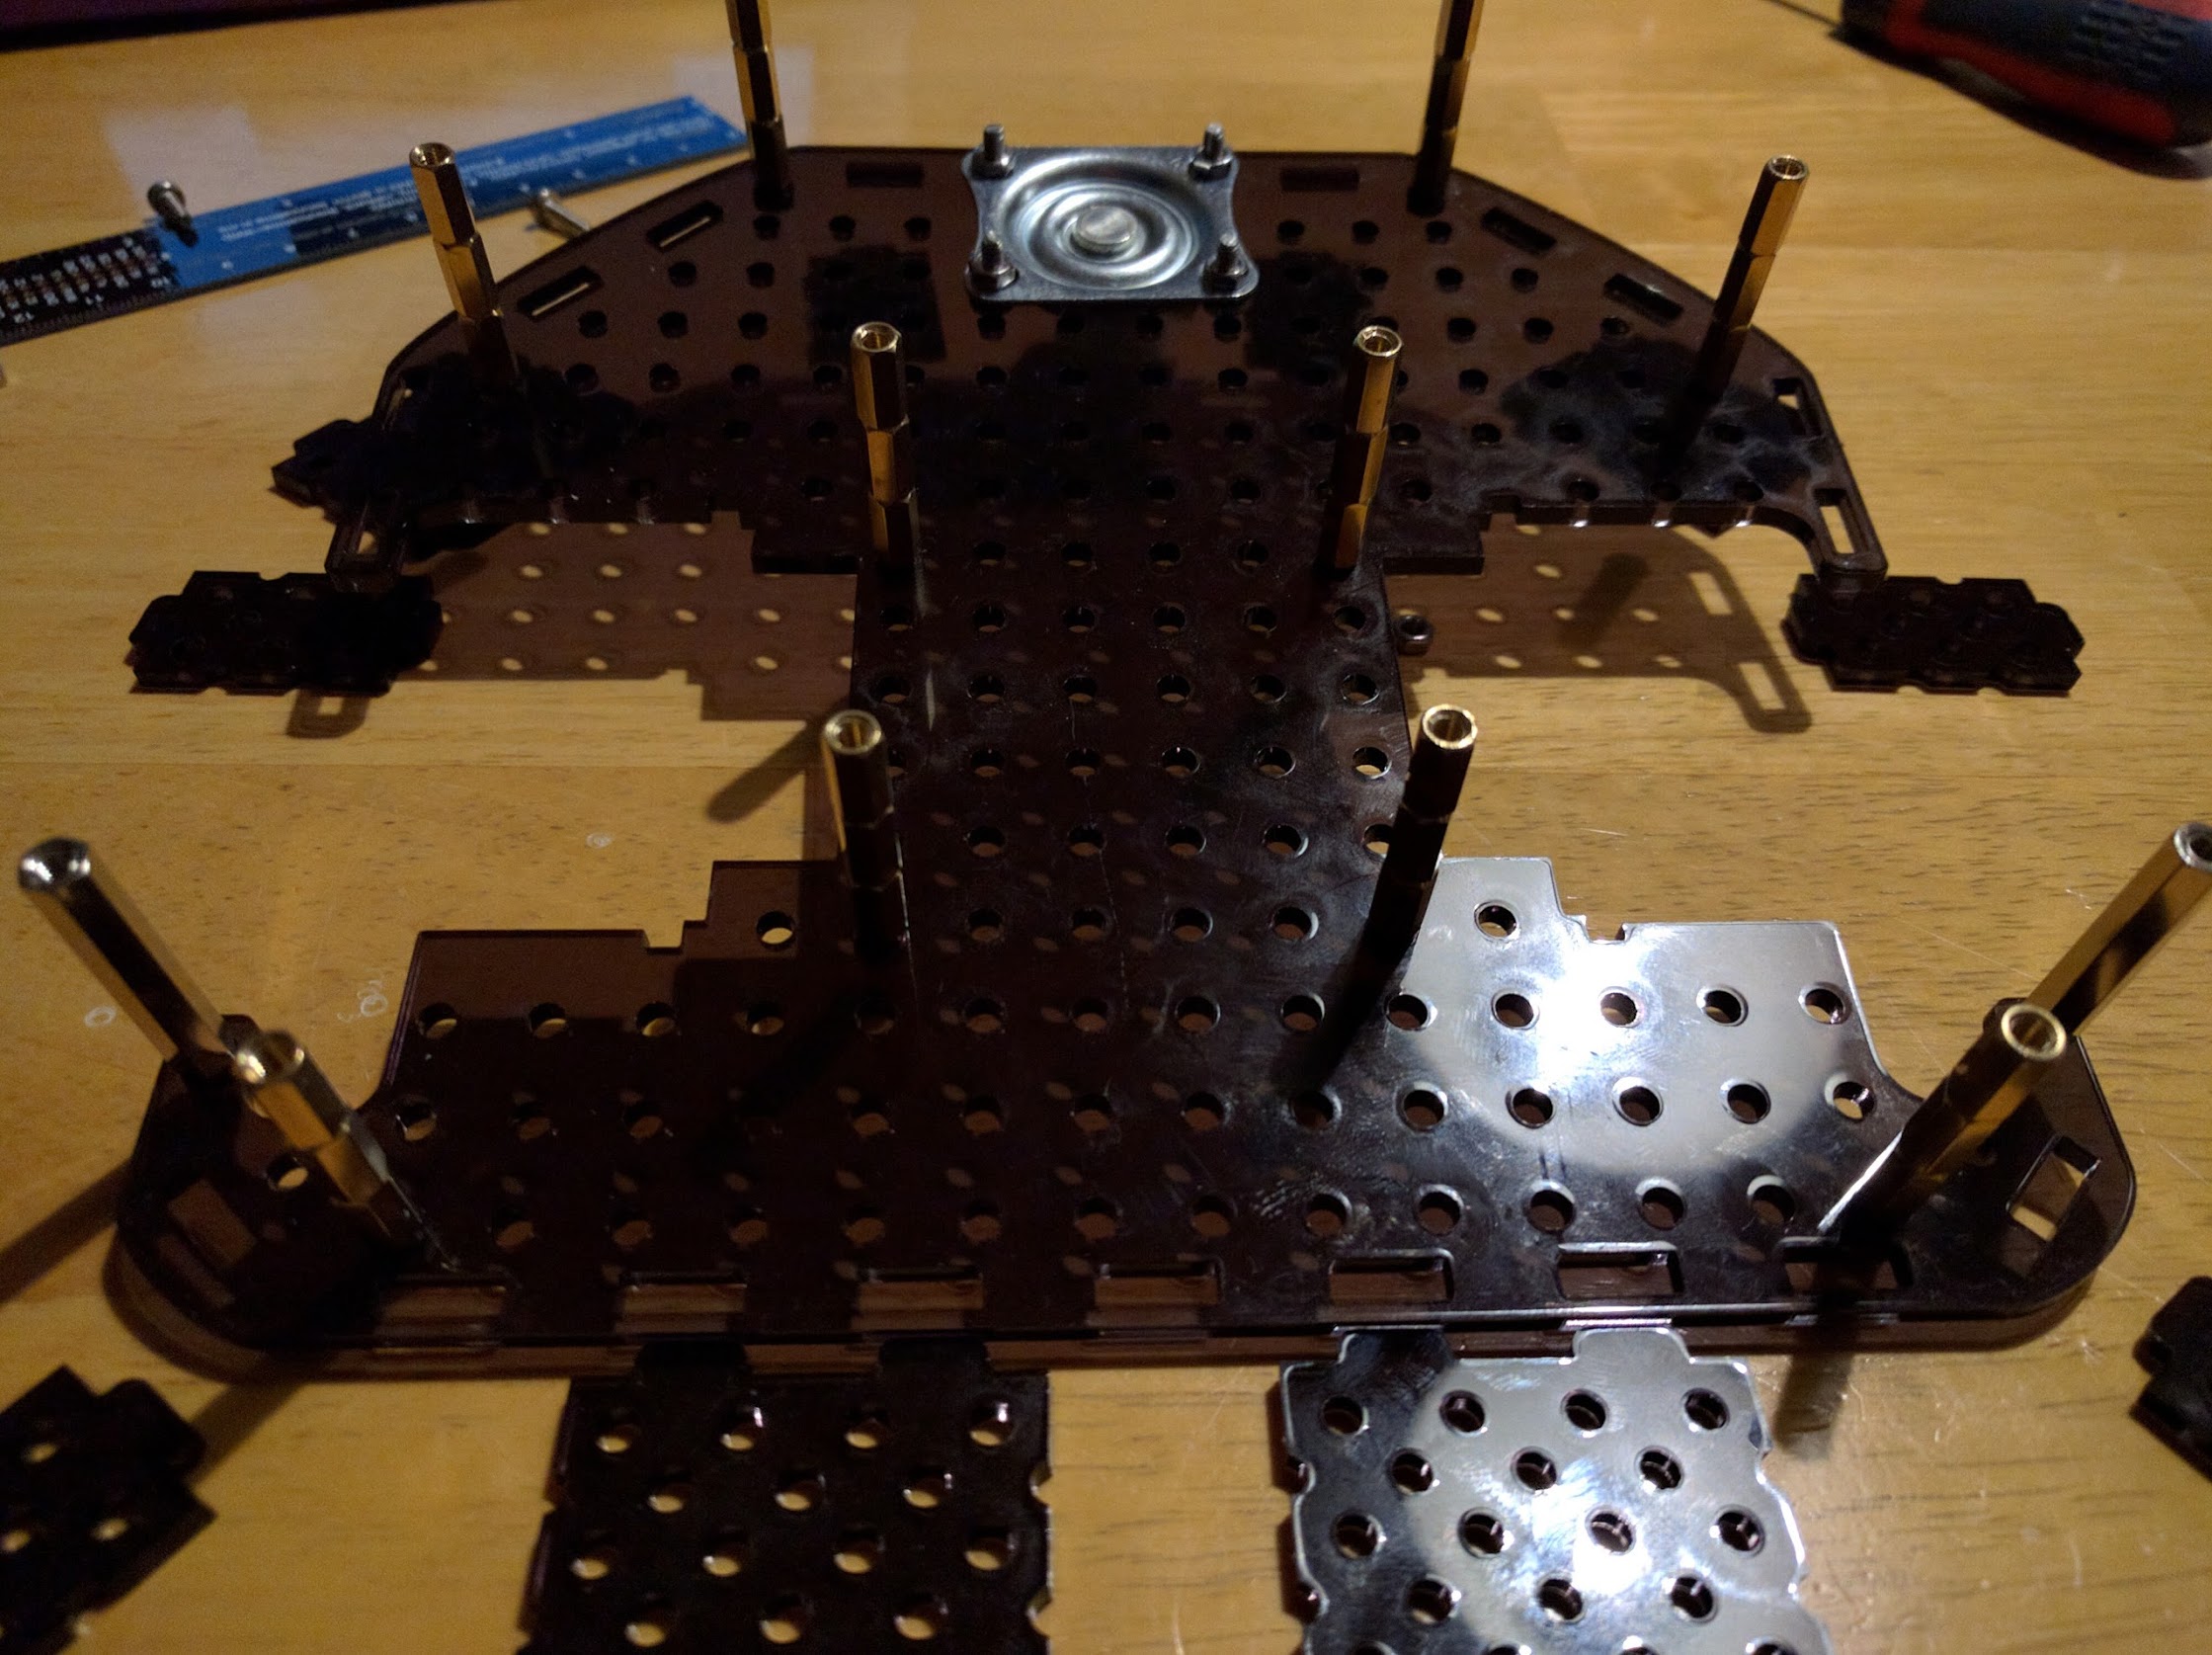
Some assembly required
This PDF file gets sent to Andy at Cedarcroft Productions and back come the laser cut parts. Because Andy and Keith live close together it makes for a very quick turnaround which is particularly useful when several design iterations are required.

 First up we have David Kirkby (Thurs 5th Oct), a talented local sculptor and maker who will be explaining the ins and outs of mould making and cold resin casting. Imagine being able to reproduce your favourite thing in glorious but lightweight bronze.
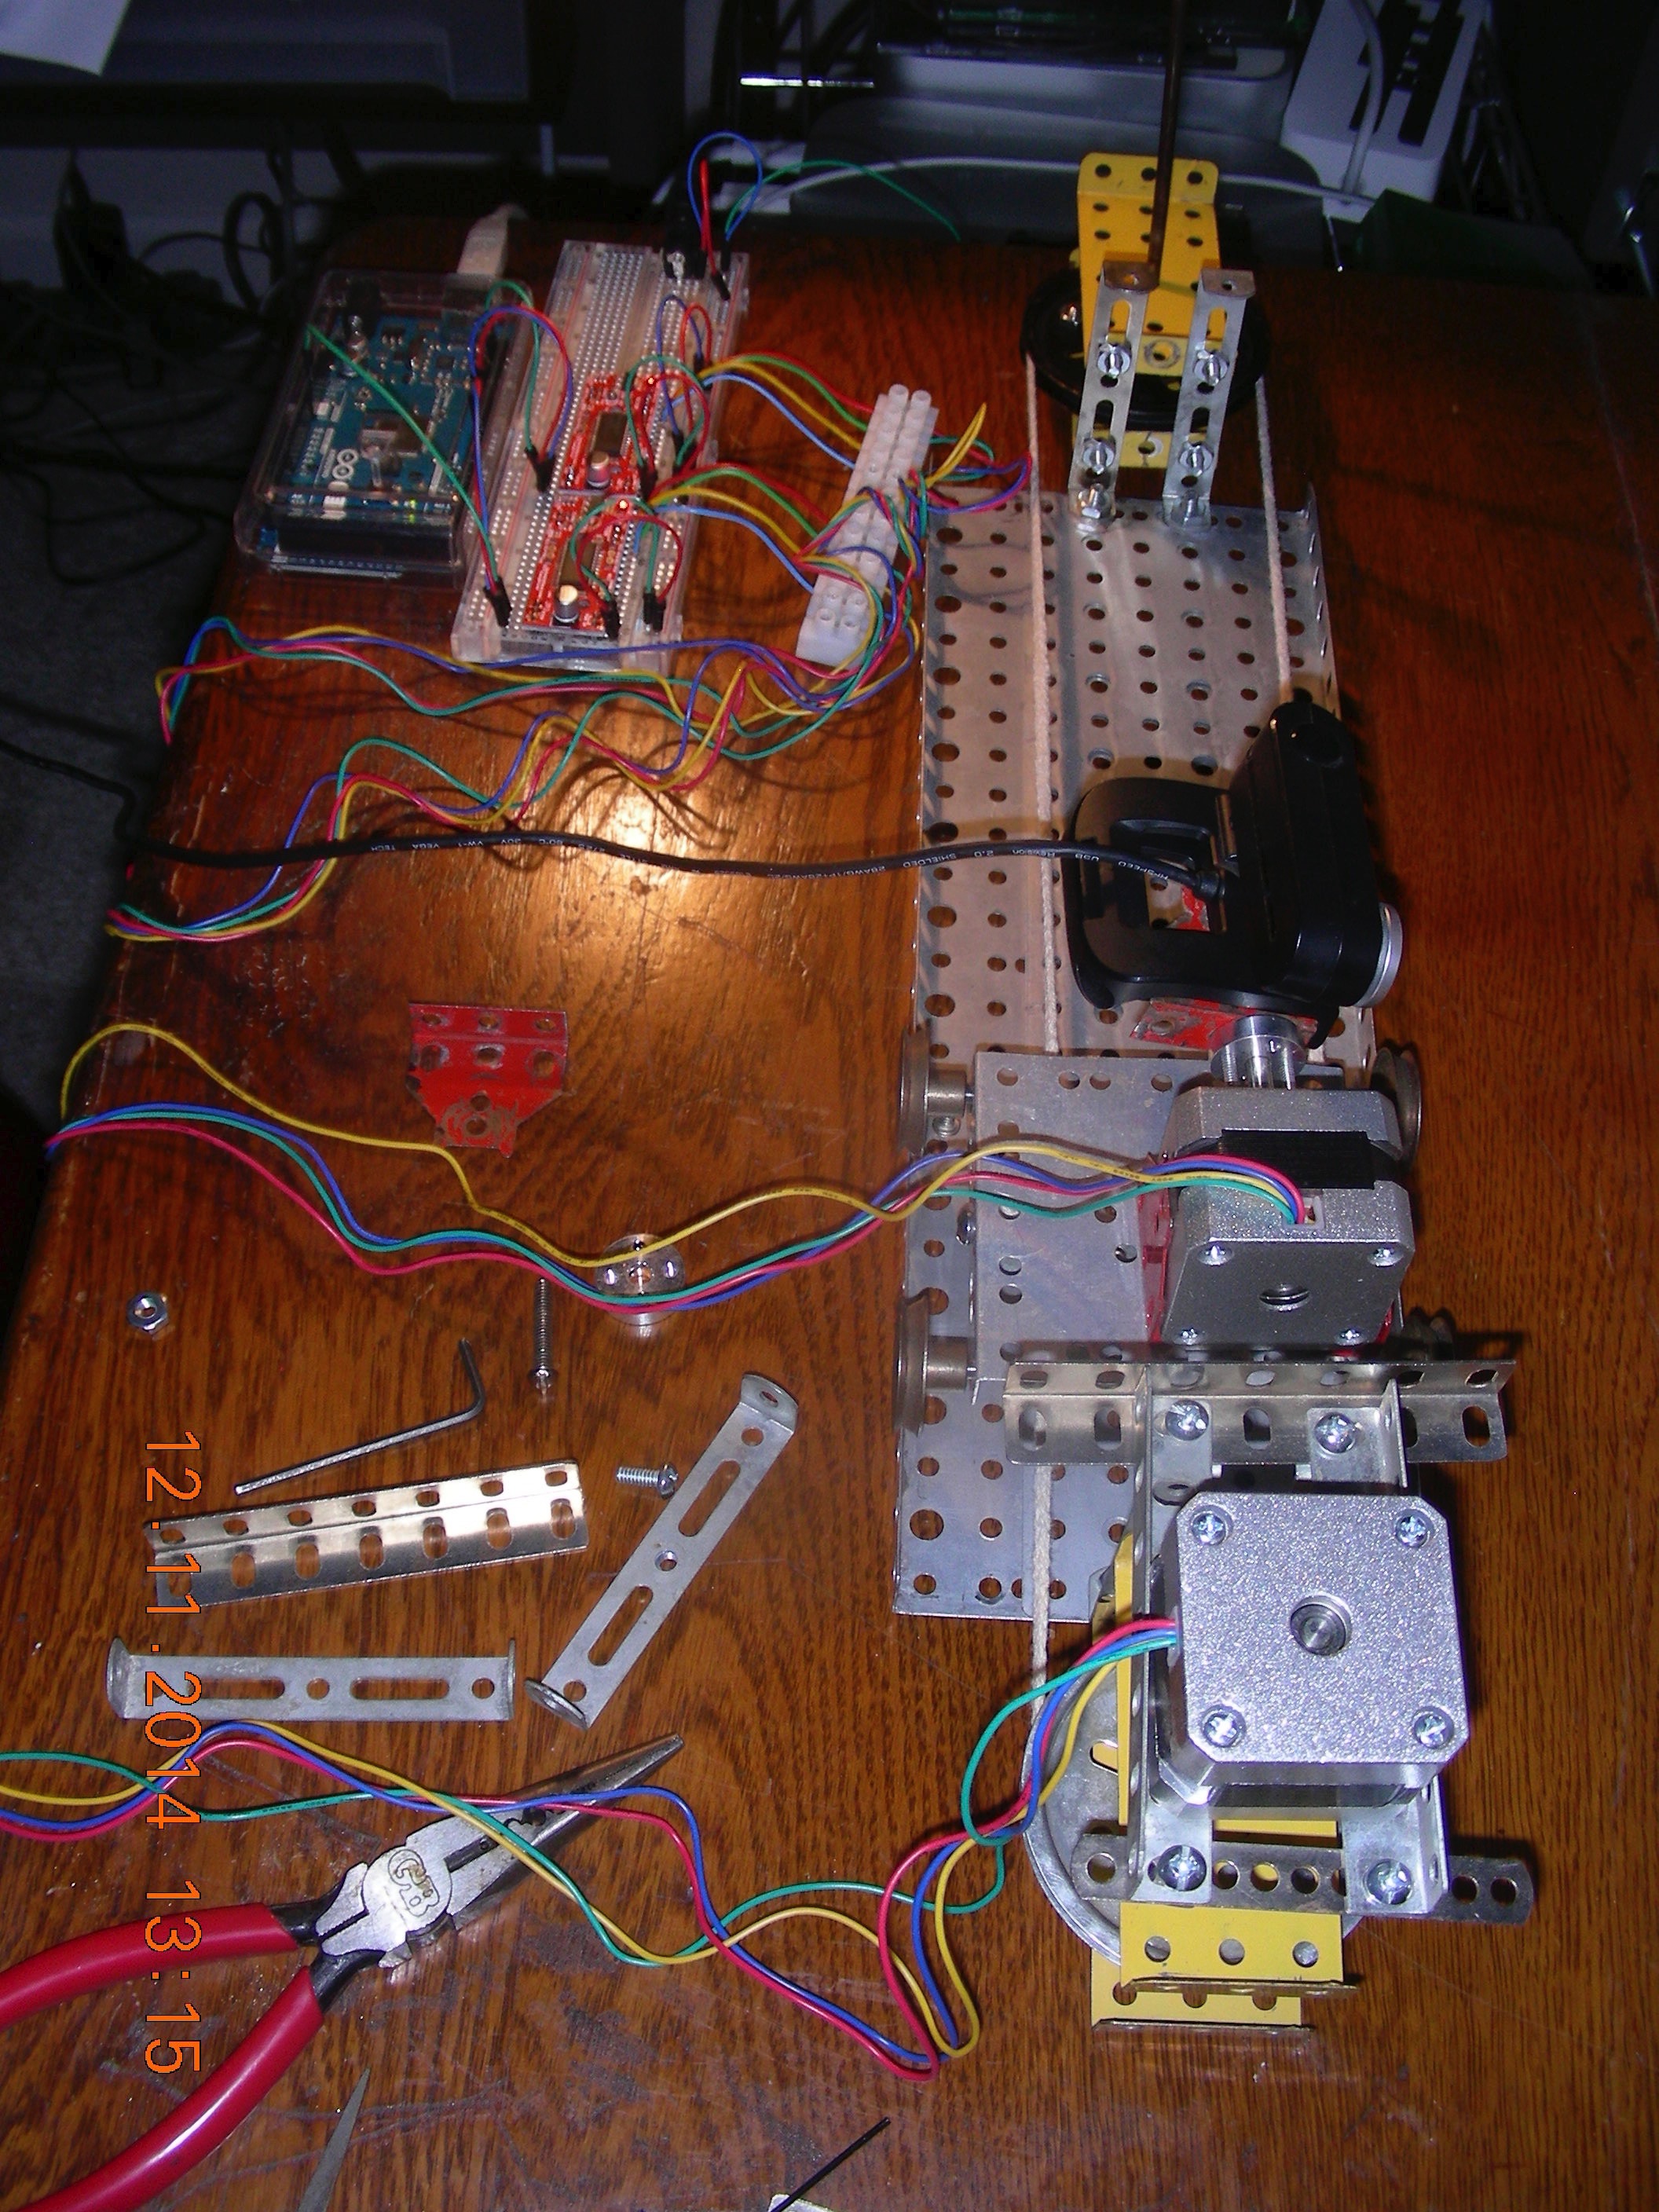 For fans of animation we have Alan Clark and Doug Selway (Thur 19th Oct) who will be showing us their cunning video camera rig which allows programmable, repeatable camera control for stop motion animation. The team designed, built, programmed and fettled the rig themselves and you can see the results on YouTube.