Pi Wars 2017 – More Panic

So we now have all the challenges bar the golf sorted, which Keith is working hard on.

001

A sort of inverted Egg Cup.

Jon is taking care of the leads required for the final design and Phil is going to be cutting the perspex for the body.

IMG_20170322_224723

Need a bigger laser!


We need a bigger laser and more hours in the day…


Pi Wars 2017 – Amazing maze!

Early on in the proceedings Jon had suggested we build a maze full size for testing (along with twin robots). So armed with wood, glue and screws he built a maze and even made it in bits so that it fit in his car! At least one pair of jeans paid the price due to the very foamy Gorilla glue. Anyway his hard work paid off…..

This is completely autonomous using three ToF sensors.


The small OLED display was working well for each challenge, allowing the operator to select the challenge by way of a small graphic menu. This is it in extreme close-up.

IMG_20170312_204322 IMG_20170312_204339

Jon designed a bitmap editor to create the mini icons and then we painstakingly joined the dots. You can find the editor here:  https://leachj.github.io/OLED_Pixel_editor/


Pi Wars 2017 – Time to panic…

So with a couple of challenges down and a reasonable remote control we were feeling fairly happy then we realised that we had less than a month to go! The Pi Party had taken out some of our development time so we had to press on. Keith got on with designing a catapult for the skittles challenge.


20160302 - Skittles launcher

Skittles Challenge Launcher


Rapid prototyping meant that one email to Phil containing the DXF’s  for the laser cutter and the design was being put together for review that evening.

IMG_20170319_161608

..and in the real world.

But we still had the golf challenge to put together something for…..


Pi Wars 2017 – Carry on follow that line…..

While there has been lots of cutting and 3D printing to do, Phil had also agreed to code the line follower challenge. With TractorBot I we had experimented with the Open CV computer vision software  but the results were disappointing. However, with Pi 3 power we thought we might be able to get a Pi Camera to perform the line following duties at reasonable frame rates. Initial trials were encouraging and Keith designed a servo controlled camera case for the front of TractorBot.

Robot_v2_2017-Feb-11_11-22-01PM-000_CustomizedView71301931


The idea being that when the line follower choice was made from the menu, the servo would activate and the line would be illuminated by a Blinkt in the nose. After a few attempts and a lot of tuning we were happy with the result. https://youtu.be/Yrbg0VhtKmk

This is a graphic (sorry) illustration of how far the Pi has developed in just a few years.


Pi Wars 2017 – Boards….

We left our robot looking like a moving nest of wires, so what to do about it. Keith’s beautiful 3d renders always miss out the wiring that is a necessary evil when putting one of these together. Thankfully Keith was also able to come up with a solution! Our own interface PCB to get rid of a fair number of wires and sort out the build. Ki-CAD to the rescue. Keith produced some boards to support the Blinkts we were using as well as a main board to fit HAT style on the Pi.

After fitting the various header pins and ribbon cables it really does look the part, much neater.

2017 - 1

Pi Wars 2017 – In which Jon goes shopping

The third member of the team, Jon, had taken the lead on the software design. He started with our original TractorBot 2015 software and restructured it, to allow better collaboration via GitHub. Jon has created several useful libraries for the Pi and if you are interested you should check out his github page. https://github.com/leachj

Jon already had some good ideas for how to give the robot senses to allow it to navigate the maze, and so purchased some Time of Flight  sensors. We used these magical I2C devices in 2015 to keep our speeding robot from crashing into the walls when it came to the straight line challenge. Don’t just take our word for it…

VL6180


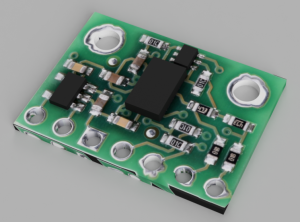
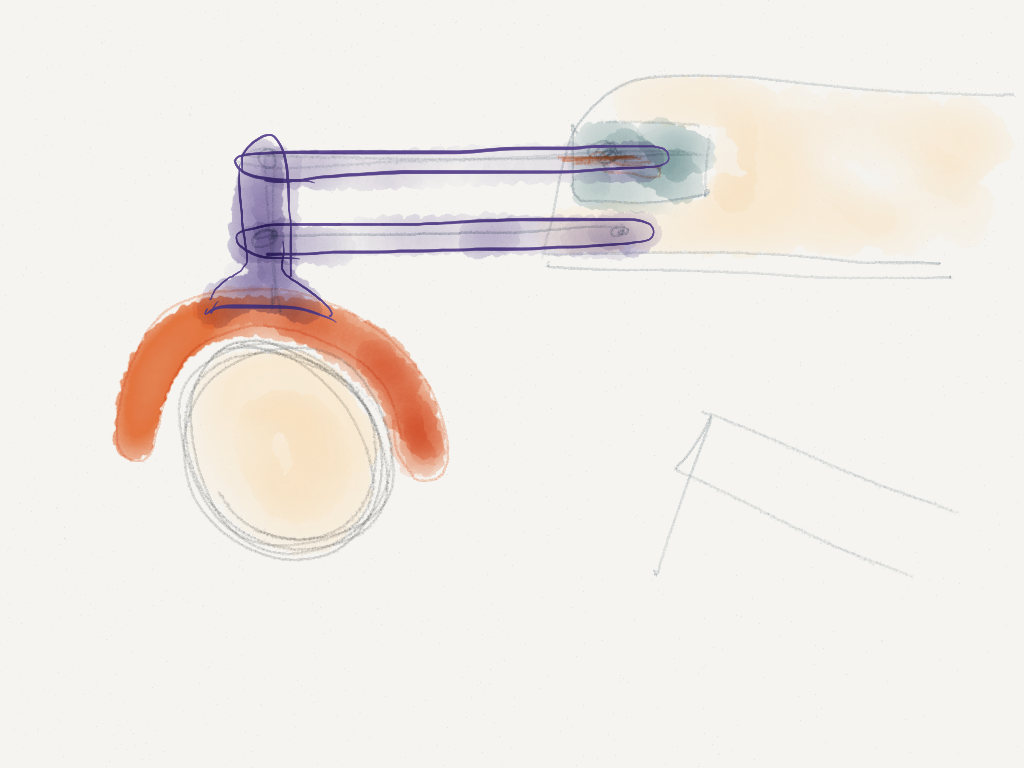
The VL6180X Time of Flight Distance Ranging Sensor is a Time of Flight distance sensor like no other you’ve used! The sensor contains a very tiny laser source, and a matching sensor. The VL6180X can detect the “time of flight”, or how long the laser light has taken to bounce back to the sensor. Since it uses a very narrow light source, it is good for determining the distance of only the surface directly in front of it. Unlike sonars that bounce ultrasonic waves, the ‘cone’ of sensing is very narrow. Unlike IR distance sensors that try to measure the amount of light bounced, the VL6180X is much more precise and doesn’t have linearity problems or ‘double imaging’ where you can’t tell if an object is very far or very close.


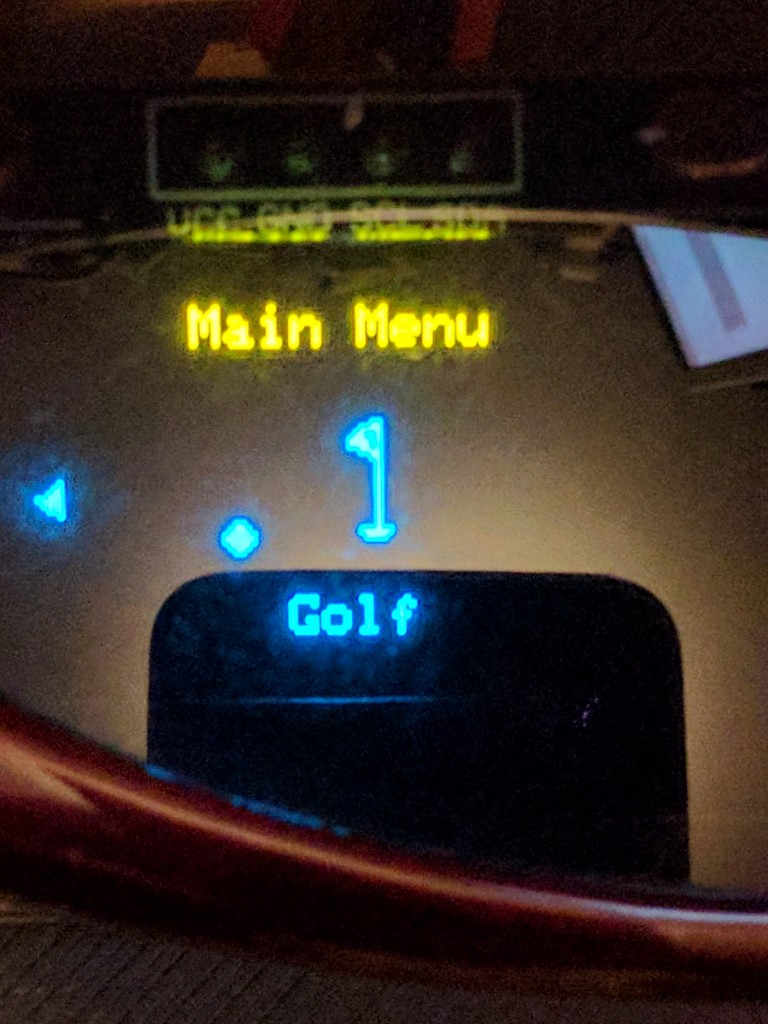
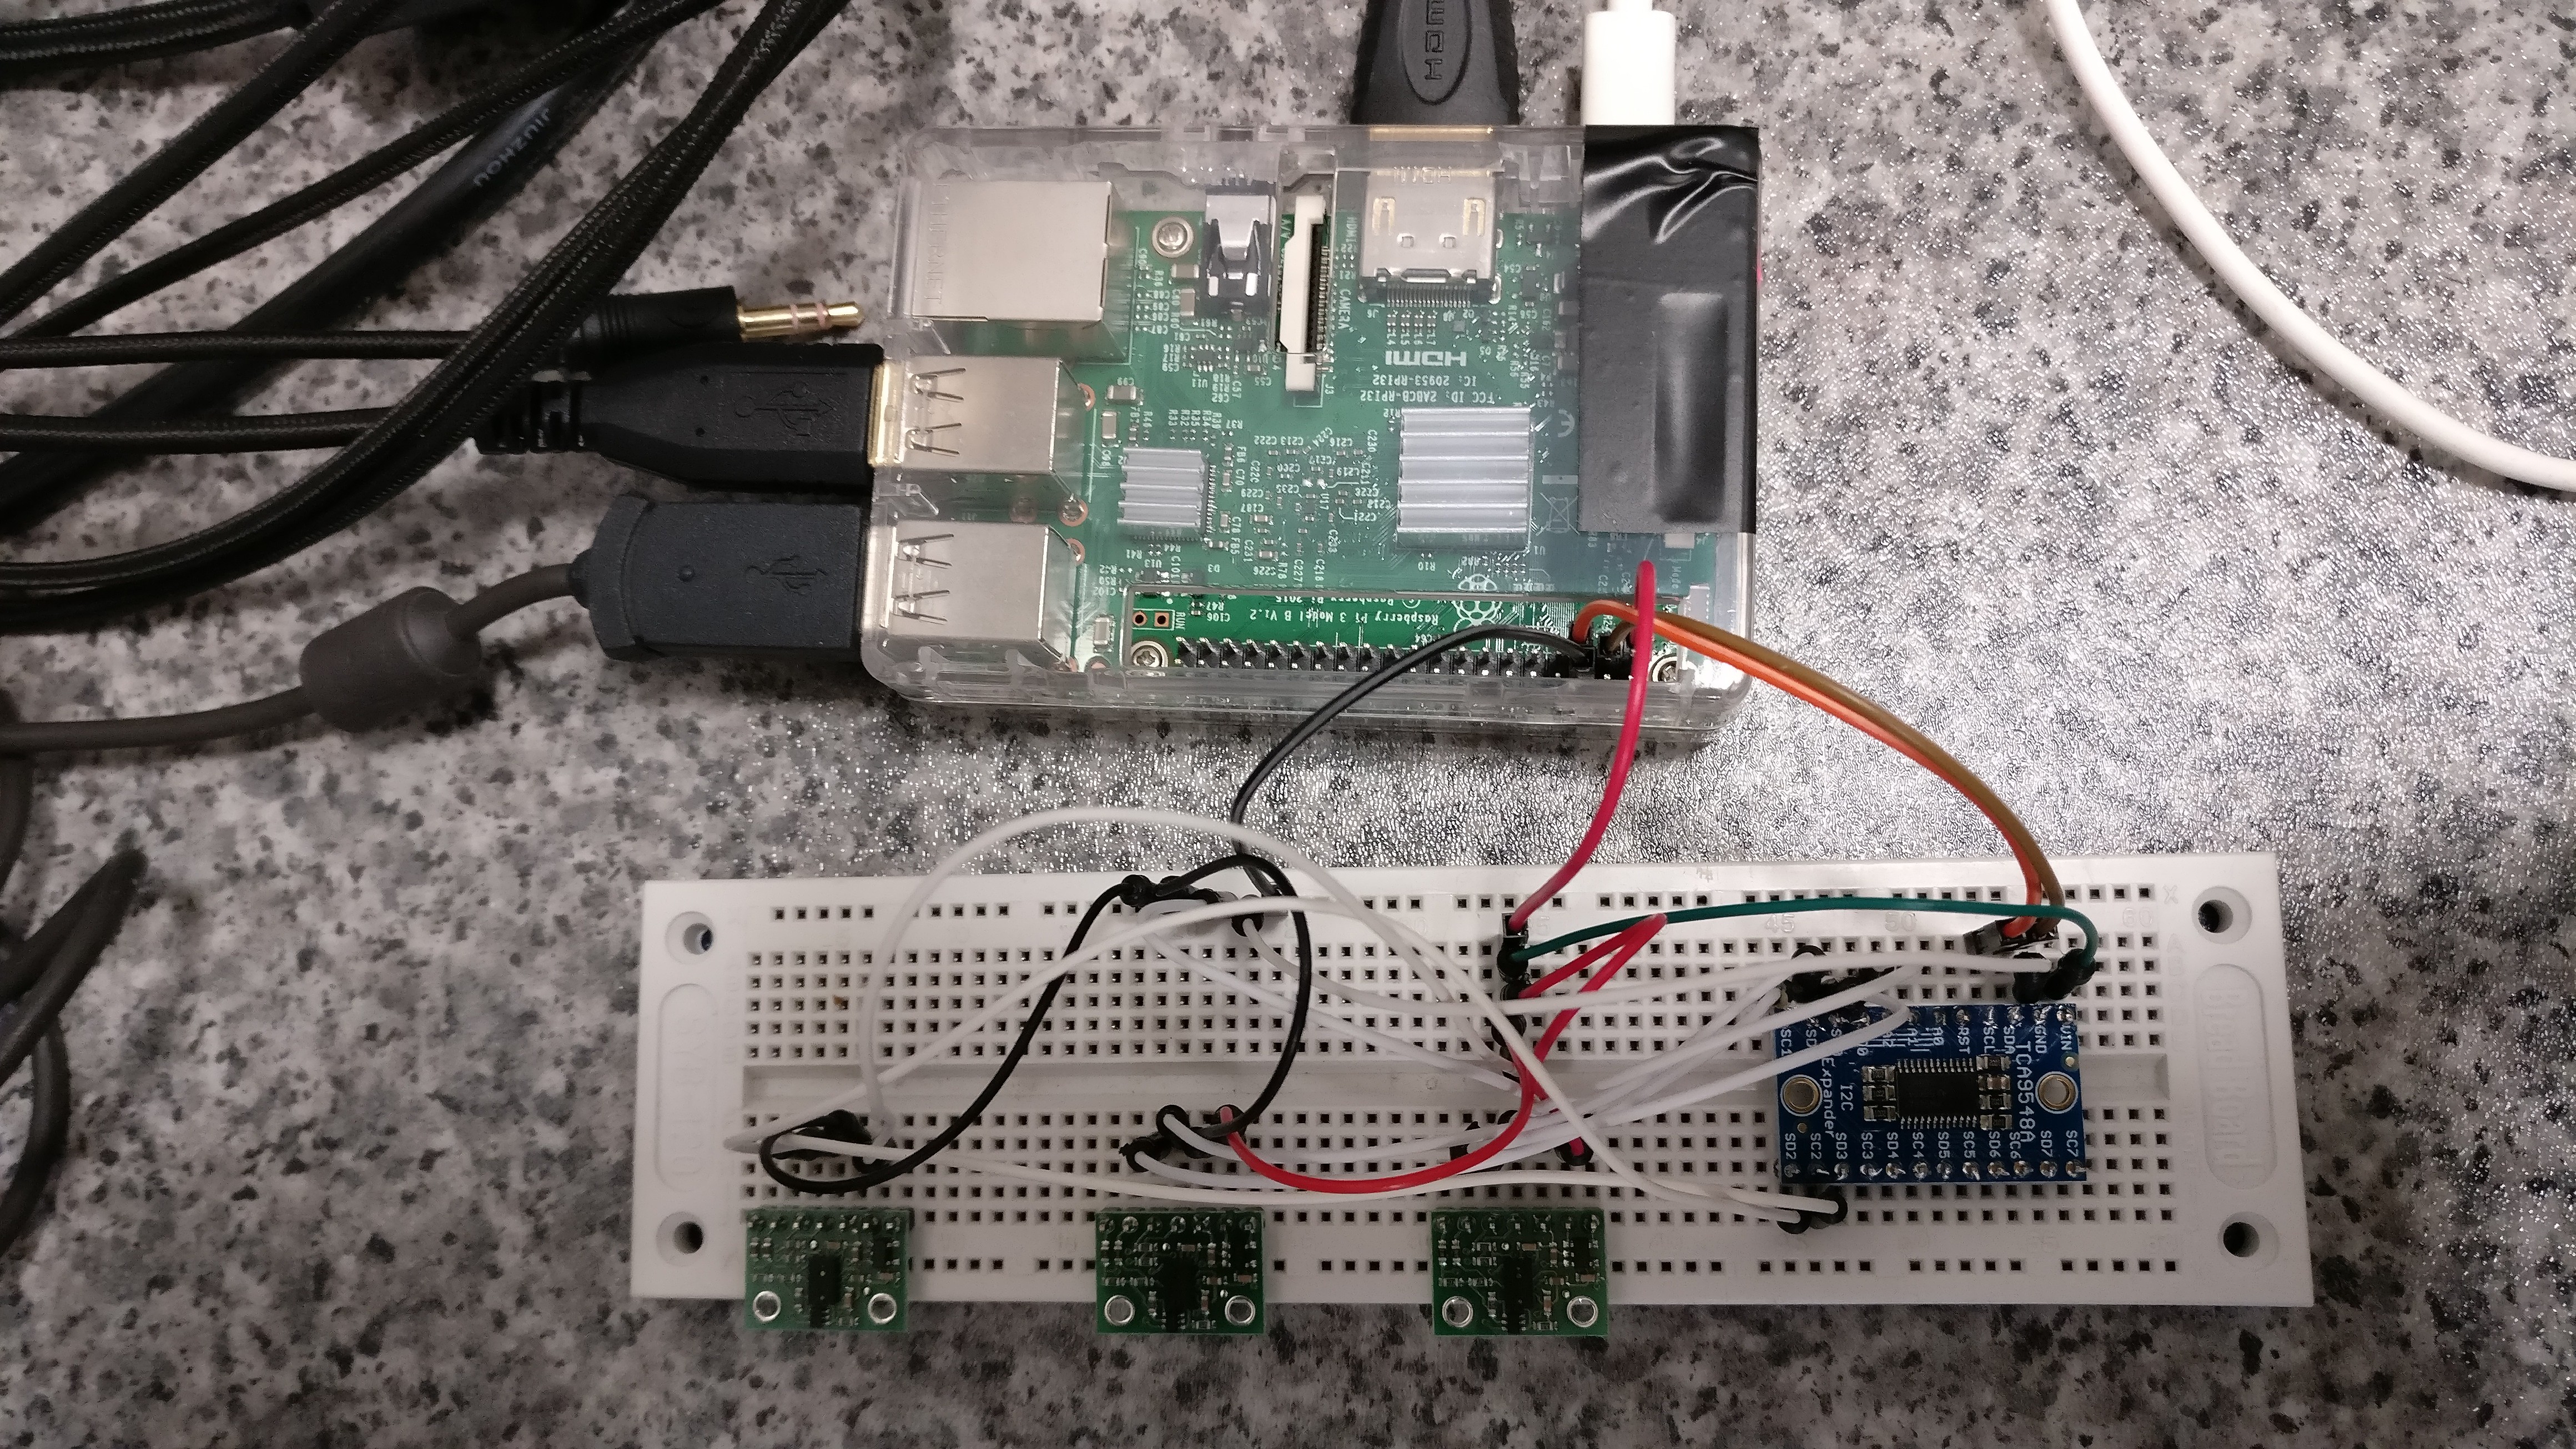
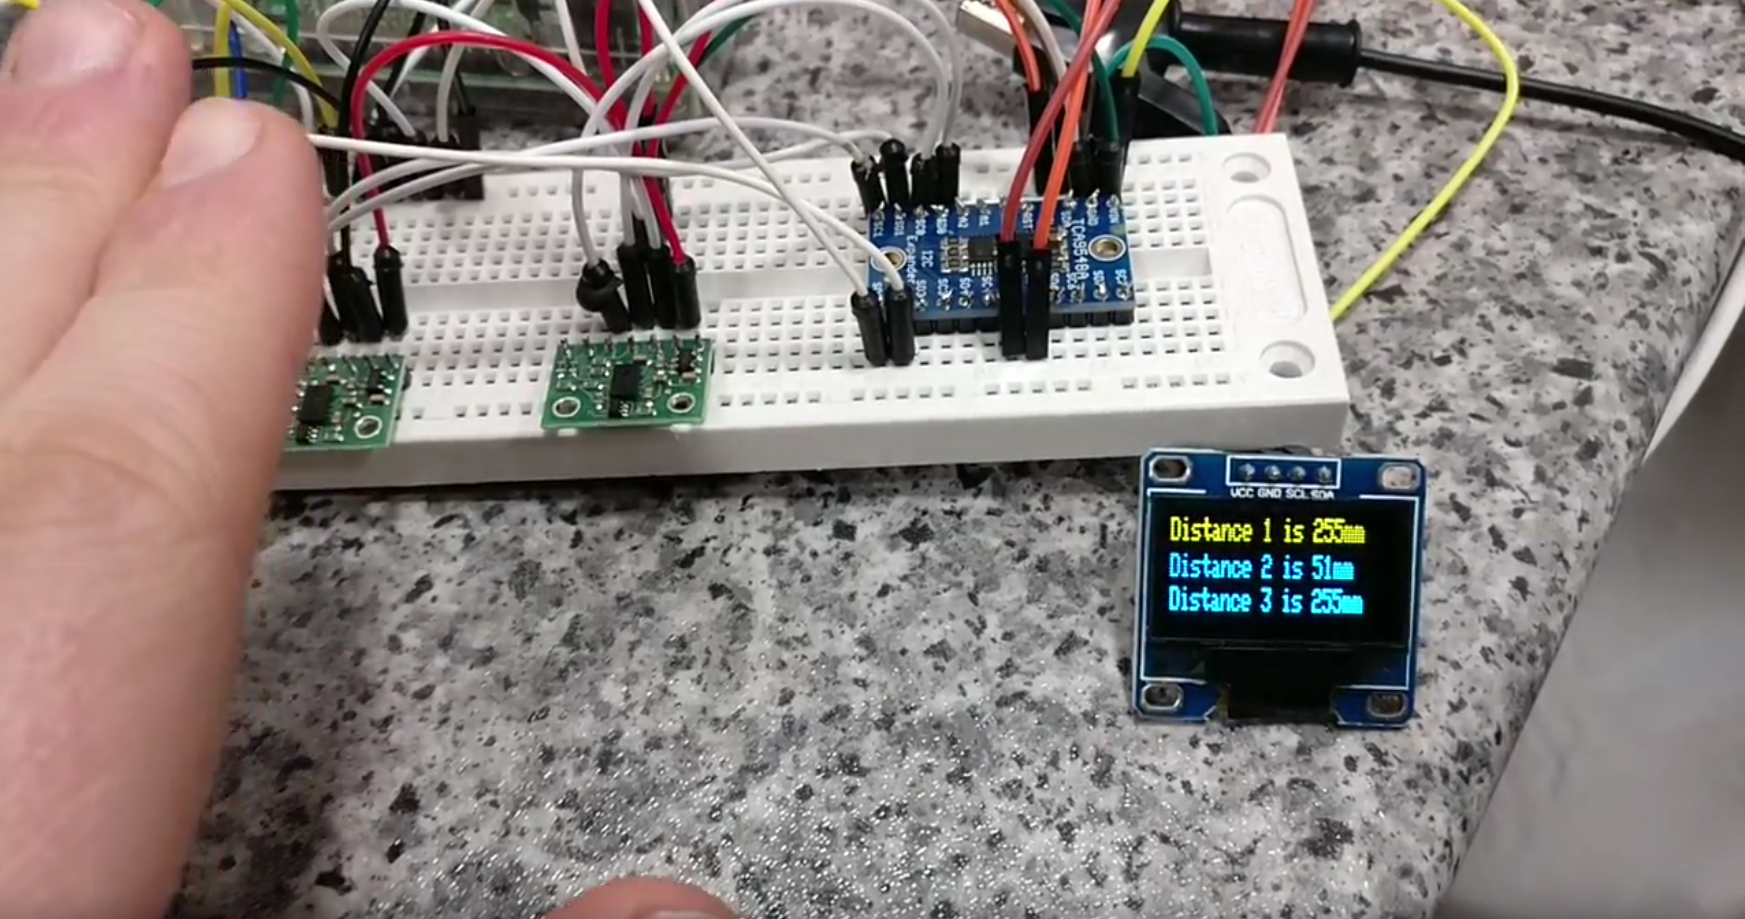
Jon set to work improving his VL6180 sensor library and bread boarded 3 sensors using an I2C multiplexer unit from Adafruit to complete the test rig. While his credit card was in his hand he also purchased a small OLED display so we could select the current challenge mode. It’s a really cute display and very clear, just wait until you see it in real life. The menu system even has tiny icons!

Screenshot from 2017-03-22 21-10-32

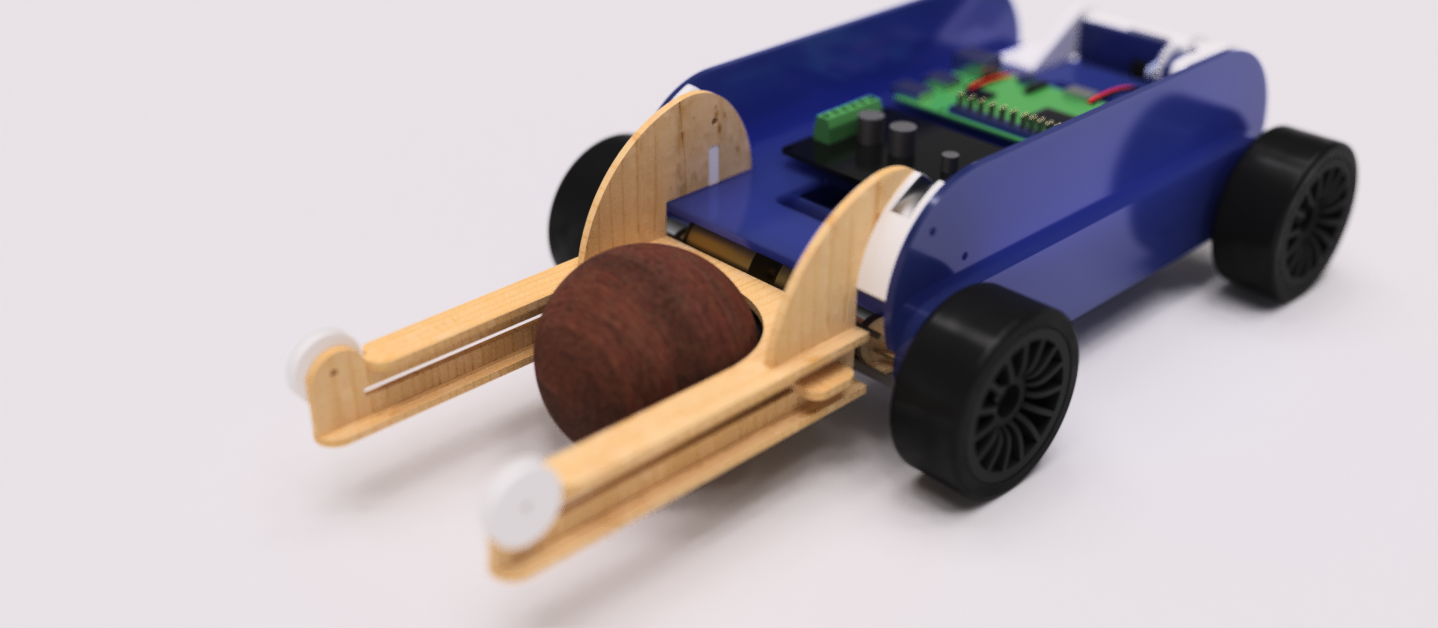
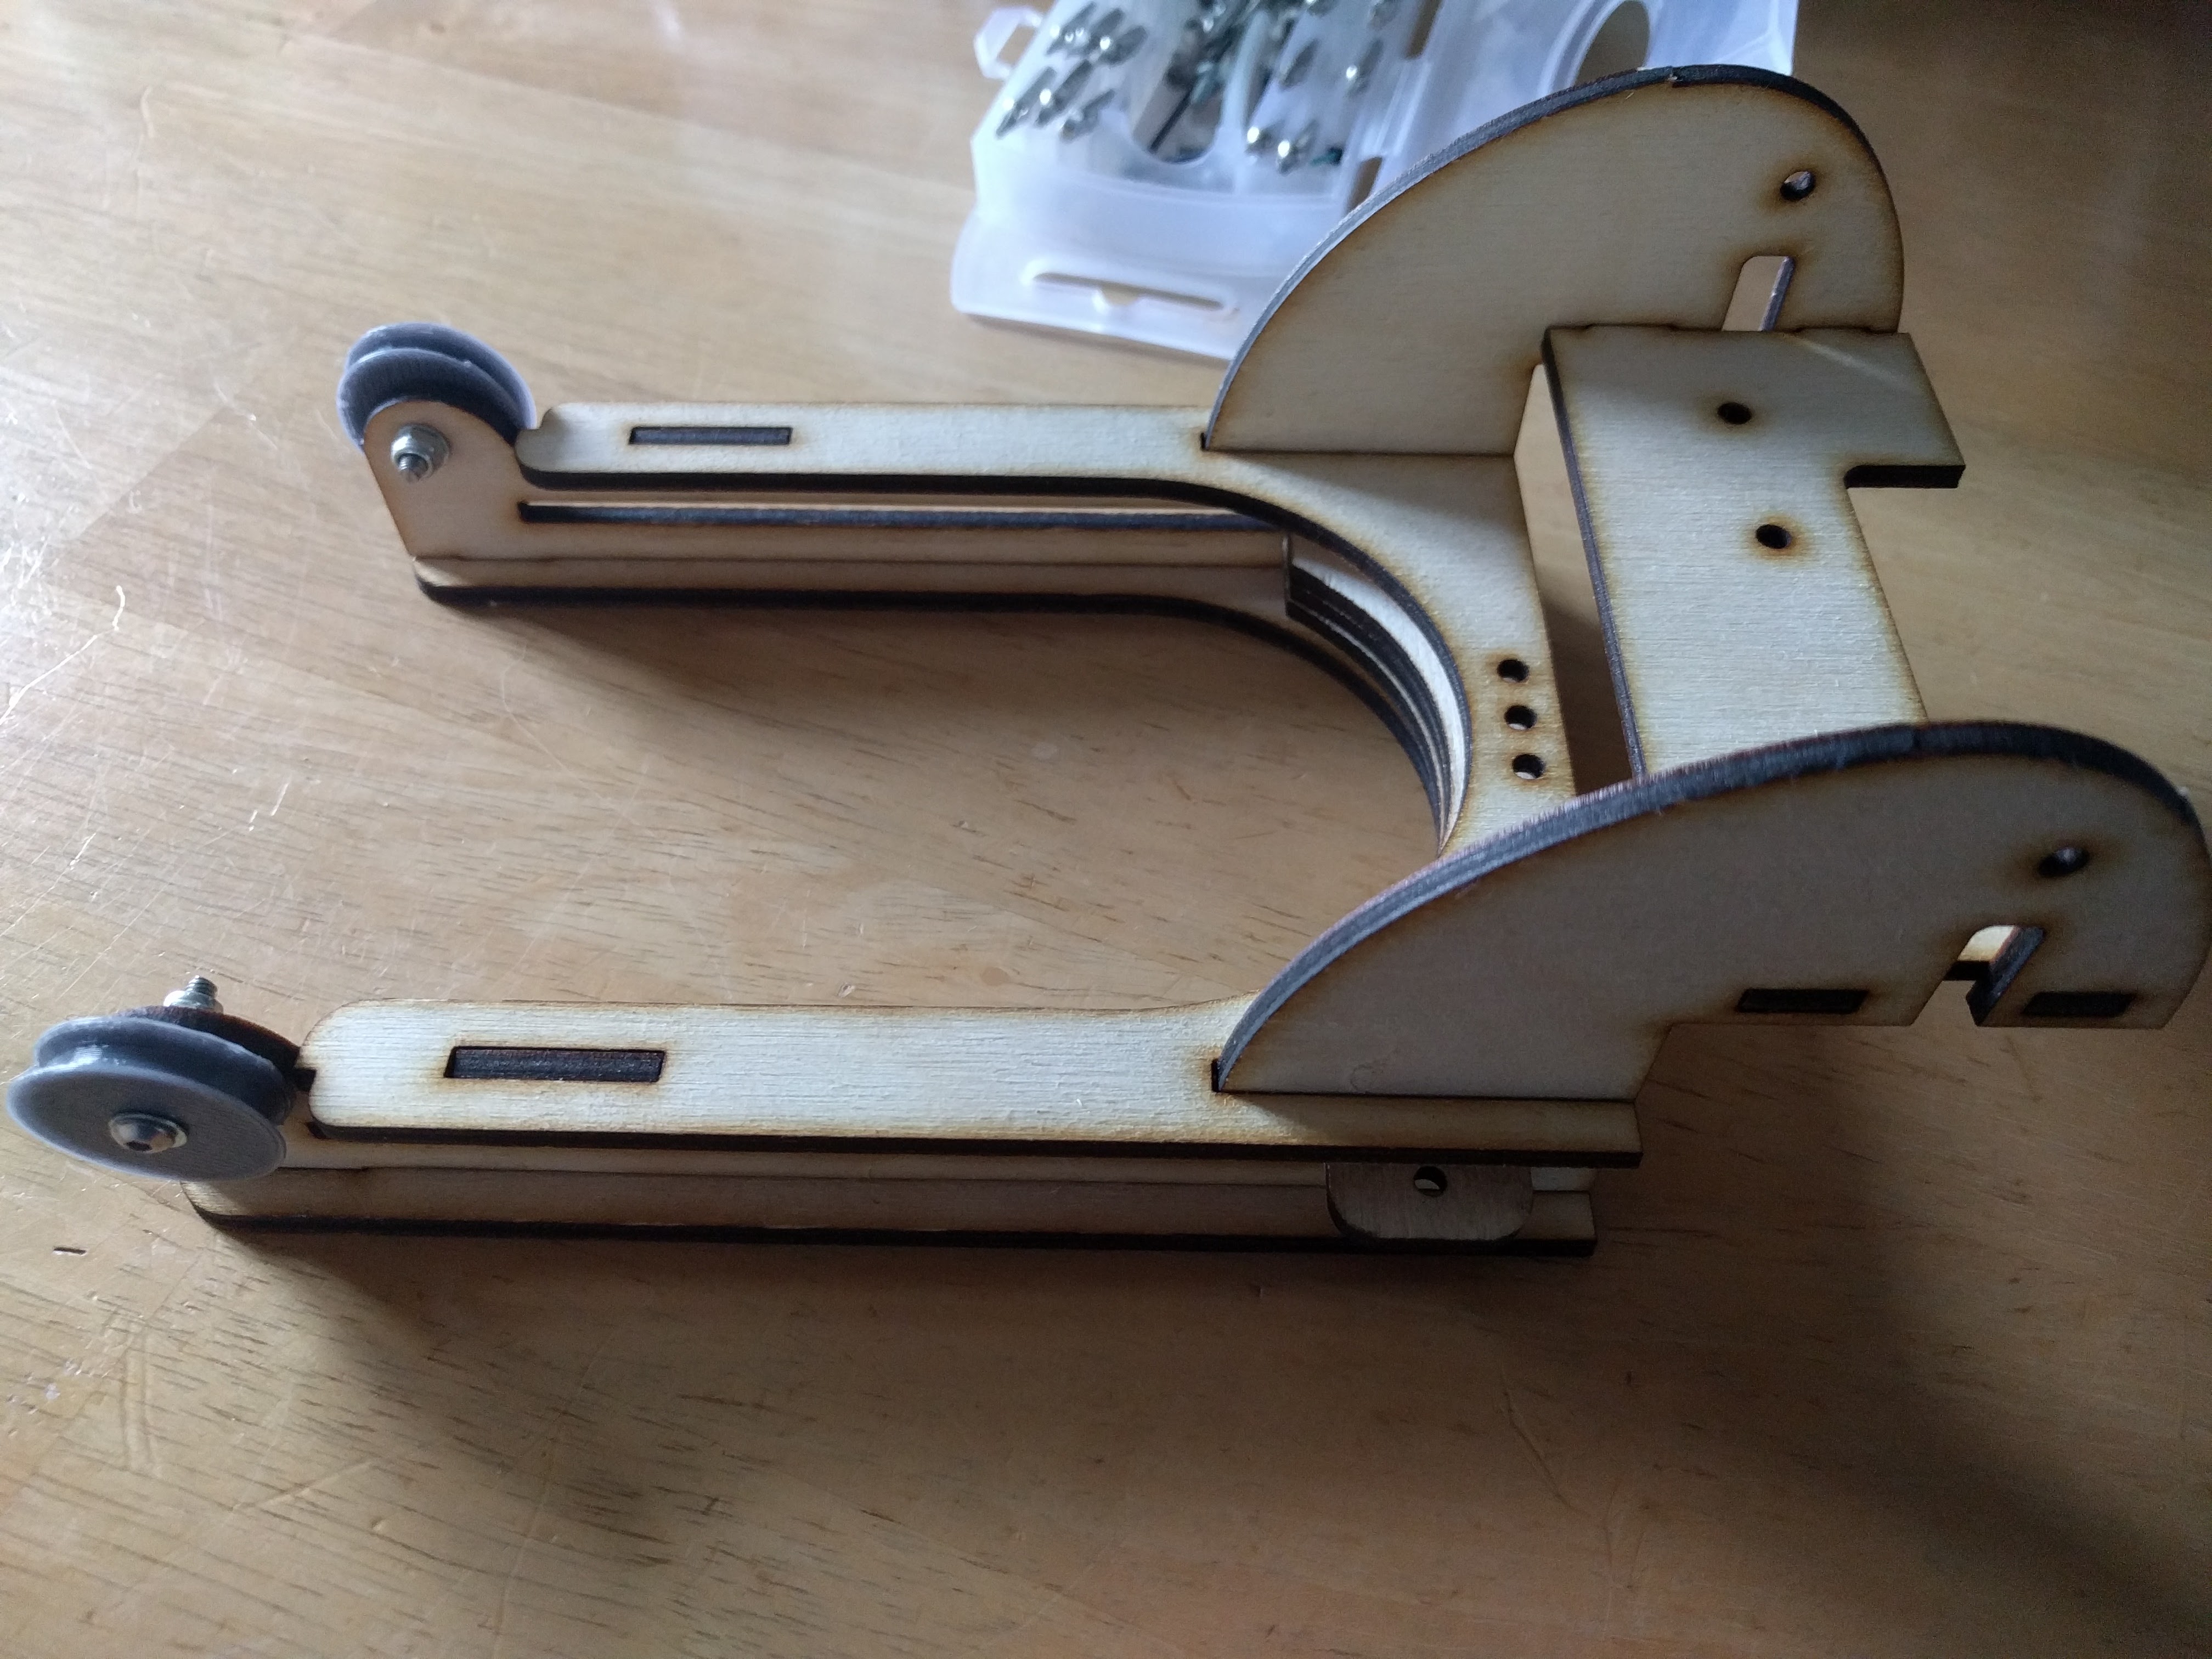
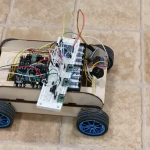
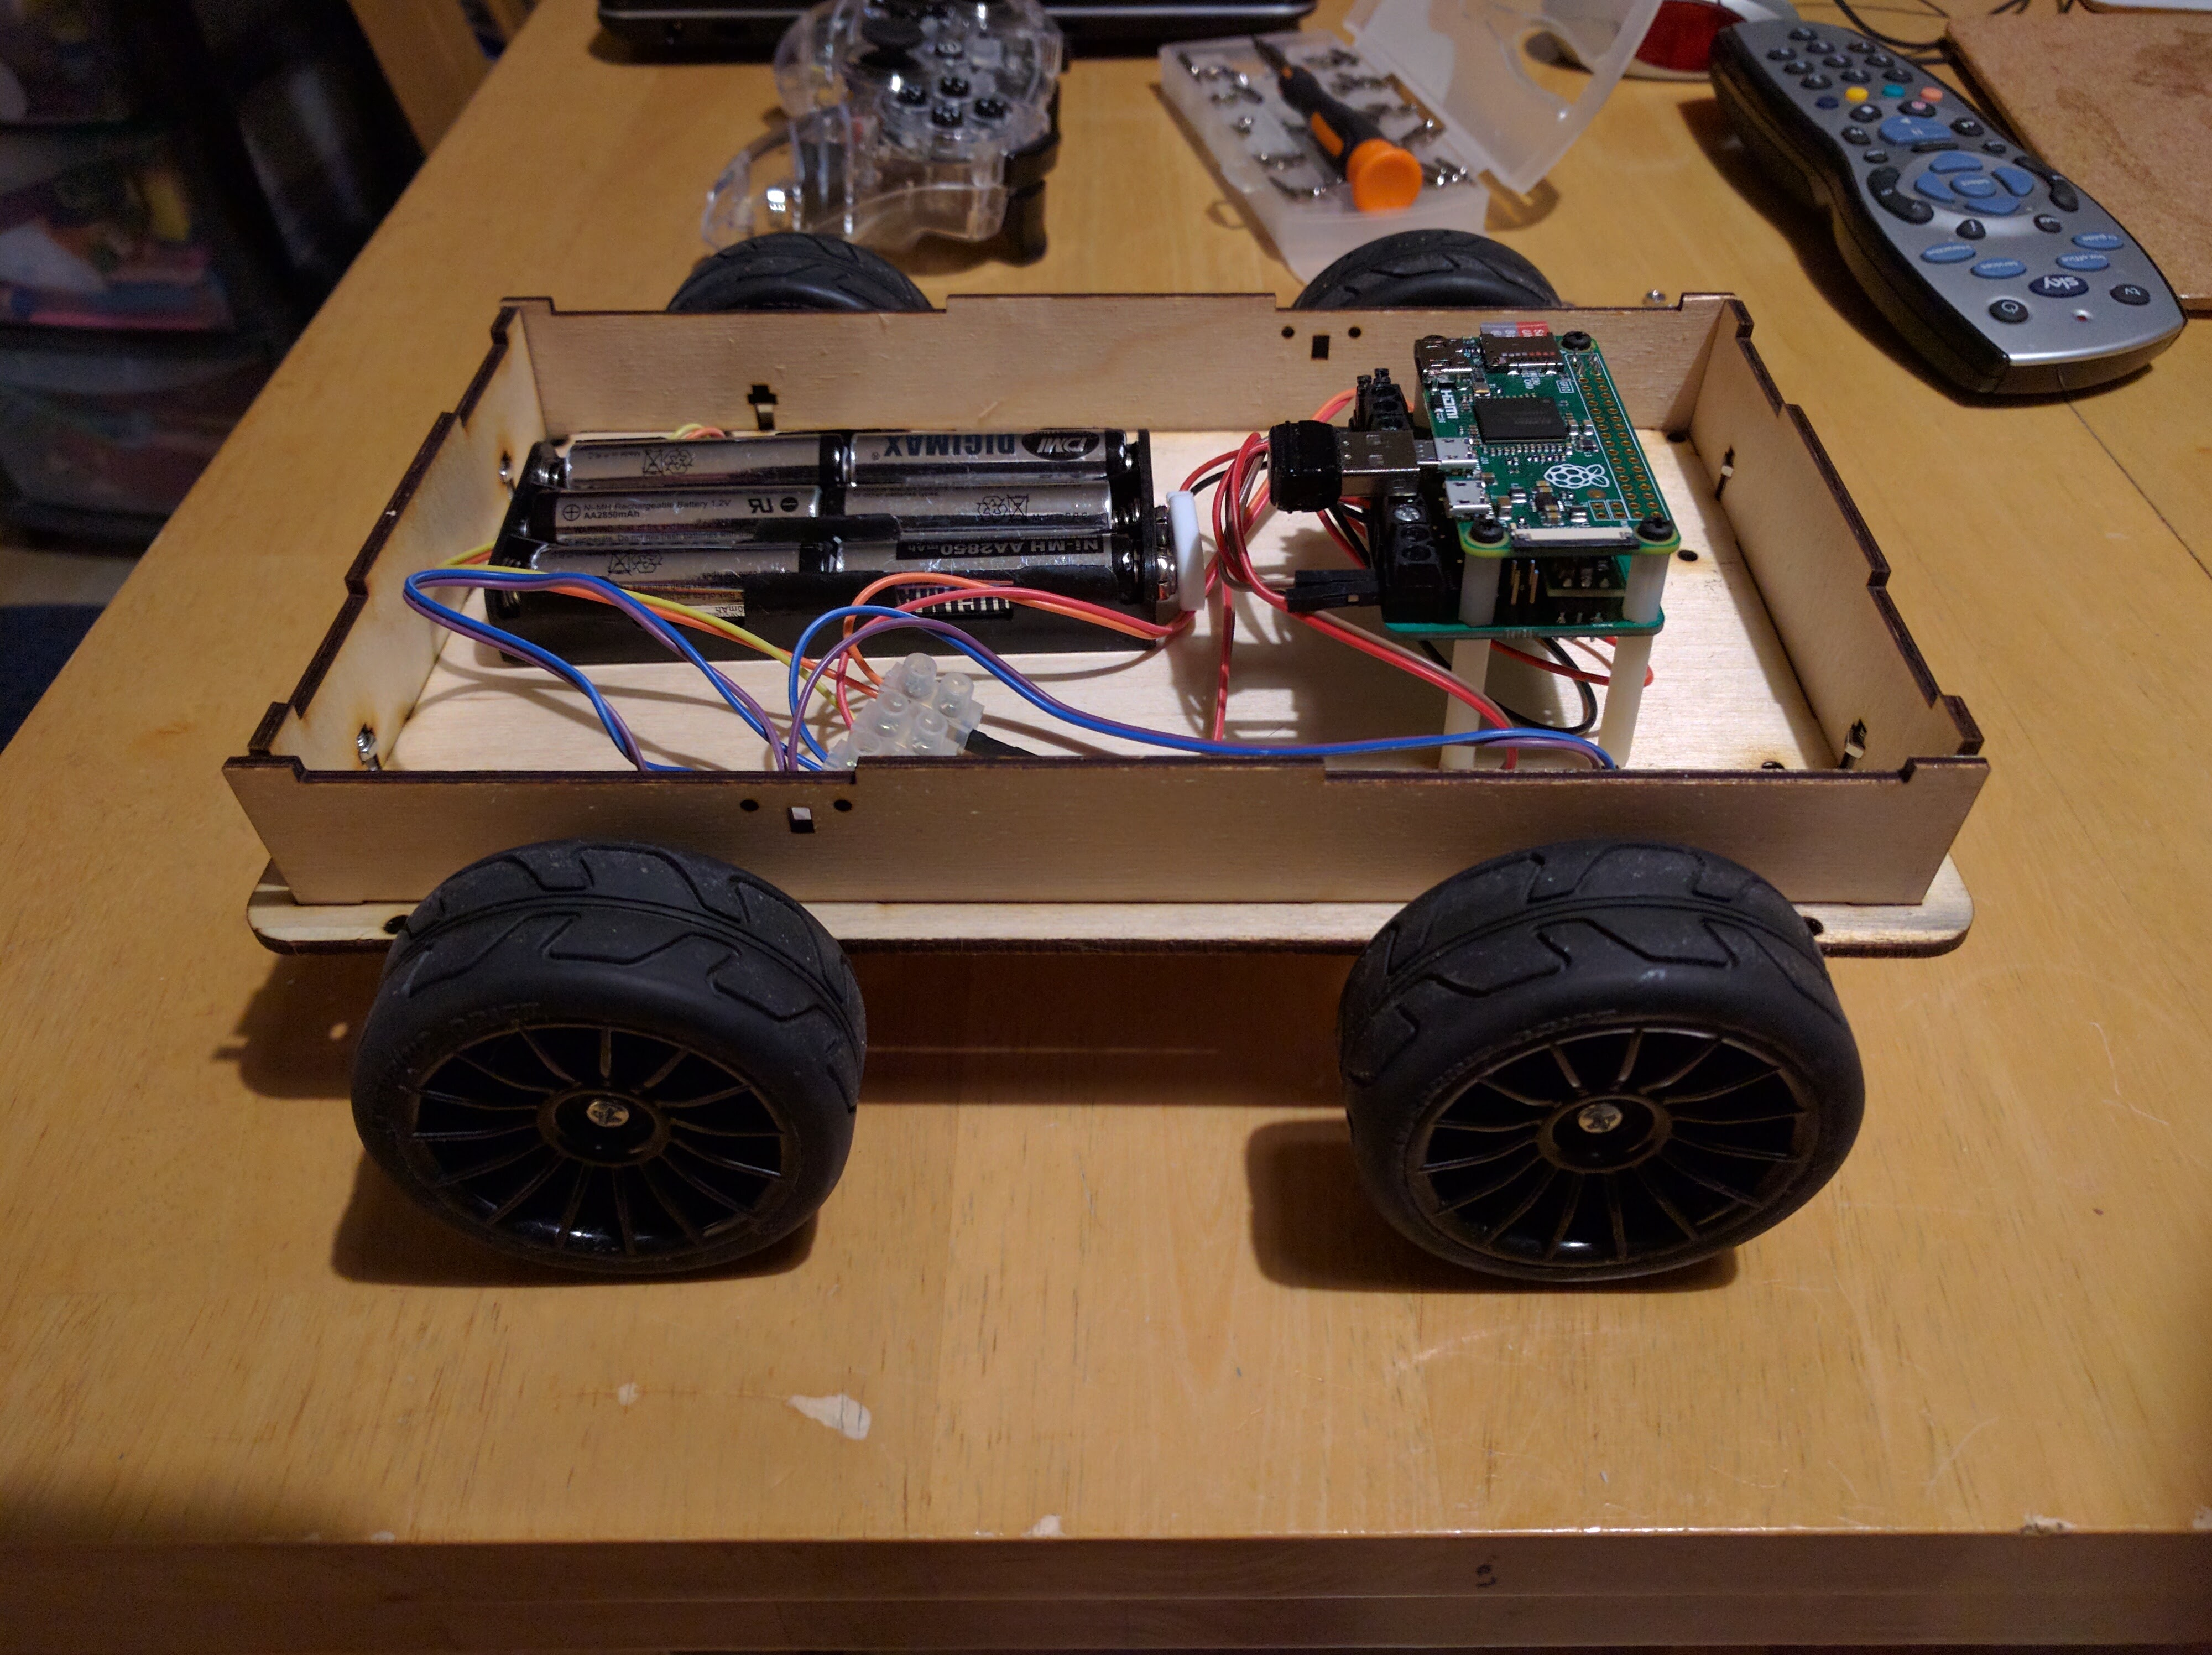
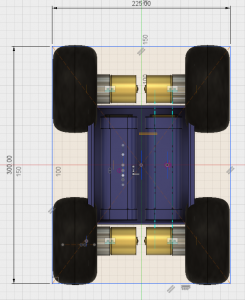
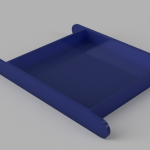
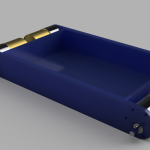
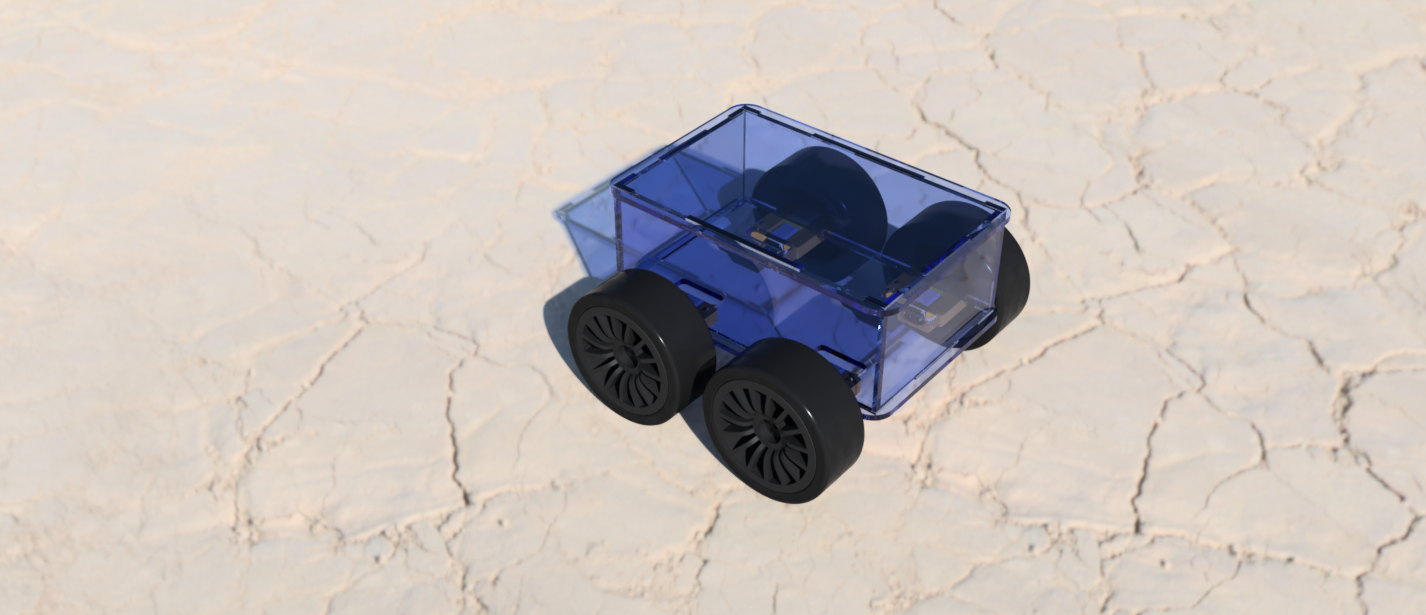
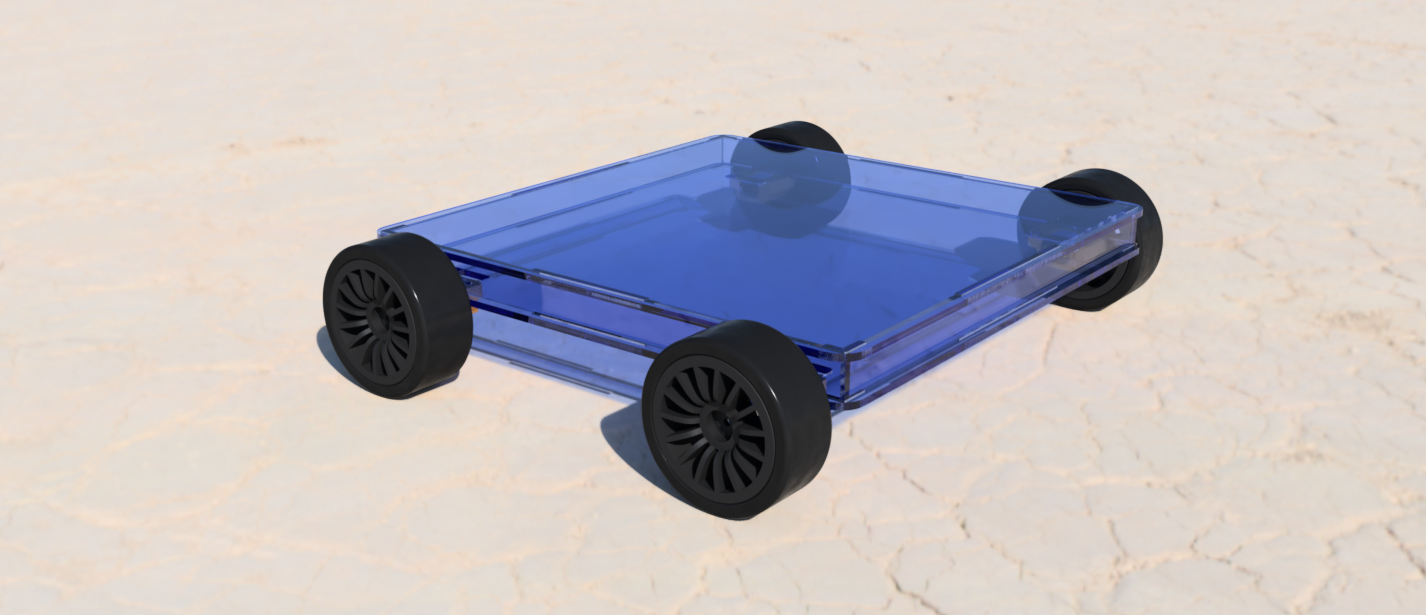
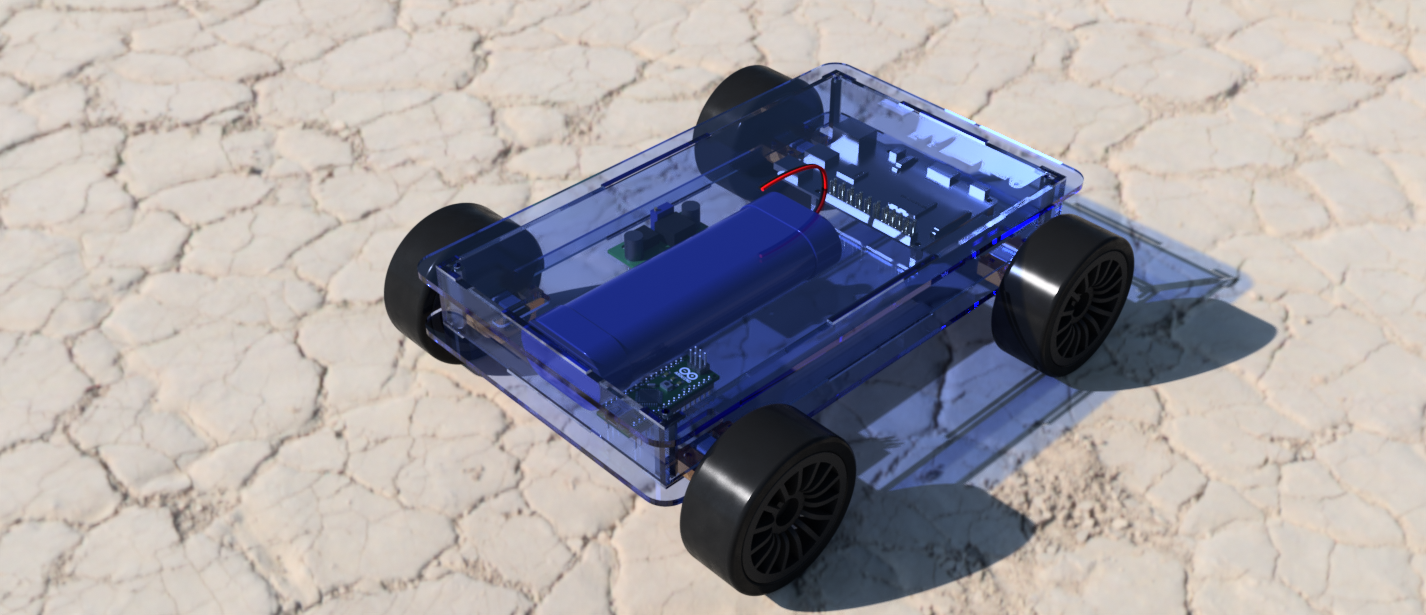
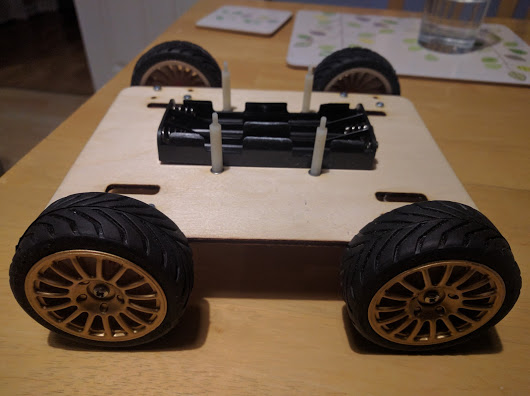
While Keith’s beautiful renders look fantastic, the reality is that once you start hooking up the wiring what was a sleek machine begins to look more like a rats nest.

What to do about all those wires…


Pi Wars 2017 – I love the smell of burning ply!

Well we have a design beautifully modeled in Fusion 360 by Keith our  designer extraordinaire.

screenshot (1)

Time to make it real……

IMG_20170129_113656


No you’re not seeing double, our secret weapon is two robots! Since both Phil and Jon will be working on different challenges, it was decided to create two robots so the software could be developed in parallel.

We now had our chassis and motors, time to add  a Pi and motor controller and let the magic happen.

At least we had something that moved!


Pi Wars 2017 – Motors!

We were in the running. Our first choice and one of the most difficult always seems to be motors. With last year’s bot being too big we needed smaller motors and were initially drawn to these tiny metal geared ones from Pimoroni.

IMG_20161029_203006

Tiny metal geared motors


Keith’s ability with Fusion 360 allowed rapid prototyping of new robot chassis made from plywood, some 3D printed brackets, and testing of a new bot began.


Combined

Raw DXF ready for cutting


IMG_20161116_212621

The finished result.


Unfortunately, the small motors were not up to the job and we needed a larger power plant. The motors eventually chosen were much beefier but that dictated the size of the final bot. With the new motors, Keith was able to model the components in Fusion.

screenshot

Motors and batteries.

The size of the motors and our existing battery packs pretty much determined the size of the new robot chassis.

So now we have a chassis and Phil can get on and laser cut the next prototype…


PiWars development

Our blogging has been a bit slow this year but Team Ipswich Makerspace has been very busy beavering away on our new robot. Once again Keith is designing TractorBot (possibly being renamed this year) in Fusion360. Keith has had trouble with files becoming corrupt in previous years, but with 2 x PiWars worth of experience things are going well so far. The model is even parametric, believe it or not the two images below are renderings from the same model, just with a couple or parameters edited to change the primary dimensions.

Short and high

Short and high

Large and flat

Large and flat

We started off using micro metal gear motors, and this is what we thought it would look like, once again using the trusty 7.2v NiCd batteries.

Potential layout(1)

And the first hardware was born.
IMG_20161029_215334

And little while later we had movement. It’s always good (and a relief) when you see a robot move for the first time.

TractorBot 2017 from Keith Ellis on Vimeo.

Jobs List for Our New Home

A big list of things to talk about and prioritise but I propose a working party next saturday (11th) to make a start. If you want to get involved but can’t make this Saturday have a chat with one of the committee members to let them know. Chances are we’ll be doing stuff on Thursday evenings too as long as it’s not intrusive. Also mention anything you think we’ve forgotten.

Security

Furniture

  • Main table and chairs – we need to decide what we want the place to look like, but having a big cluster of tables has worked well in the past. I’d quite like to make tables similar to the ones we used in the church hall as buying them is damned expensive. 18mm ply works well or something like scaffold planks are quite ethnic too. Having tables we can move/stack would be extremely useful for hiring out the space purposes. Chairs are available cheaply from the Foxhall recycling centre and I may have a bunch of stacking chairs we could use.
  • Electronics workbenches – up to four stations with a good set of basic tools like a psu, soldering iron, monitor etc setup along the wall between the heaters so people can just rock up and get to work. Not exactly a quiet area, but definitely a work area.
  • Tim make sticky labels for our property
  • Tim make sticky labels for other people’s property saying (On loan)
  • Lighting (I know it’s not furniture), it’s a bit poor at the moment. We can double up on the lights we already have (somehow). If we go down the cluster of tables route we can put in a row of decent lights over it. We should also replace the current bulbs with LEDs for energy efficiency.

Tools and Equipment

  • Sort through and organize all our stuff
  • Laser cutter
  • Small tools
  • Dangerous Prototypes power things
  • Consumables

Facilities

  • Fridge (Jon has one to donate)
  • Microwave
  • Toaster
  • Kettle
  • Recycling bins

Miscellaneous

  • A letter box
  • Coat of paint
  • Fix dripping tap
  • Tidy/repair/clean the loo (filler etc)
  • Lay an easier to clean floor in the loo, vinyl or similar
  • Fix the heat loss
  • Tidy/repair the kitchen
  • Sockets in the kitchen
  • Fix sliding doors to storeroom
  • Staircase non-slip paint
  • Install dexion shelving in storeroom
  • Solve condensation problem in the storeroom
  • A membership system
  • Unwire the tables and replace with floor boxes
  • Replace TalkTalk router with DrayTek router from church bungalow
  • Some form of wired networking to the tables and workbenches
  • Shelving system for member storage boxes
  • Purchase cleaning supplies and set up cleaning rota
  • Create leaving checklist to ensure space is secure and nothing is left on.
  • Install makerspace sign